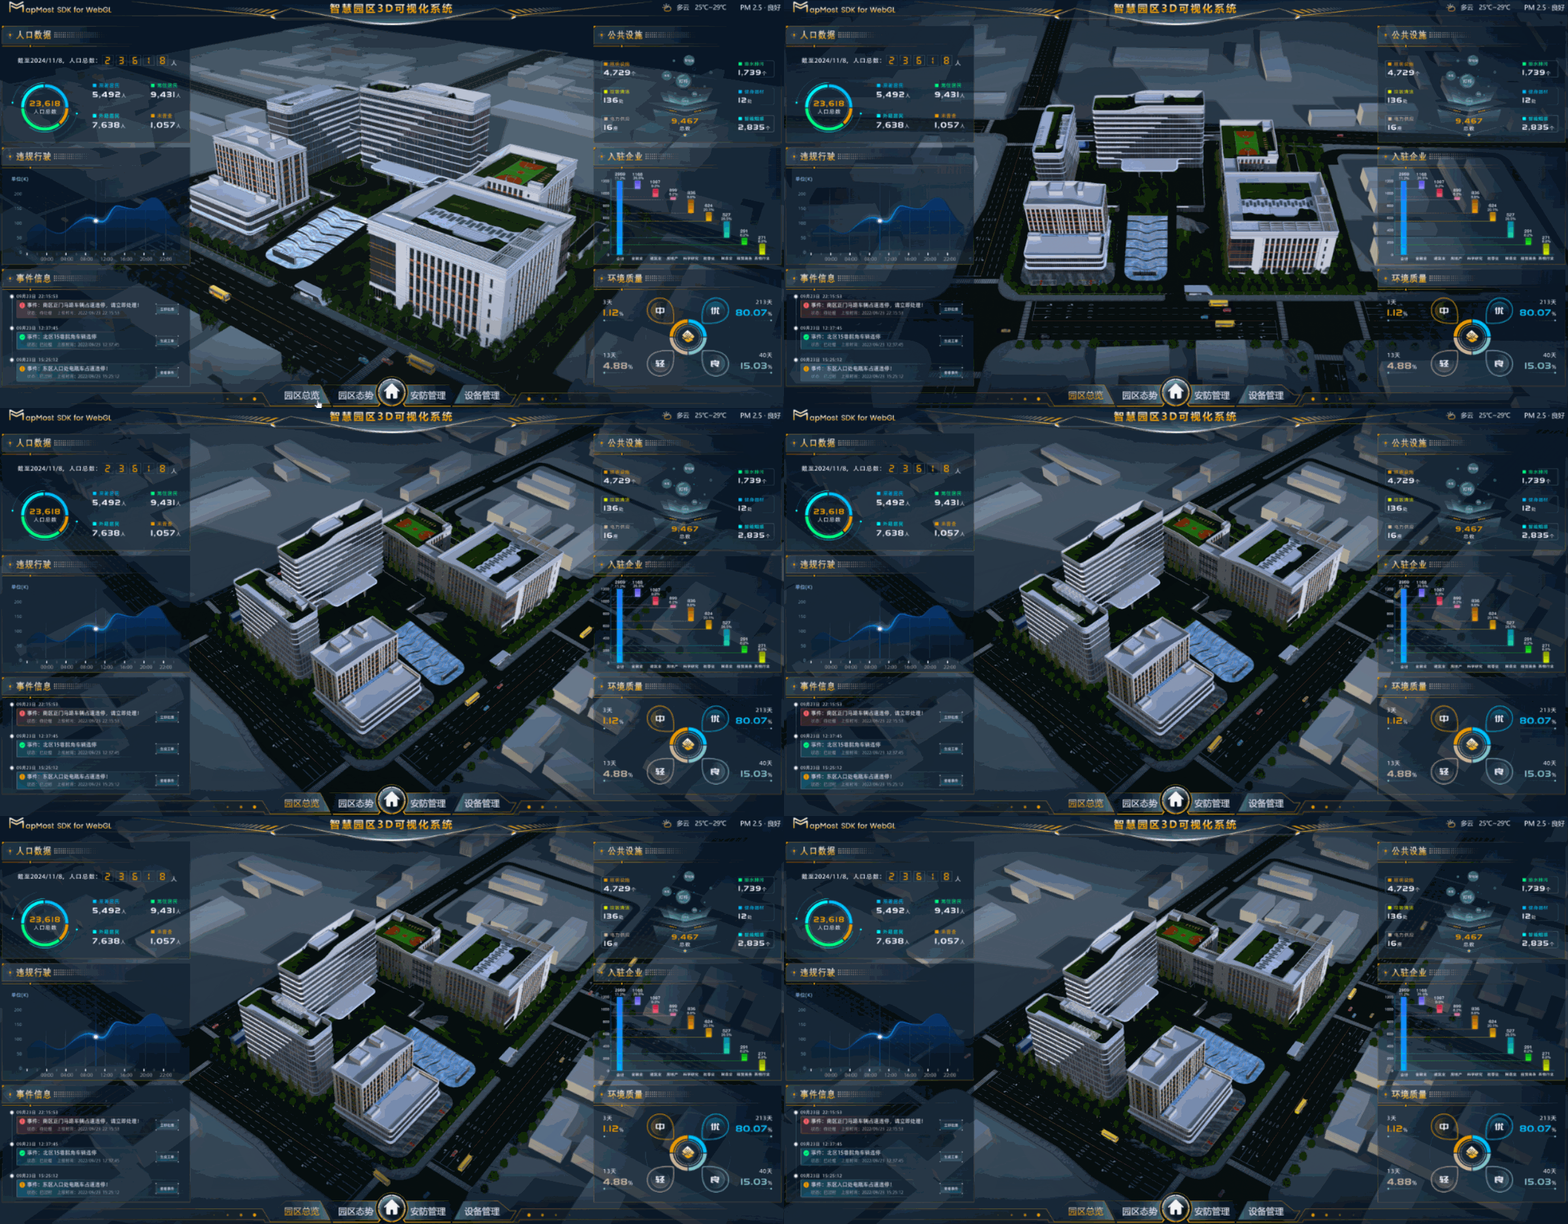
步骤五、园区总览
先决条件
授权
您需要先拥有一个授权码,授权码获取请参考授权申请。
资源获取
注意
场景中涉及到的图片、模型、第三方库、源码等资源,点击下载获取。
步骤
1、创建MapApi.js文件
- 在 src->api 文件夹中新建 MapApi.js 文件,所有交互功能都将写在该文件中。
2、添加园区总览功能
园区总览的主要功能是使模型自动进行360度旋转,我们可以每帧改变地图的方位角实现。
// 该类主要用于地图和场景相关操作
class MapApi {
  constructor(map, layer, group) {
    this._map = map;           // 地图实例
    this._layer = layer;       // 三维图层实例
    this._group = group;       // 三维模型对象
    this.shouldRotate = false; // 控制旋转开始/停止
  }

  // 园区总览
  overView(rotating) {
    let self = this;
    this.shouldRotate = rotating; // 更新旋转状态

    // 调用模型旋转方法
    rotateCamera(0);
    // 定义模型旋转方法
    function rotateCamera(timestamp) {
      // 如果允许旋转,则更新地图方位角
      if (self.shouldRotate) {
        map.setBearing((timestamp / 360) % 360); // 设置地图的方位角,实现旋转效果
        requestAnimationFrame(rotateCamera); // 使用该函数递归调用 rotateCamera,实现平滑动画
      }
    }
  }

  // 停止旋转
  stopRotation() {
    this.shouldRotate = false;
  }
}

// 导出 MapApi 类,使其可以在其他模块中被使用
export default MapApi;
因为我们只改变了地图的方位角,当我们缩放地图到别的地方时,在点击模型总览,可能就不是围绕园区模型旋转的了,所以每次旋转前可以先飞行到一个固定视角。
// 园区总览
overView(rotating) {
  let self = this;
  this.shouldRotate = rotating;

  let location = [{
      center: [120.72954958448429, 31.28847184284129], // 飞行结束后的中心点坐标
      zoom: 17.587263673261667, // 飞行结束后的地图层级
      bearing: 0,               // 飞行结束后的地图方位角
      pitch: 48.49773165778813, // 飞行结束后的地图俯仰角
      speed: 0.2, // 飞行速度
      curve: 1, // 随着飞行路径出现的缩放曲线,值为1时会出现圆周运动
  }]

  // 调用飞行定位方法
  this.changeViewers(location);

  // 两秒后开始旋转
  setTimeout(() => {
    rotateCamera(0);
    function rotateCamera(timestamp) {
      if (self.shouldRotate) {
        map.setBearing((timestamp / 360) % 360);
        requestAnimationFrame(rotateCamera);
      }
    }
  }, 2000);
}

// 飞行定位
changeViewer(location) {
  this._map.flyTo({
    ...location,
  });
}

// 连续飞行
changeViewers(locations) {
  let count = 0;
  this.changeViewer(locations[count]);
  let self = this;
  let moveFunc = function () {
    if (count === locations.length - 1) {
      self._map.off('moveend', moveFunc);
      return;
    }
    self.changeViewer(locations[count++]);
  };
  if (count < locations.length - 1) {
    self._map.on('moveend', moveFunc);
  }
}
笔记
- 在后面的步骤中,为了更好的视觉效果都用到了飞行定位哦。
- 有关飞行定位的更多信息,请访问flyTo。
3、调用方法
- 将 LyBottom.vue 中关于
overView、stopRotation和changeViewers方法的注释去掉。
4、查看效果
运行,查看效果。
npm run dev