quick start
1. Online experience
After logging in/registering and completing the information, you can use the Mapmost Studio trial version for free to learn about the product function overview.
1.1. Click the "Online Experience" button

Click the online experience button at the top of the page to enter the Mapmost Studio trial version login/registration page and complete the login/registration.
1.2. Fill in the complete information

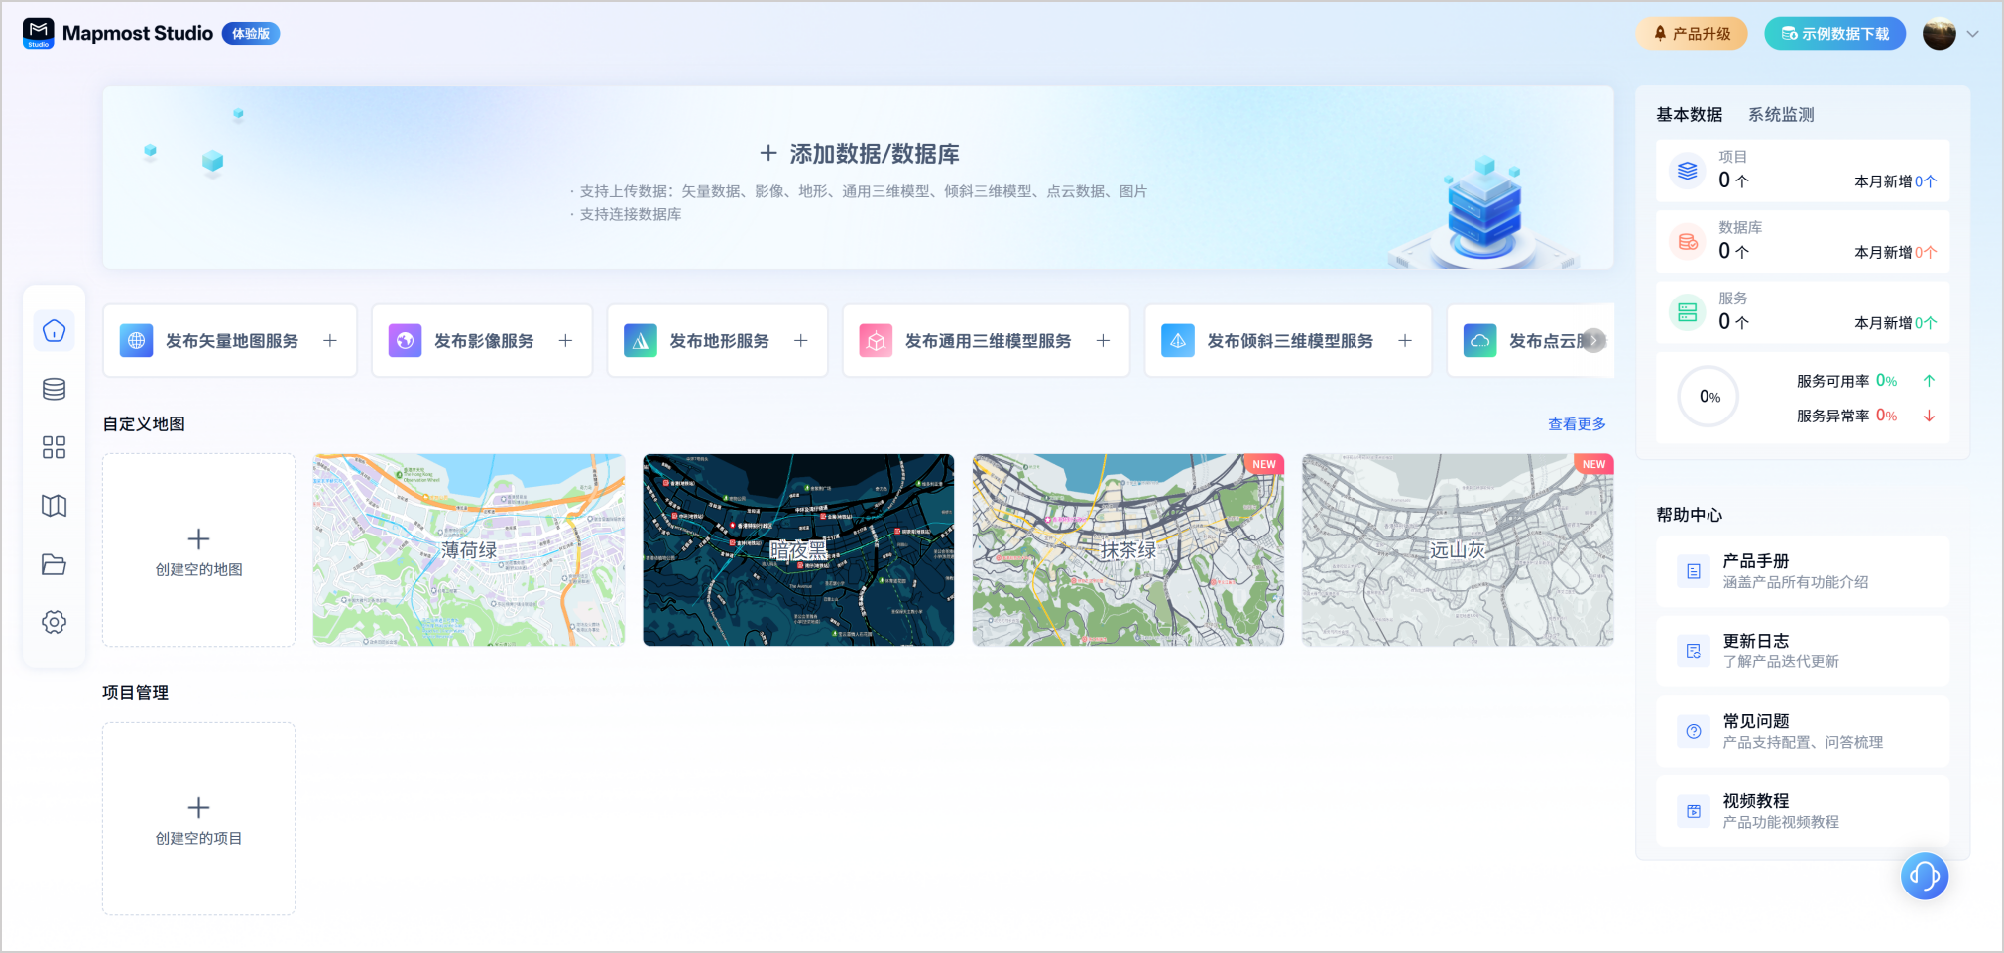
Fill in the complete information and click "Submit" to automatically jump to the Mapmost Studio trial version
2. Apply for private deployment
If you want to know all the functions of the official version of Mapmost Studio, you can scan the QR code to contact customer service to inquire about private deployment. You can also call 0512-67632003 or email sales@mapmost.com to inquire about related trial matters.

3. Operation guide
Welcome to the Mapmost Studio platform! This guide will help you get started quickly and complete the entire process from data upload → service release → map drawing → team collaboration and co-creation.
3.1. Step One: Data Upload and Management
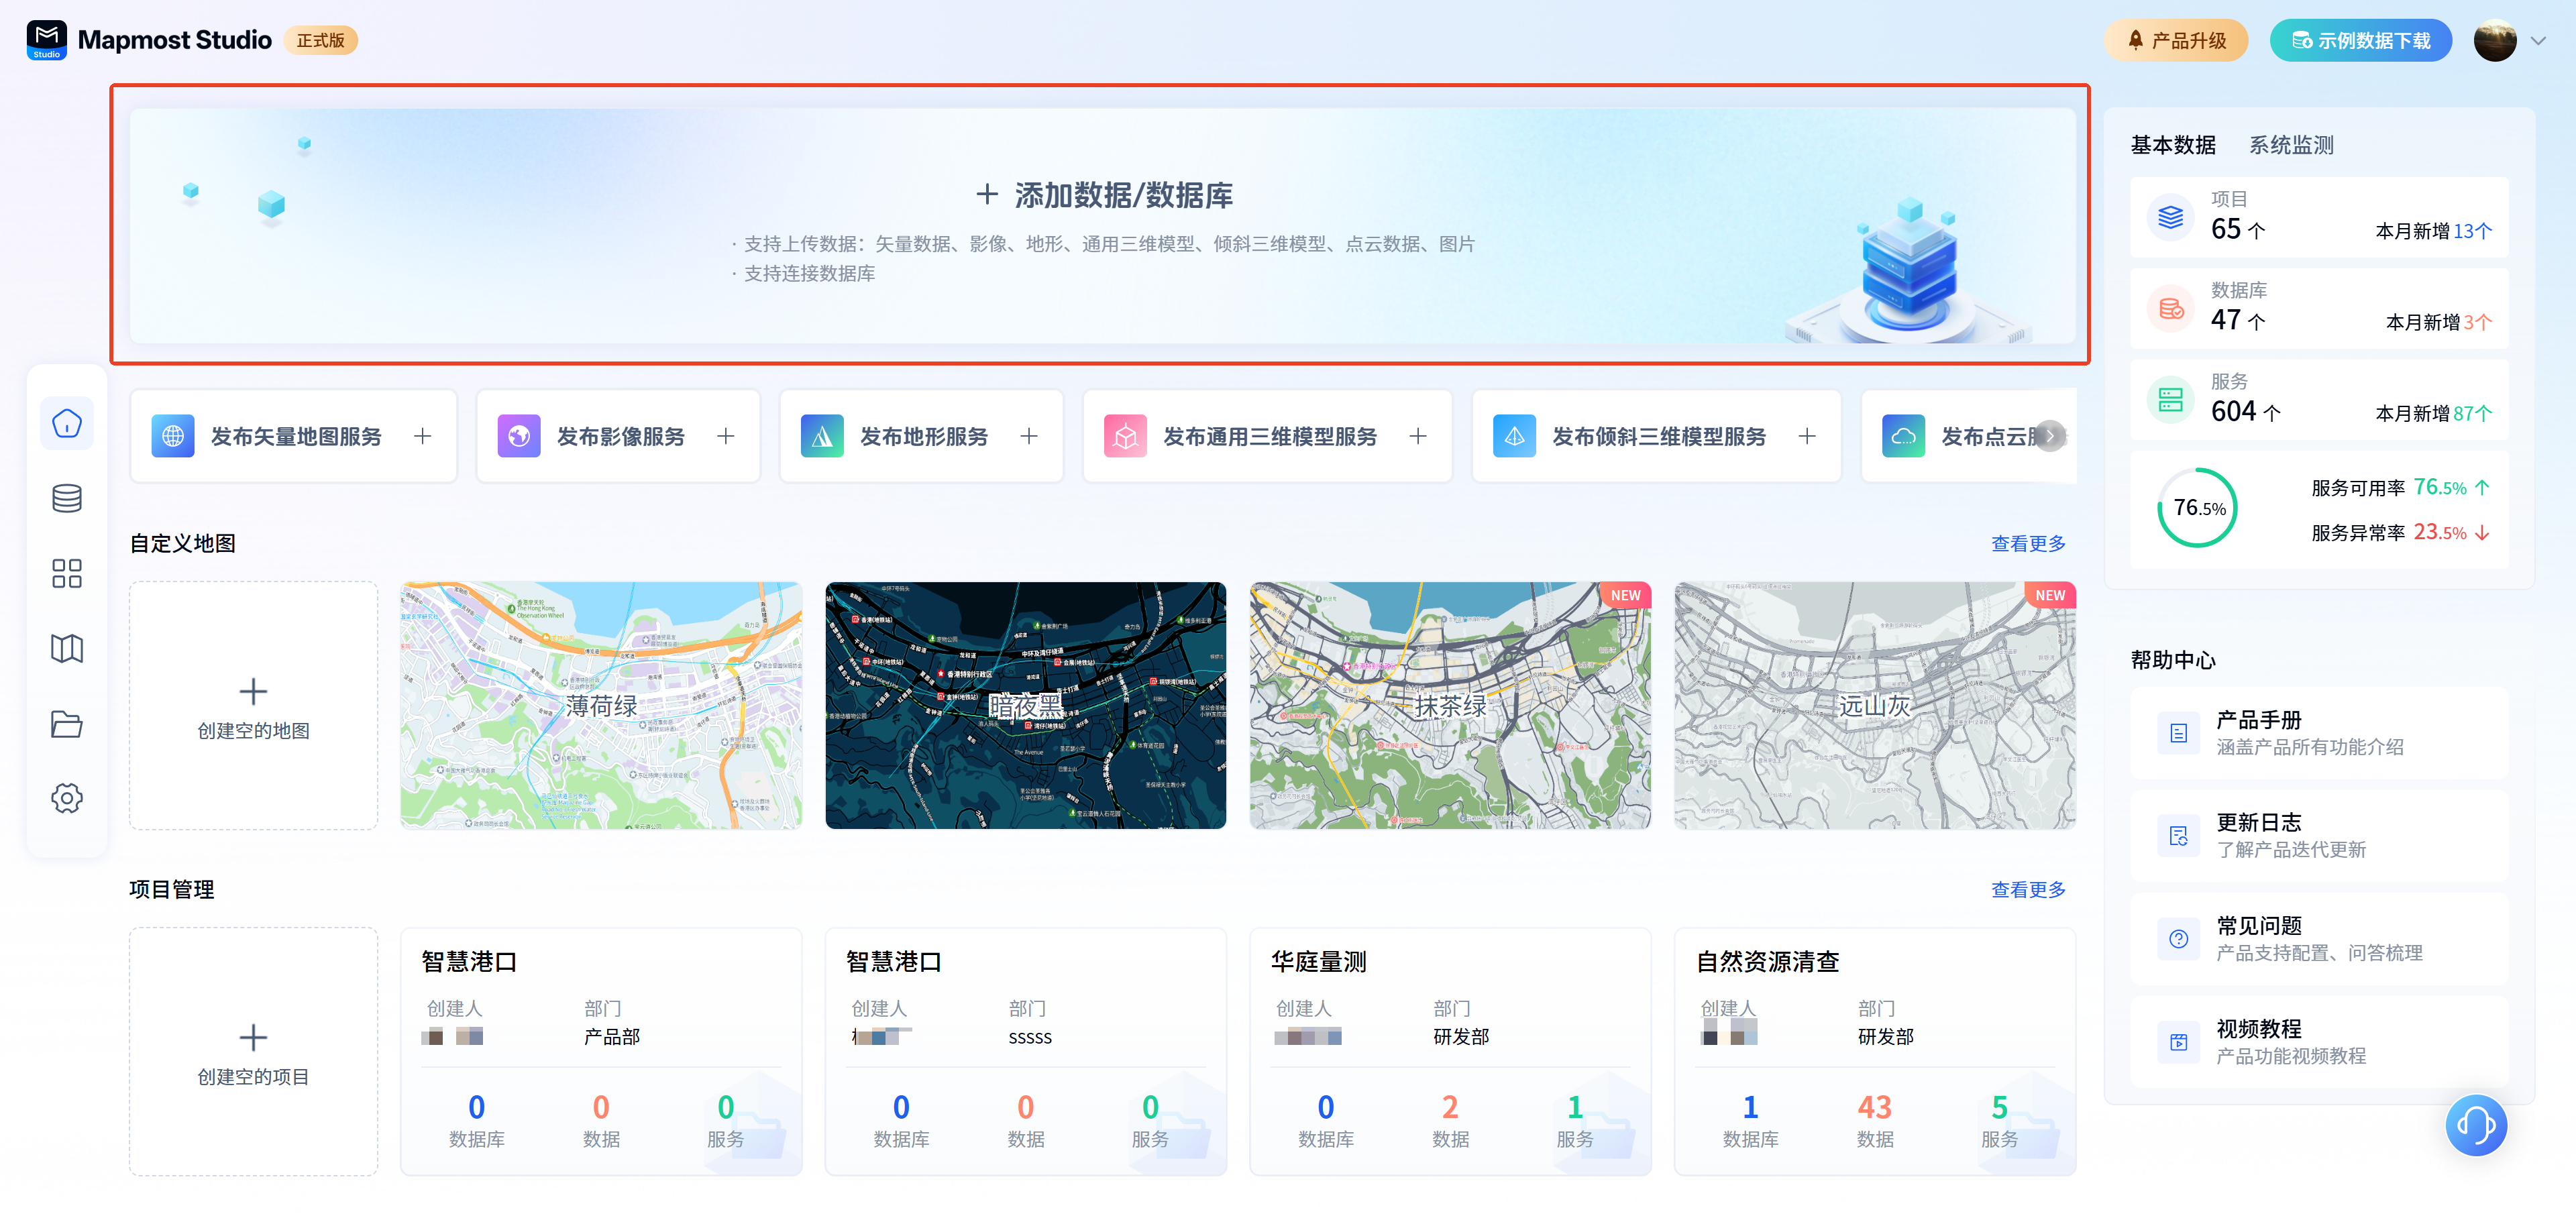
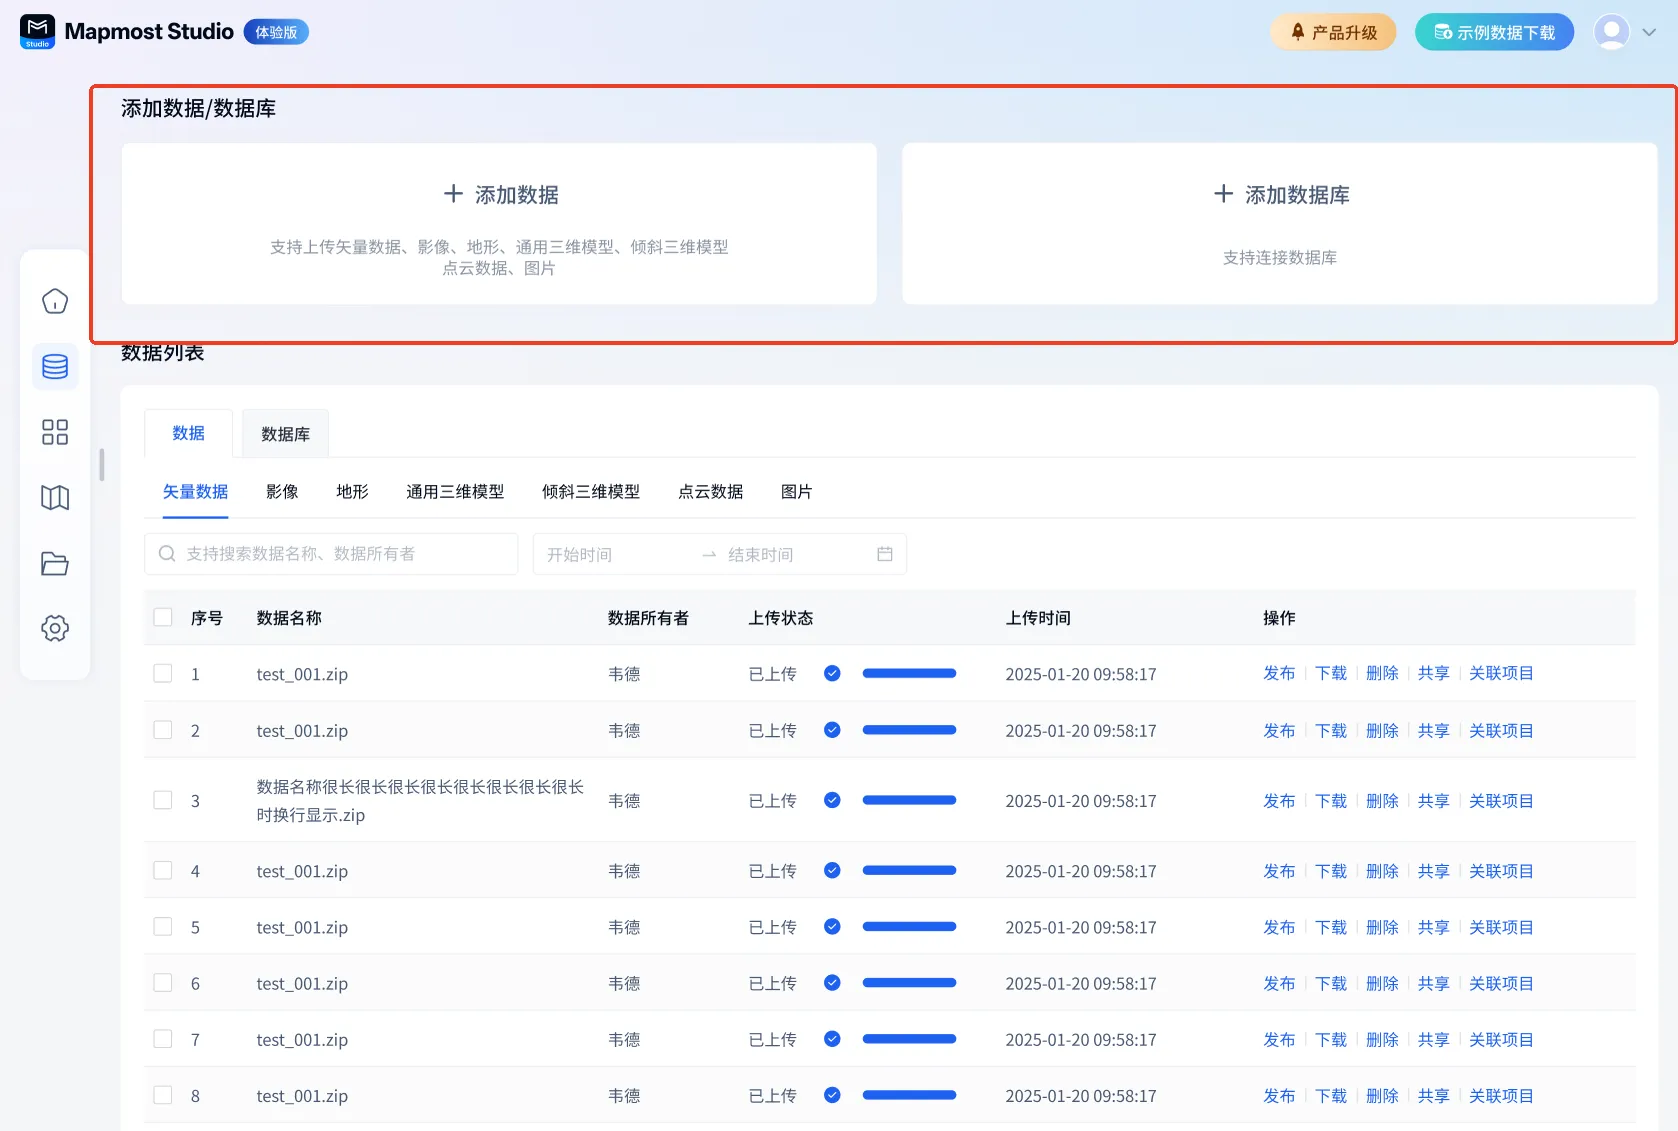
Supports uploading multiple types of data, including vector data, images, terrain, oblique photography, 3D models, point clouds, etc., and performs classified management. It also supports connecting to a local PostgreSQL database to facilitate direct access to existing data. Data can be uploaded/connected to the database from the home page or My Data.
Detailed operation Please refer to User Manual-My Data
3.2. Step 2: Service Release
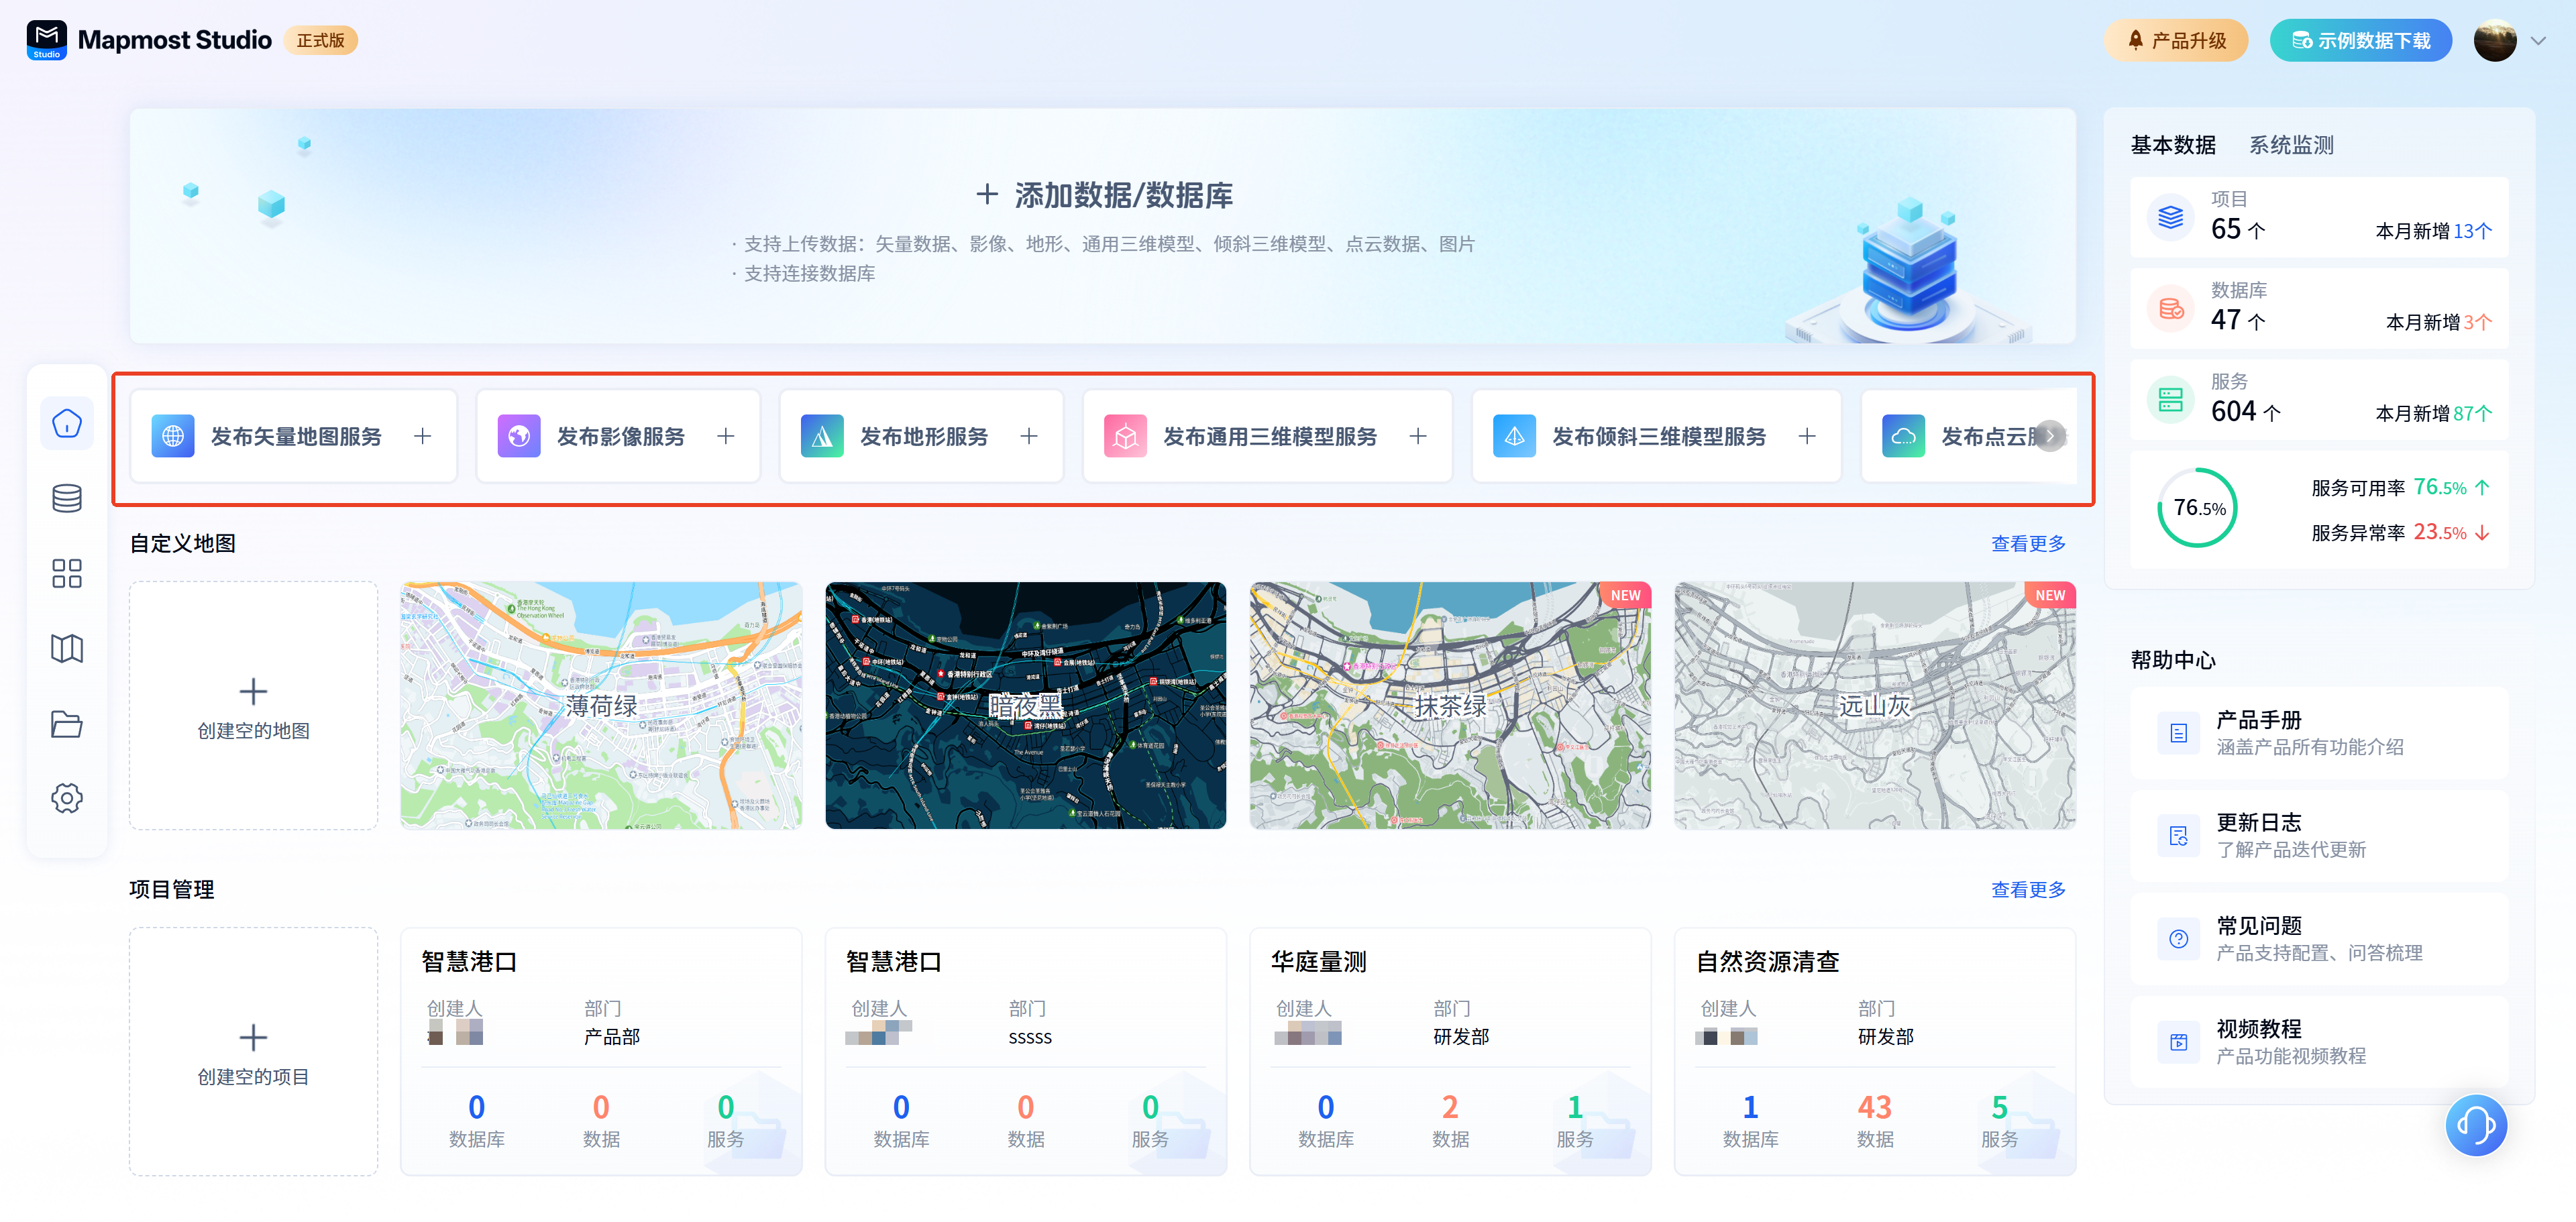
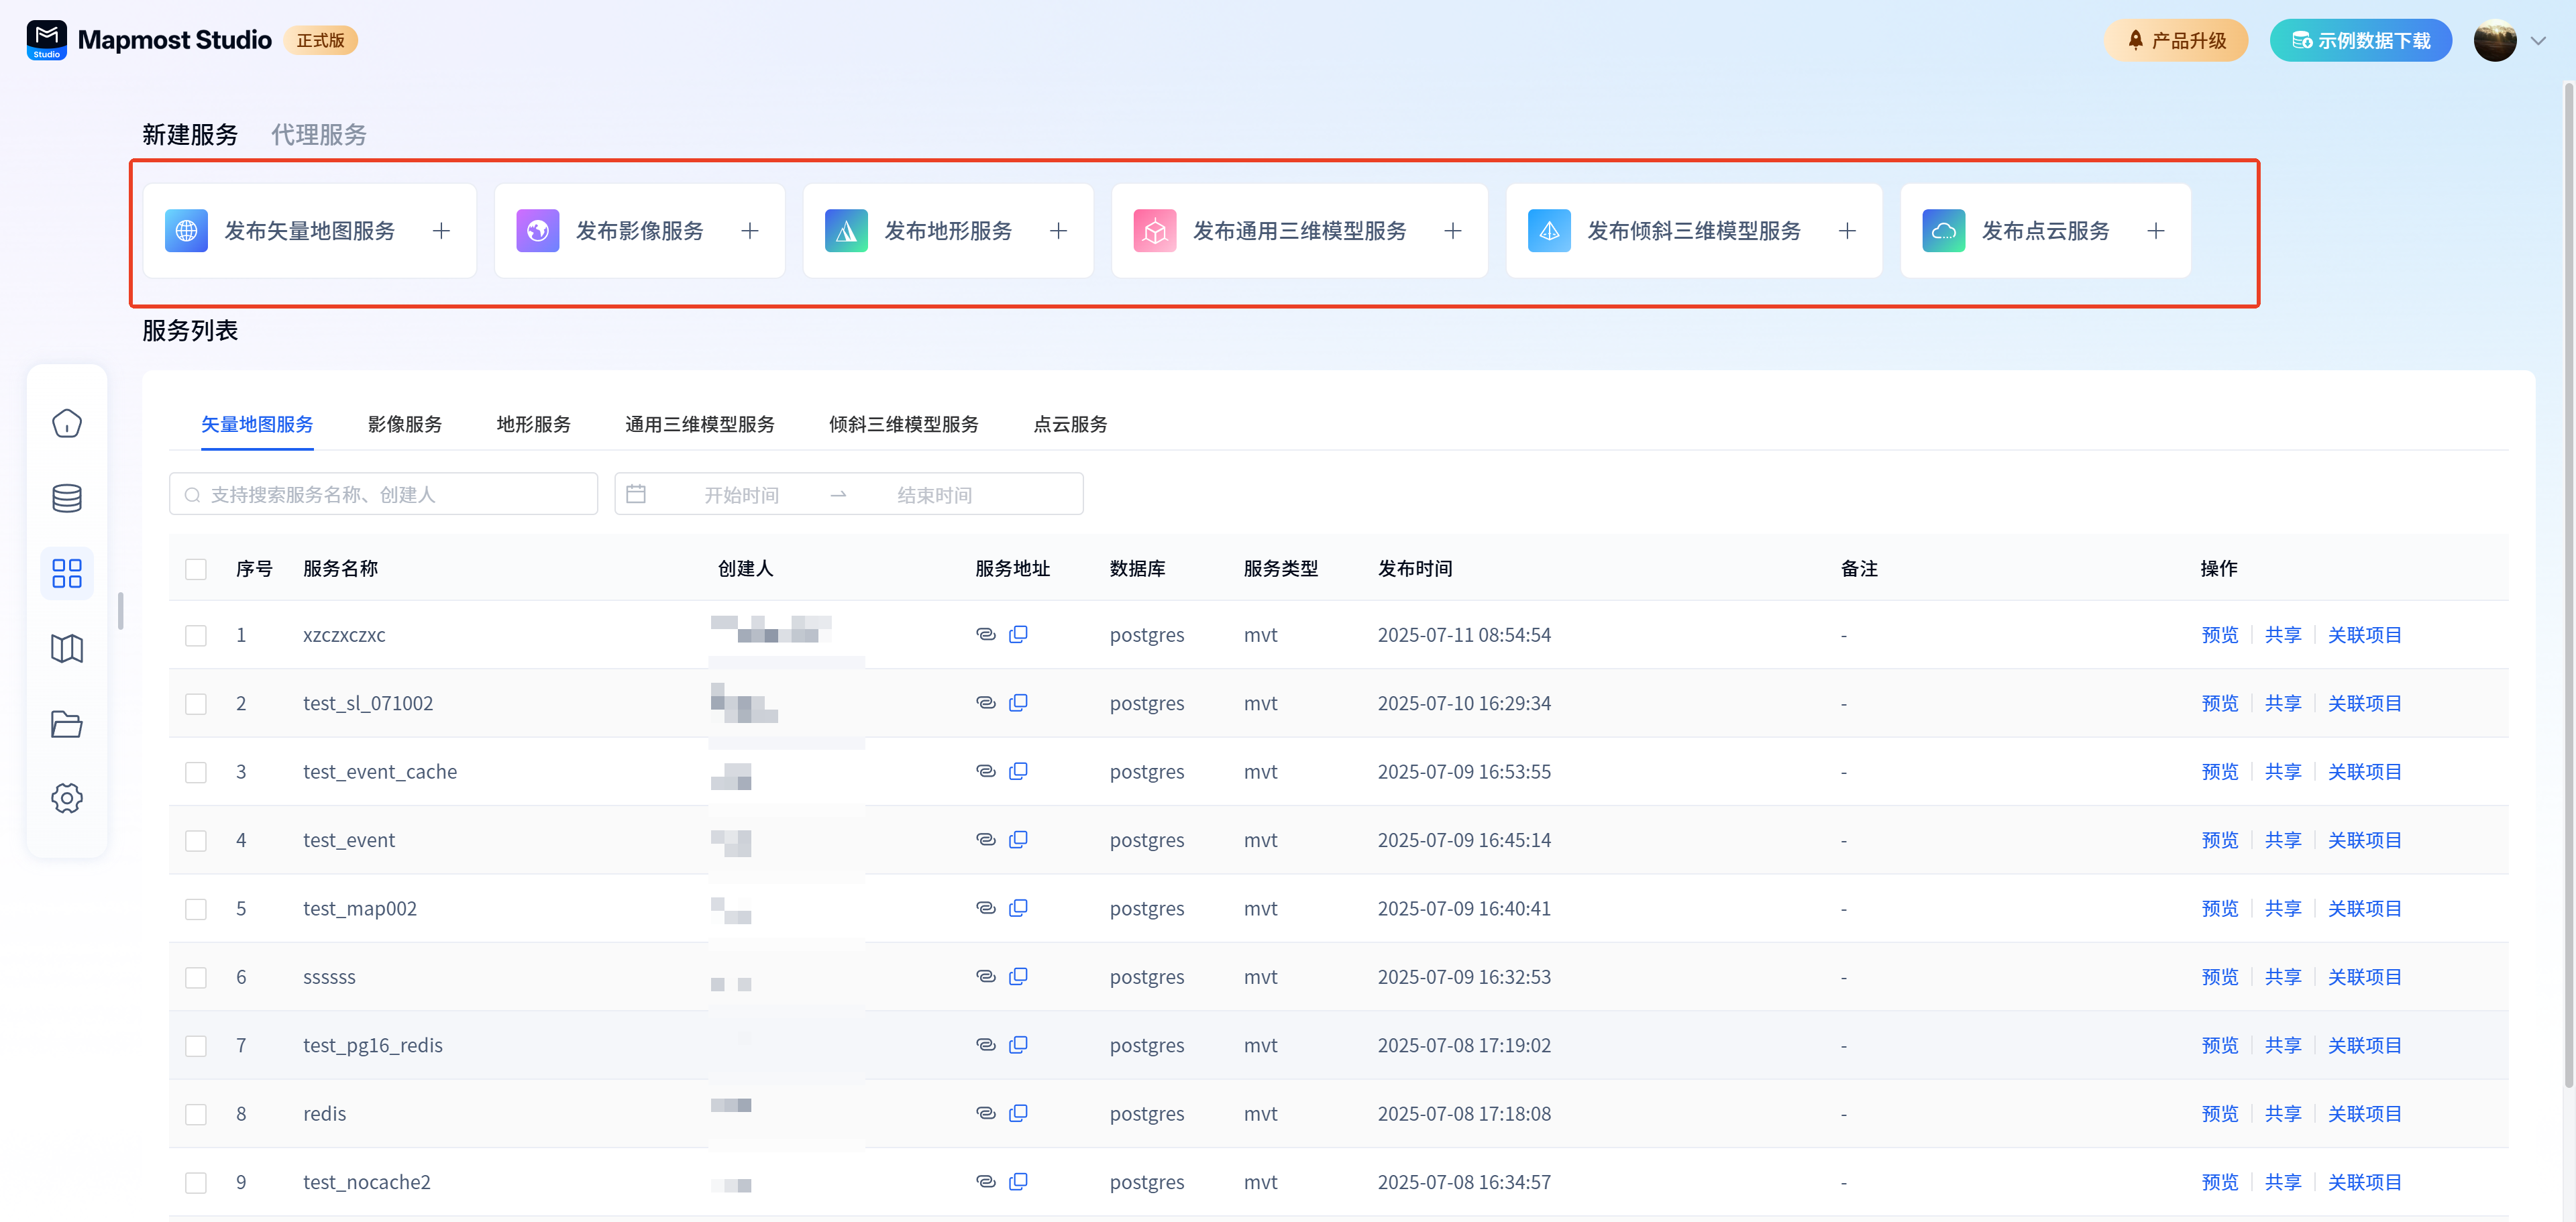
Publish services based on uploaded data/connected databases, including new services such as vectors, images, terrain, oblique photography, 3D models, point clouds, etc., as well as registered Geoserver vector map services, pre-tiled services, 3DTiles MM coordinate conversion and other proxy services. Service publishing can be done from the homepage or my service module. The published service supports preview and loading in Mapmost SDK for WebGL.
Detailed operation Please refer to User Manual-My Service
3.3. Step 3: Map Drawing
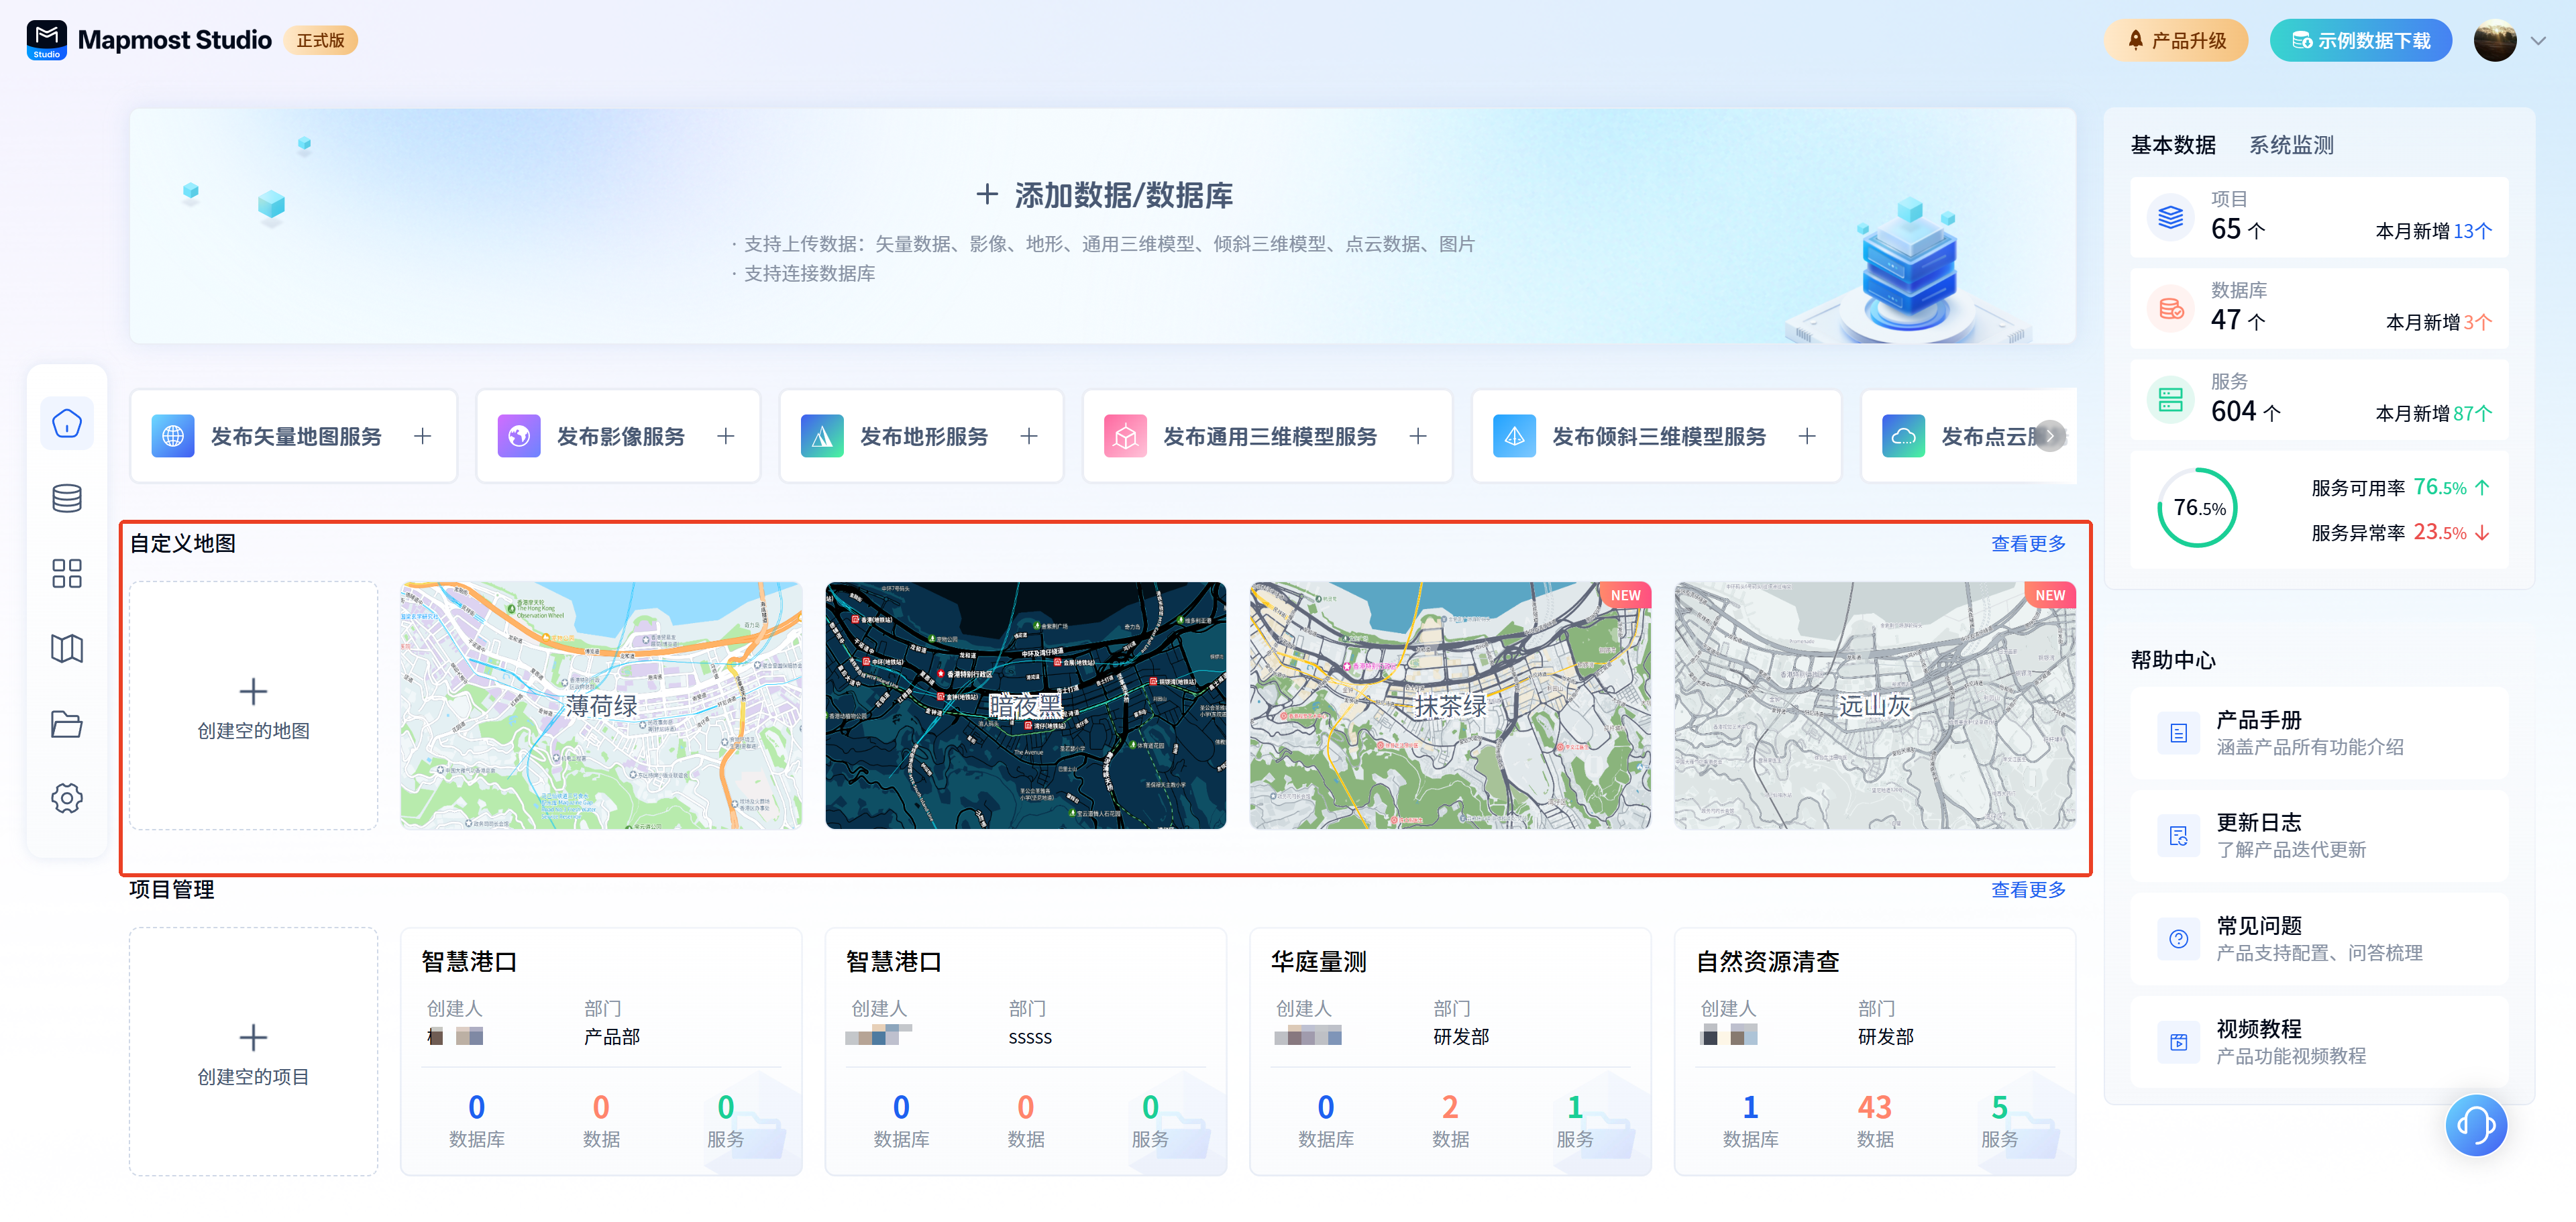
Leverage published vector map services for visual mapping, with support for creating maps from map templates and customizing maps starting from a blank map. Map mapping can be done from the home page or My Maps.
Detailed operation Please refer to User Manual-My Map

3.4. Step 4: Team collaboration and co-creation
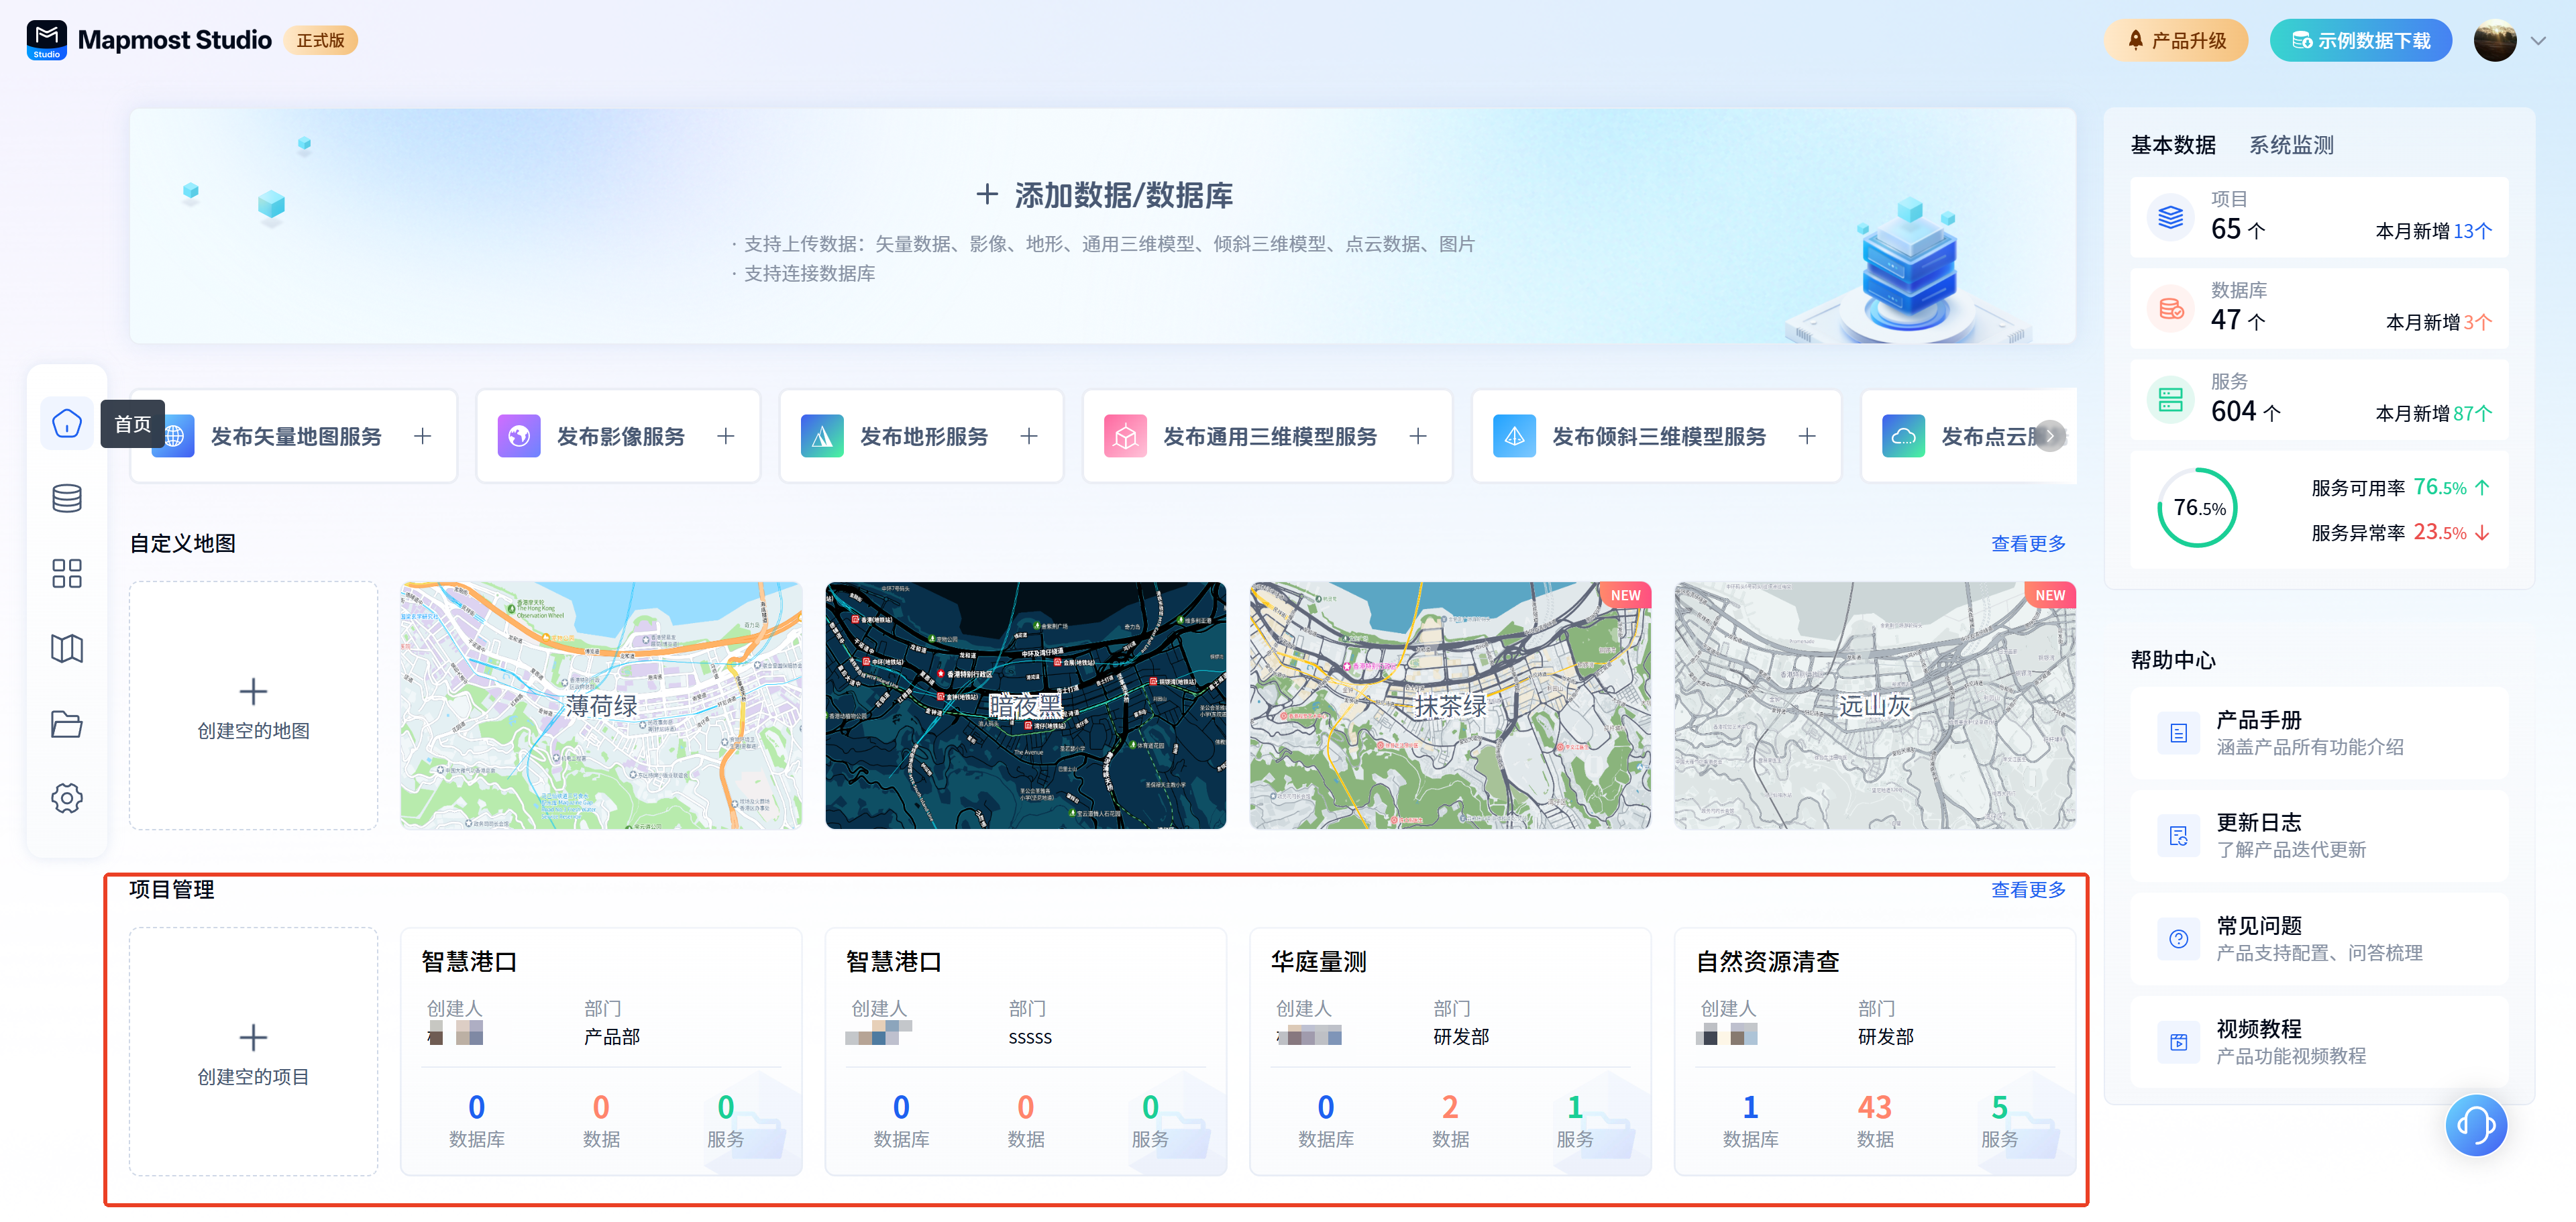
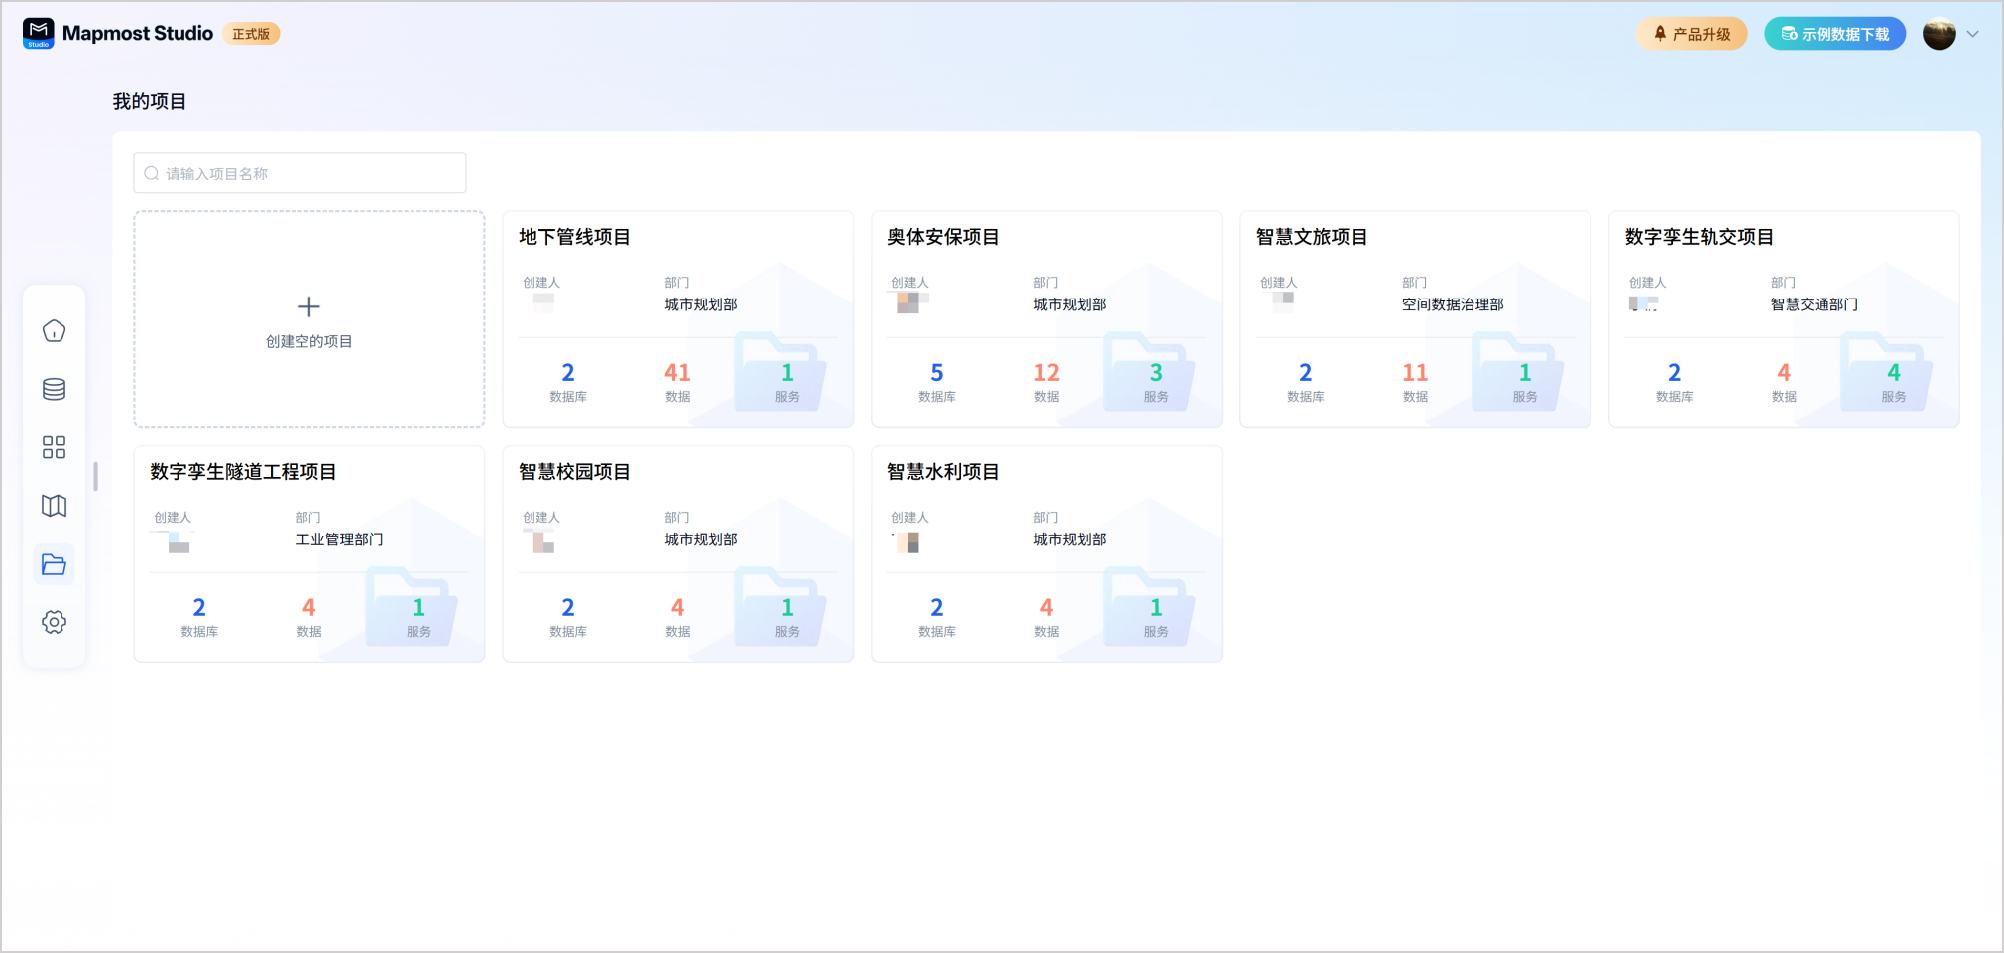
If multi-person collaboration is required, project members and resources can be efficiently organized through the project management function to achieve resource sharing and application co-creation. Supports creating projects (filling in basic information, managing project members, associated data/databases/services/map resources), editing projects, viewing project resources, etc. Project creation and management can be done from the home page or My Projects.
Detailed operation Please refer to User Manual-My Project