Layer management
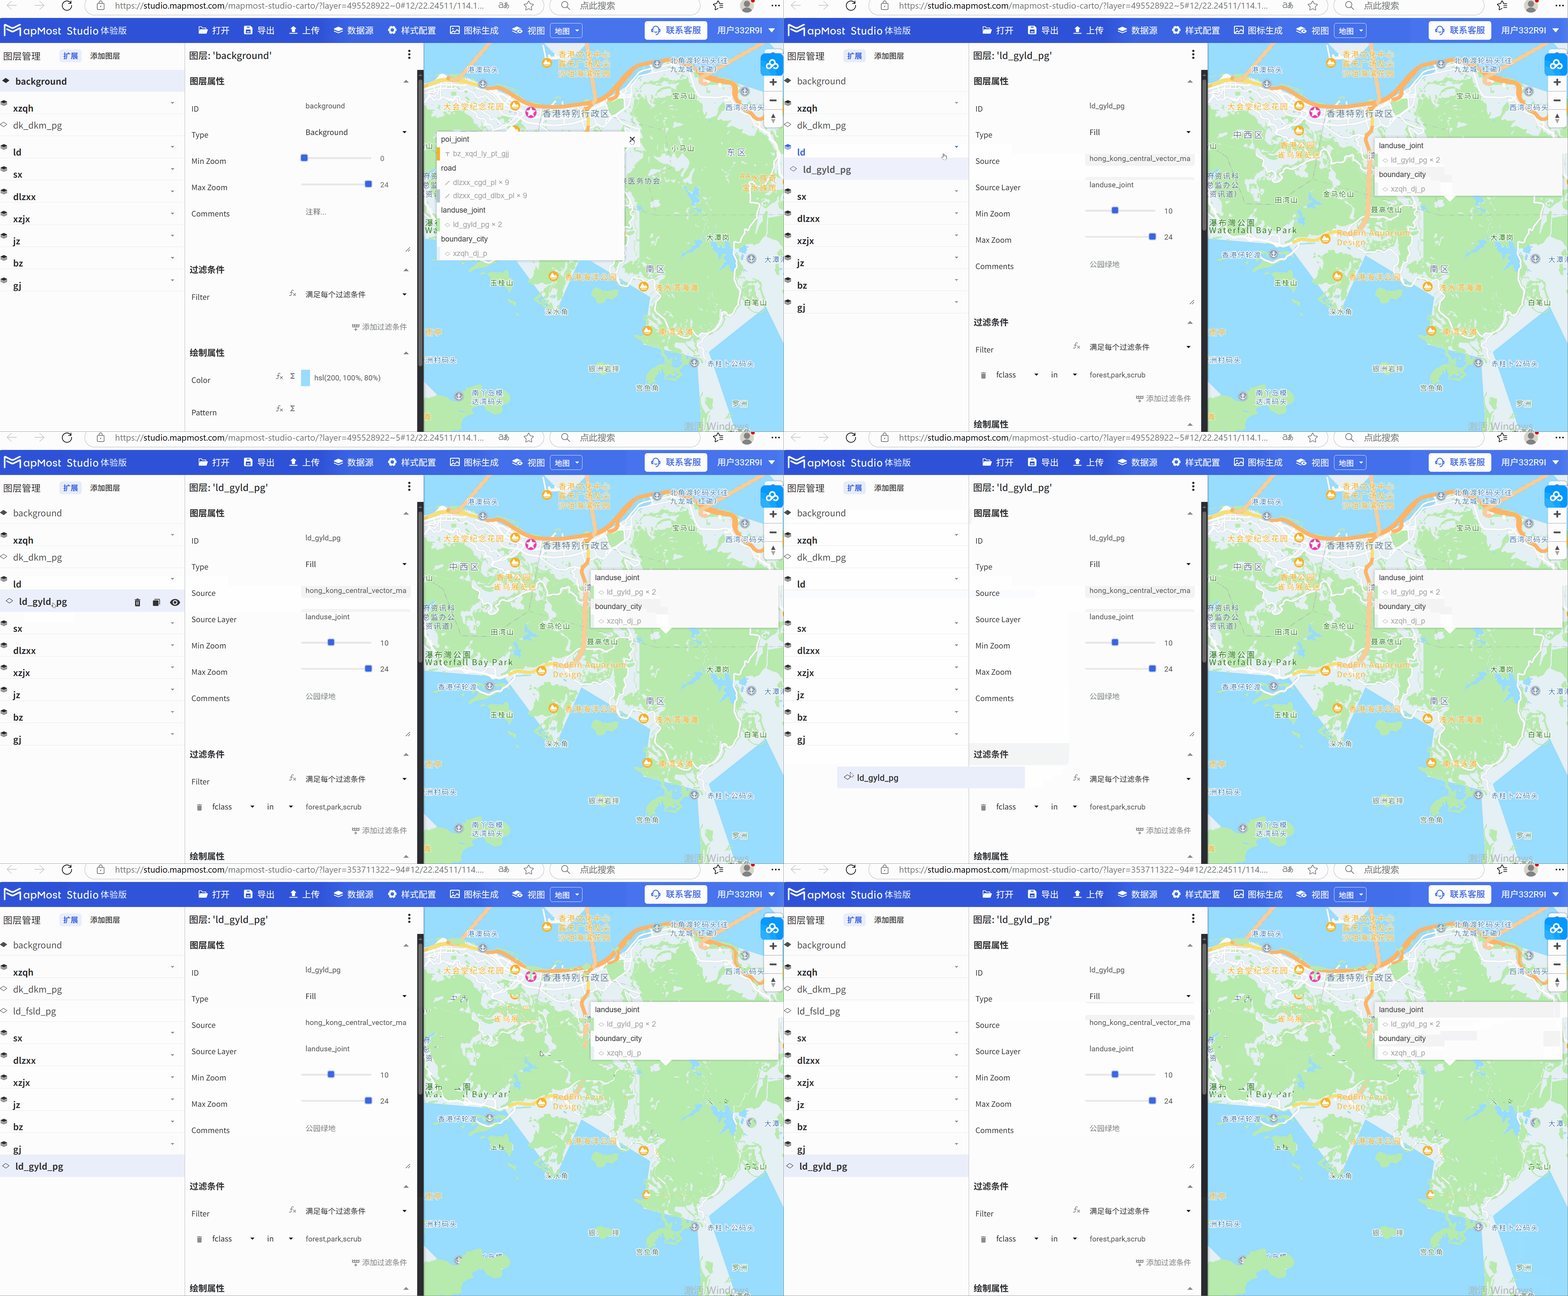
Basic layer operations include: adding layers, copying layers, deleting layers, visualizing layers and adjusting layer order. The initial interface is shown in the figure below.
1. Add layer
1.1. Function introduction
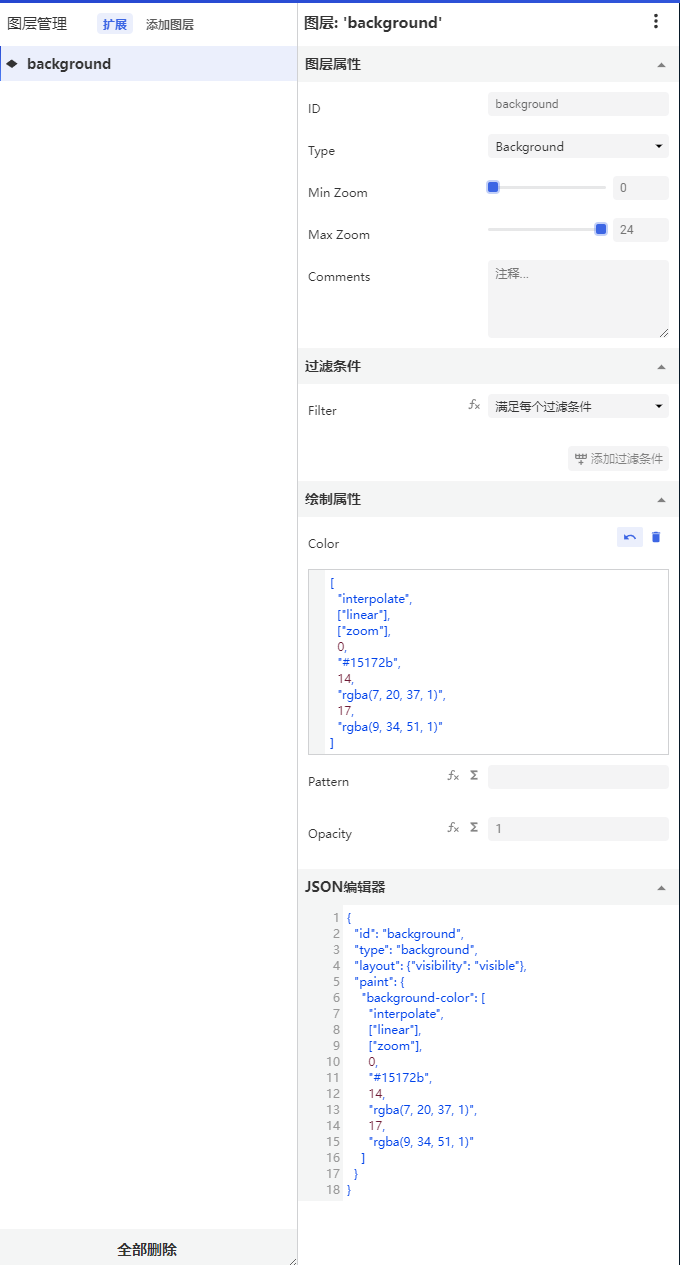
Click the Add Layer button to open the Add Layer dialog box;
- ID: The name of the custom mapping layer, which must be unique and supports lowercase letters and numbers. Symbols can be used, such as _, -, #, @, etc.;
- Type: For details, please refer to "Background layer Background:1.2";
- Source: This parameter is the ID parameter in "Data Source". For details, please refer to "Cartography Prerequisite: 2.1";
- Source Layer: The data layer included in the service can be obtained and can be freely selected;
2. View parameter comments
2.1. Display parameter comment icon
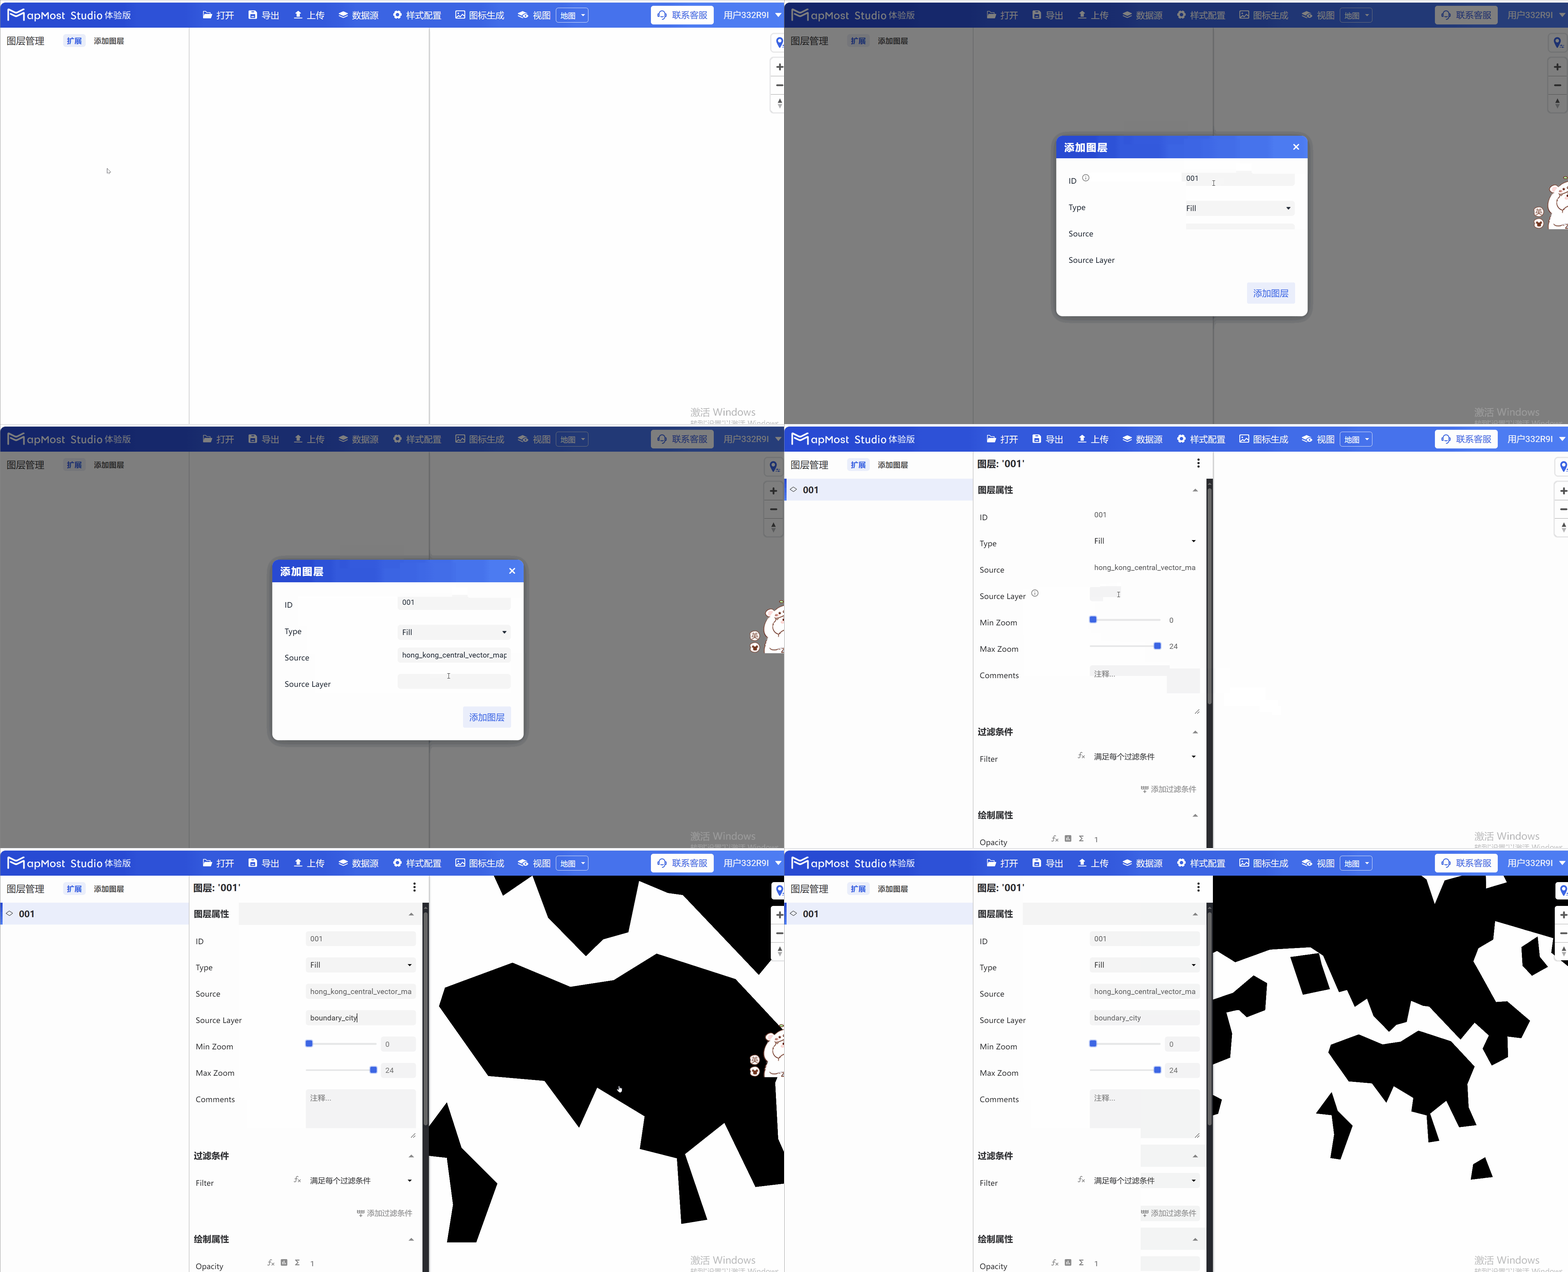
- Move the mouse close to the configuration item to trigger the small prompt icon
 . Click to view the parameter comments;
3. Duplicate layer
3.1. Method 1
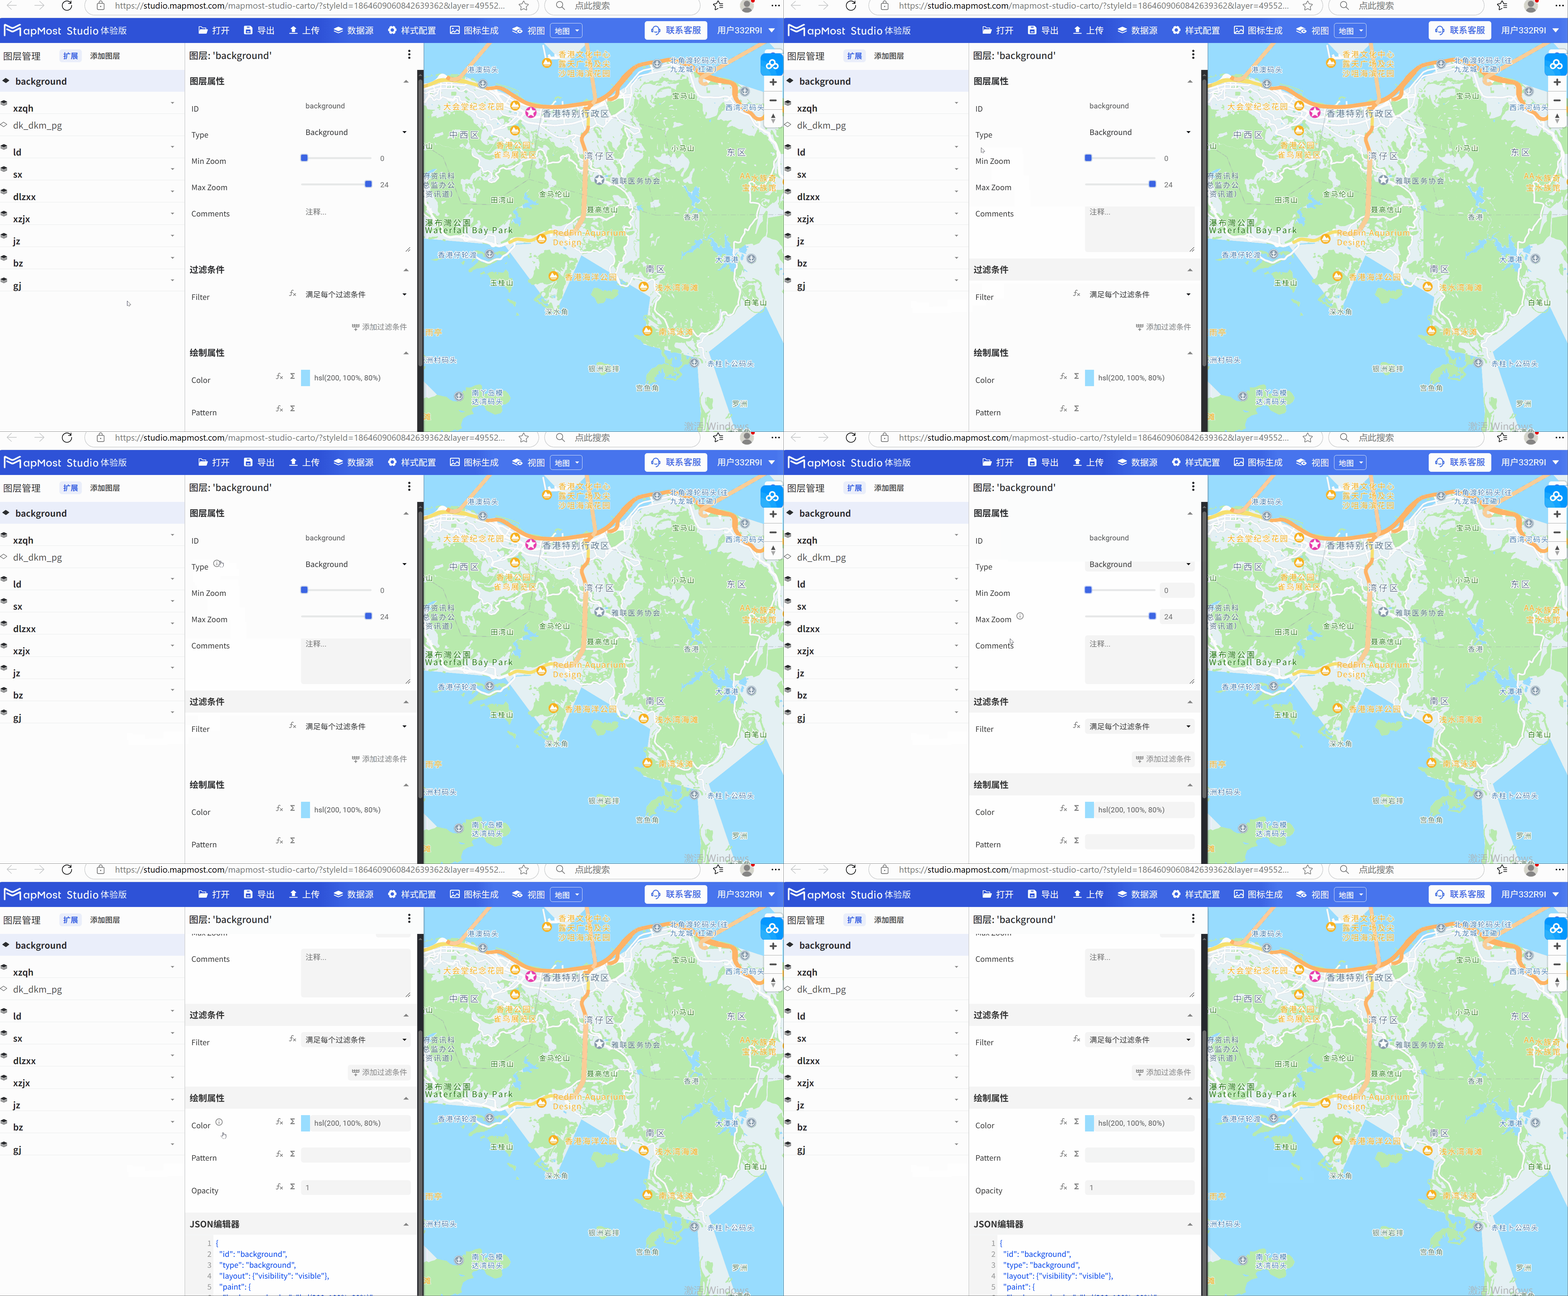
Placing the mouse on the layer will trigger three icons on the right, which are Delete, Copy, and Display from left to right. Click Copy to automatically copy the layer and add the -copy suffix. Studio will automatically put layers with the same prefix in a group. Since the prefixes of river and river-copy are both river, a river group is automatically created;
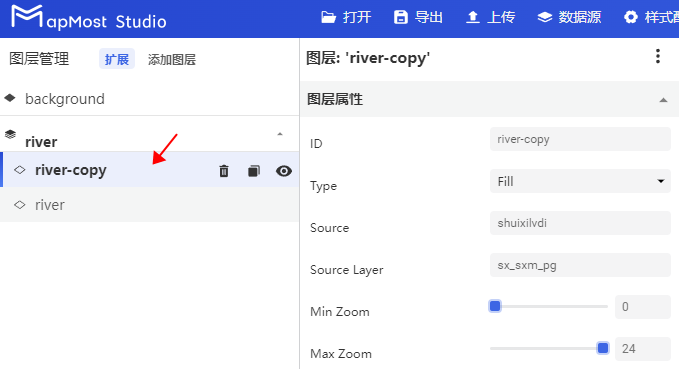
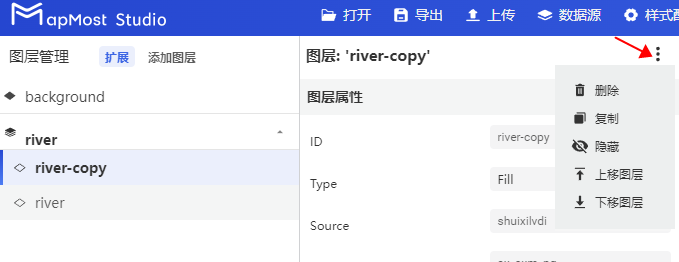
3.2. Method 2
Click Copy to also copy the layer.
4. Delete layer
4.1. Method 1: Single deletion
Placing the mouse on the layer will trigger three icons on the right, which are Delete, Copy, and Display from left to right. Click the delete button to delete the layer;
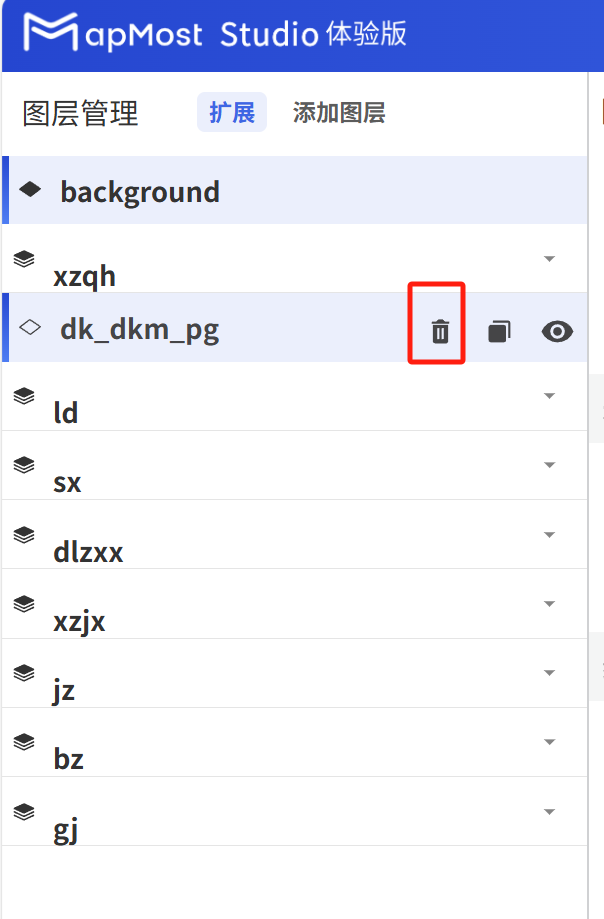
4.2. Method 2: Single deletion
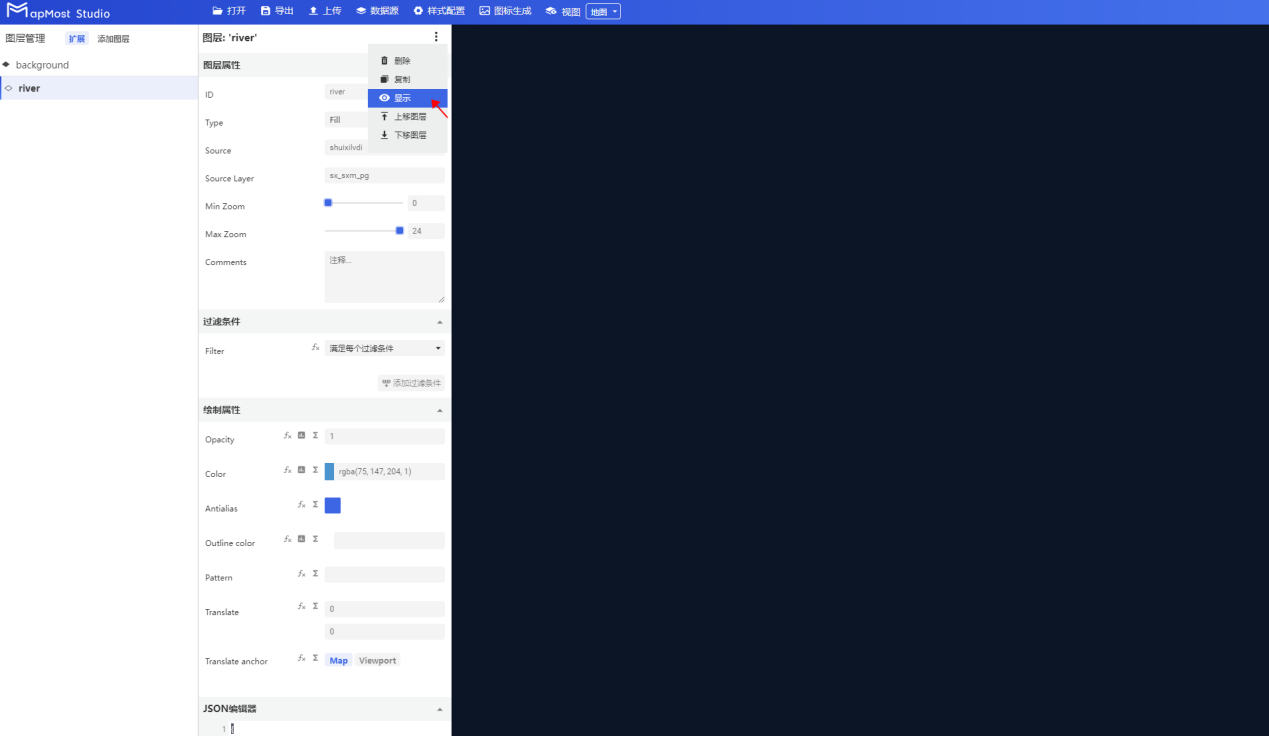
Click the layer interface on the right, click the three dots, and they will appear in sequence from top to bottom: Delete, Copy, Hide, Move Layer Up, Move Layer Down, and click Delete to delete the layer;
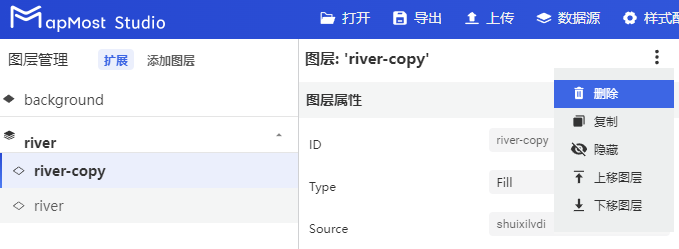
4.3. Method 3: Delete all
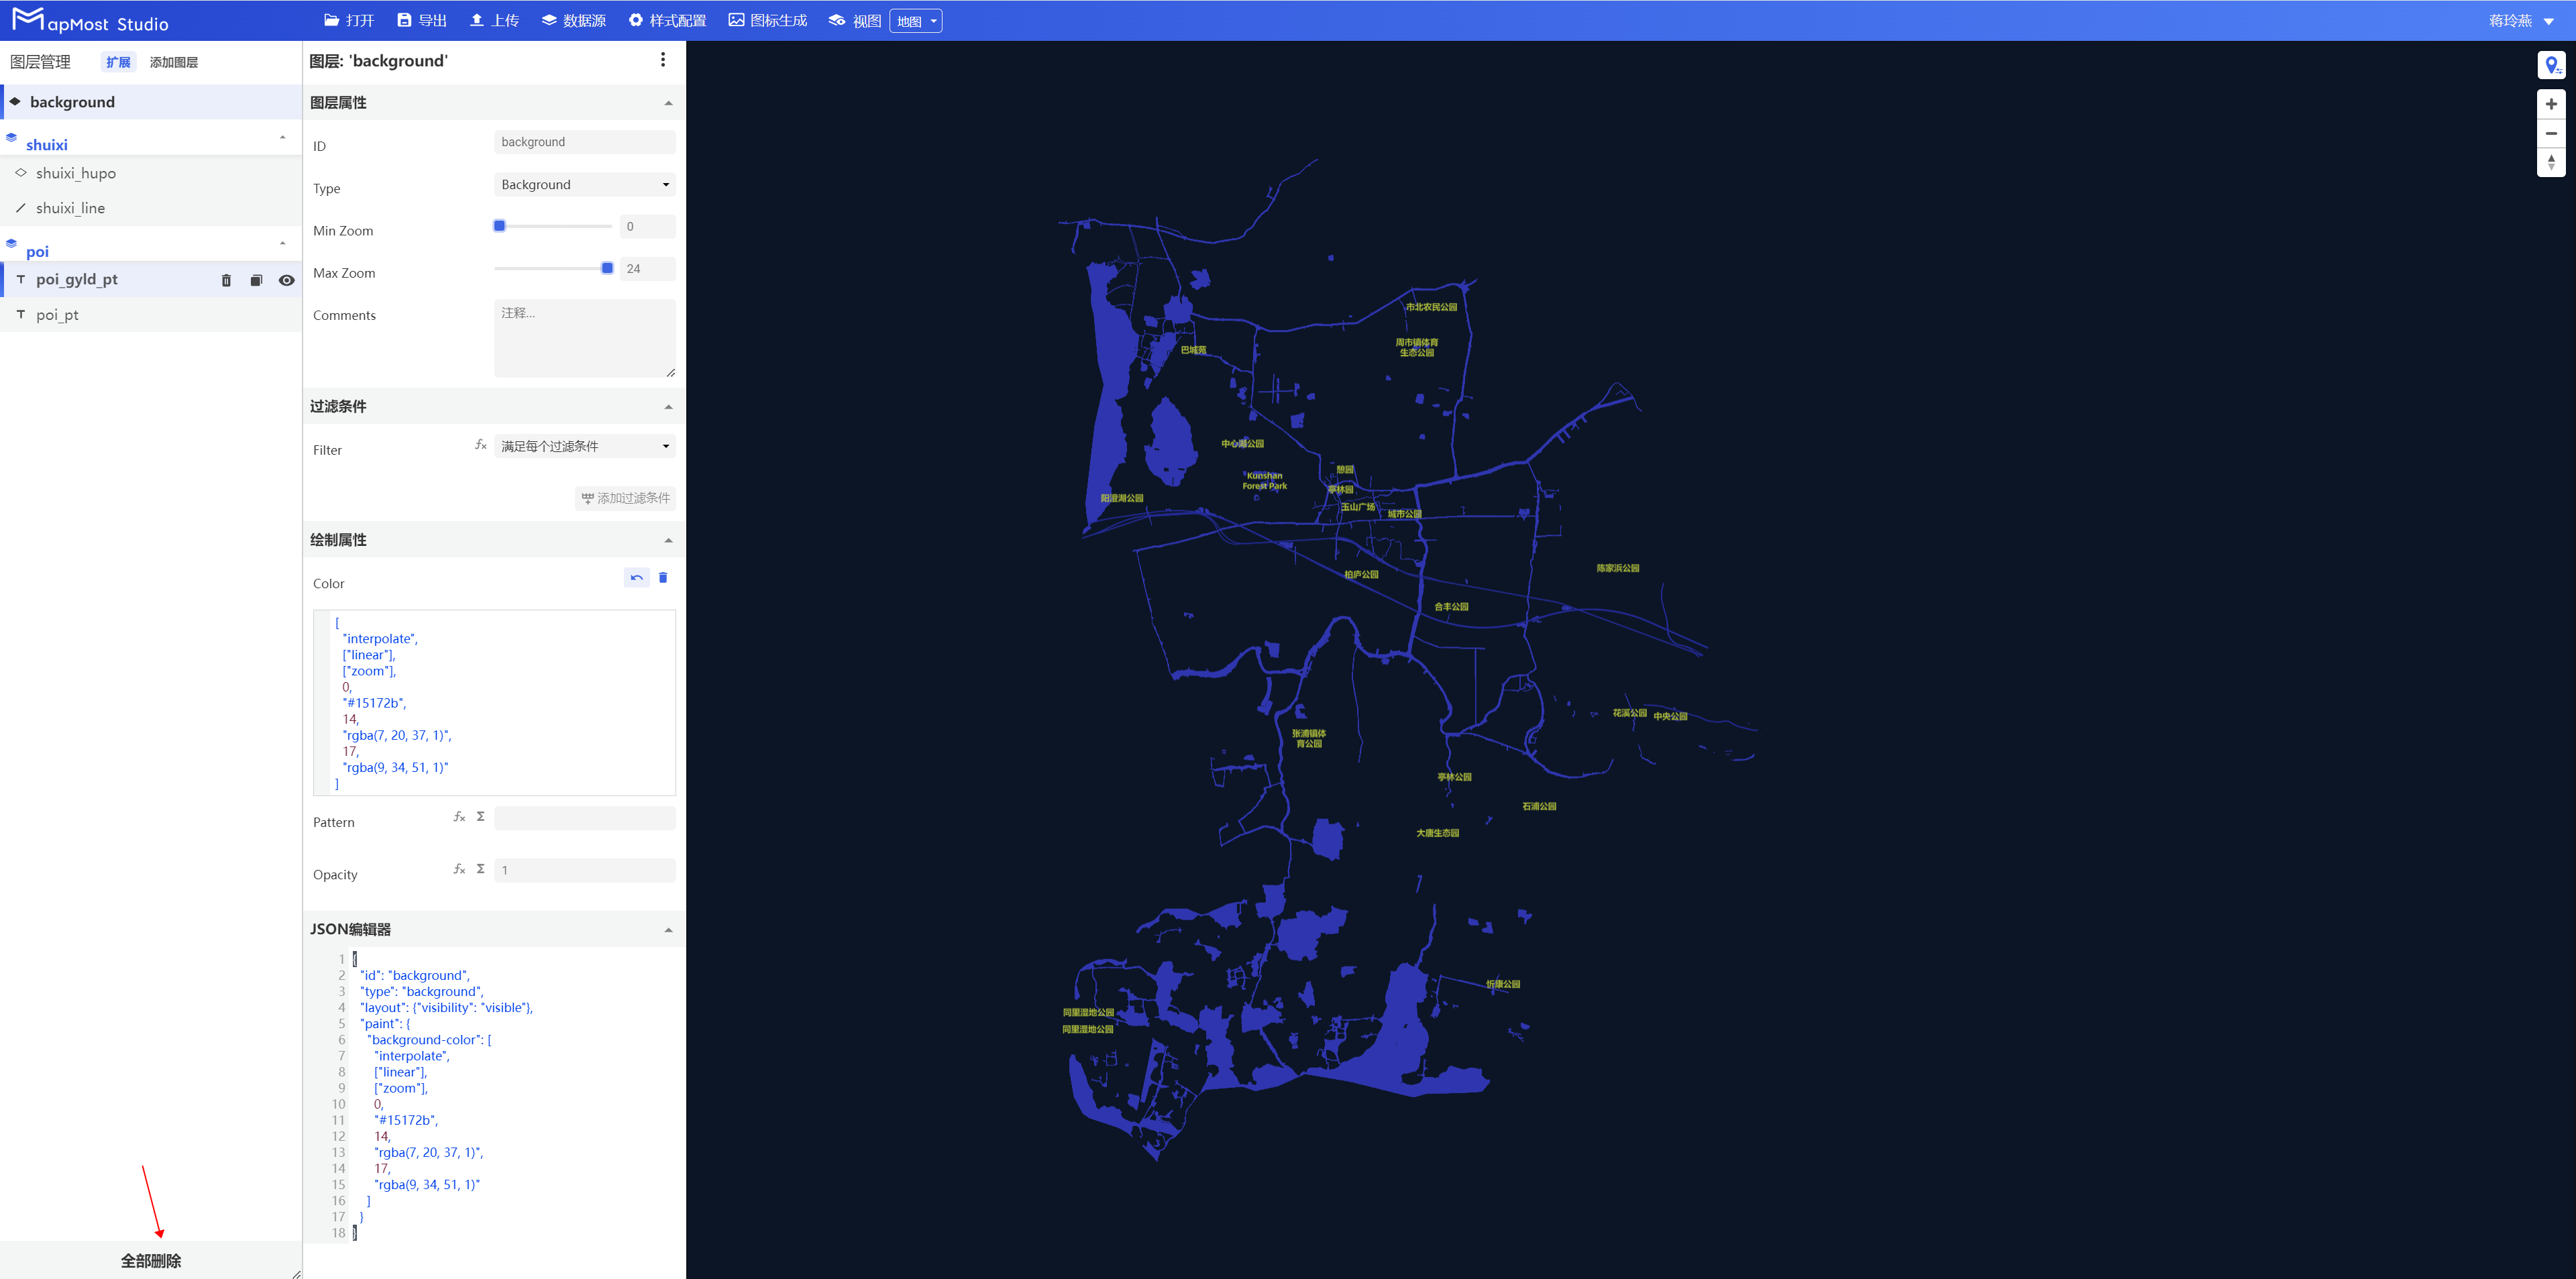
- Click the Remove All button.
 , all layers are deleted;
5. Visualization layer
5.1. Method 1
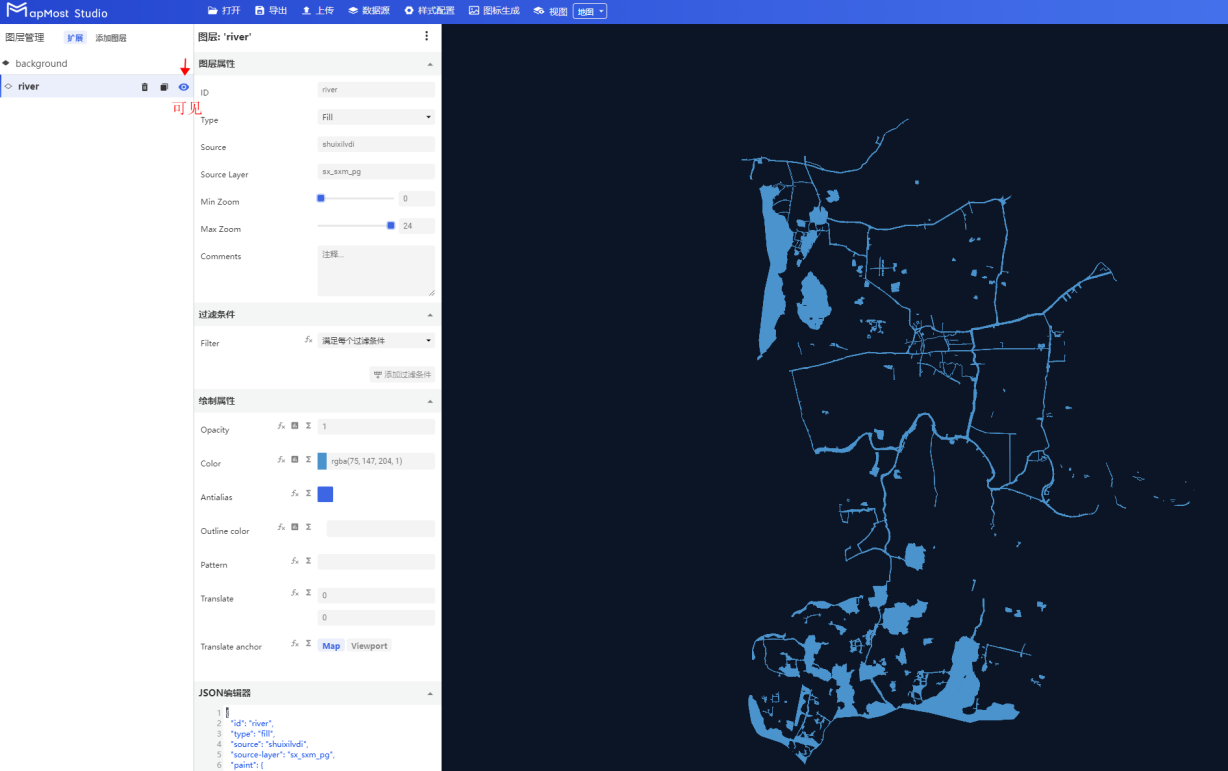
Placing the mouse on the river layer will trigger three icons on the right, which are Delete, Copy, and Display from left to right;
Click Display,
 indicates that the layer is visible, and the page details are shown in Figure 1;
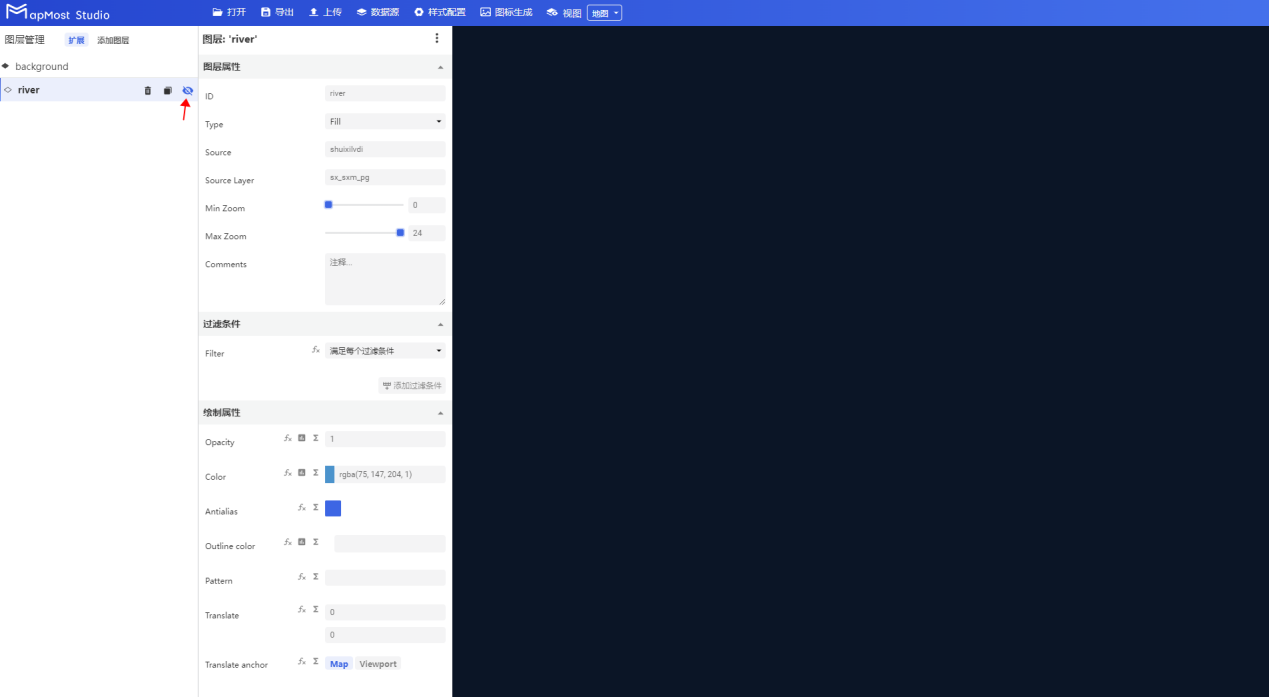
After clicking, it switches to
 , indicating that the layer is invisible. See Figure 2 for page details;
5.2. Method 2
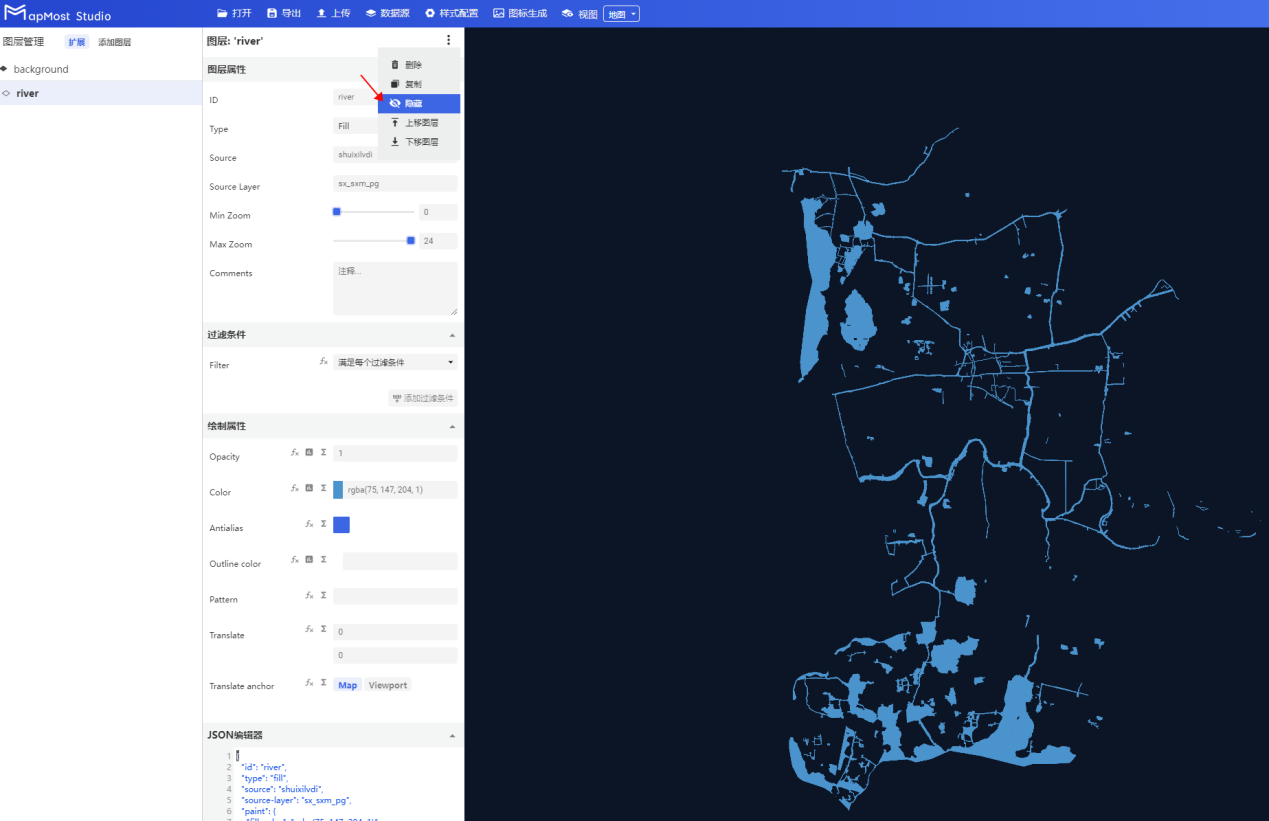
- Click the layer interface on the right, click the three small dots, and they will appear in sequence from top to bottom: delete, copy, hide, move layer up, and move layer down. In this interface, when the icon displays as, it means that the layer is invisible. See Figure 1 for page details;
- After clicking, it is converted to, indicating that the layer is visible. See Figure 2 for page details.
6. Adjust layer order
- In the drawing module, in the order of layers, the lower layer will form a capping effect on the upper layer;