Scene Configuration
Scene Configuration is used to add, clear, and save the global 3D model scene. The scene is shared by Fixed Camera Calibration, Fisheye Calibration, and Video Processing.
- Click Scene Configuration in the left menu.
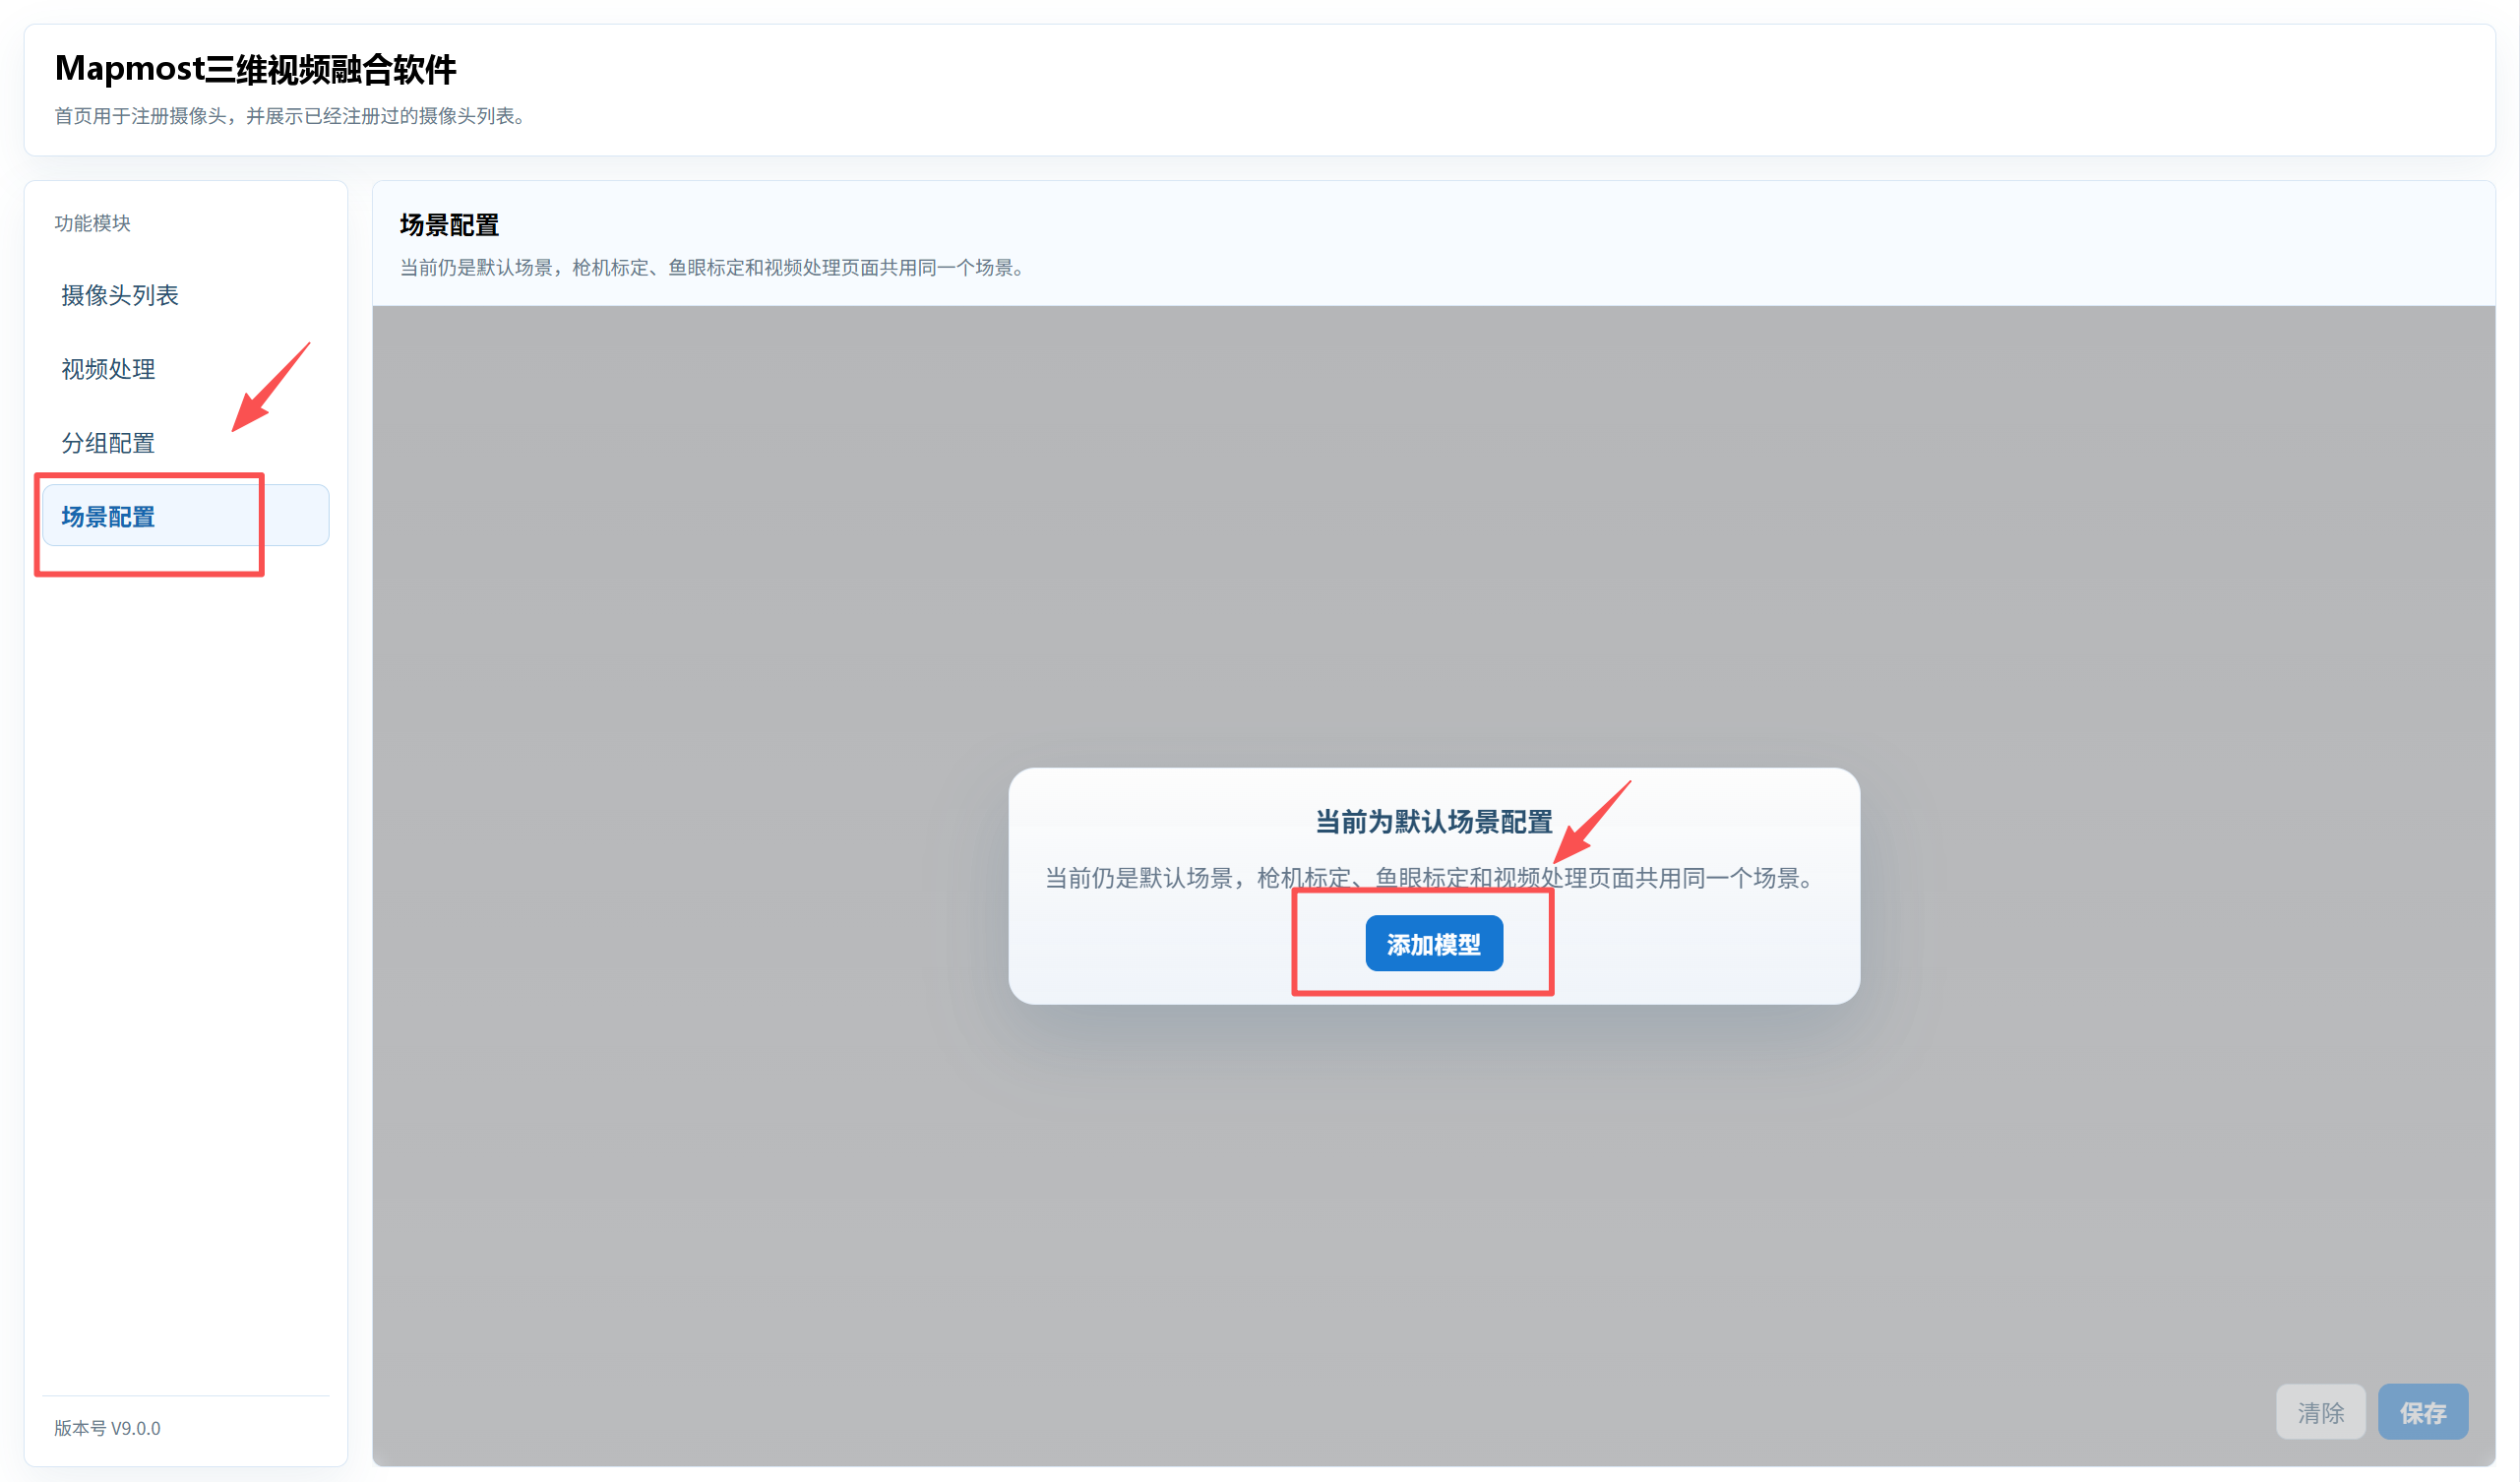
Click Add Model in the center of the page.
To add an oblique model, enter its service URL.
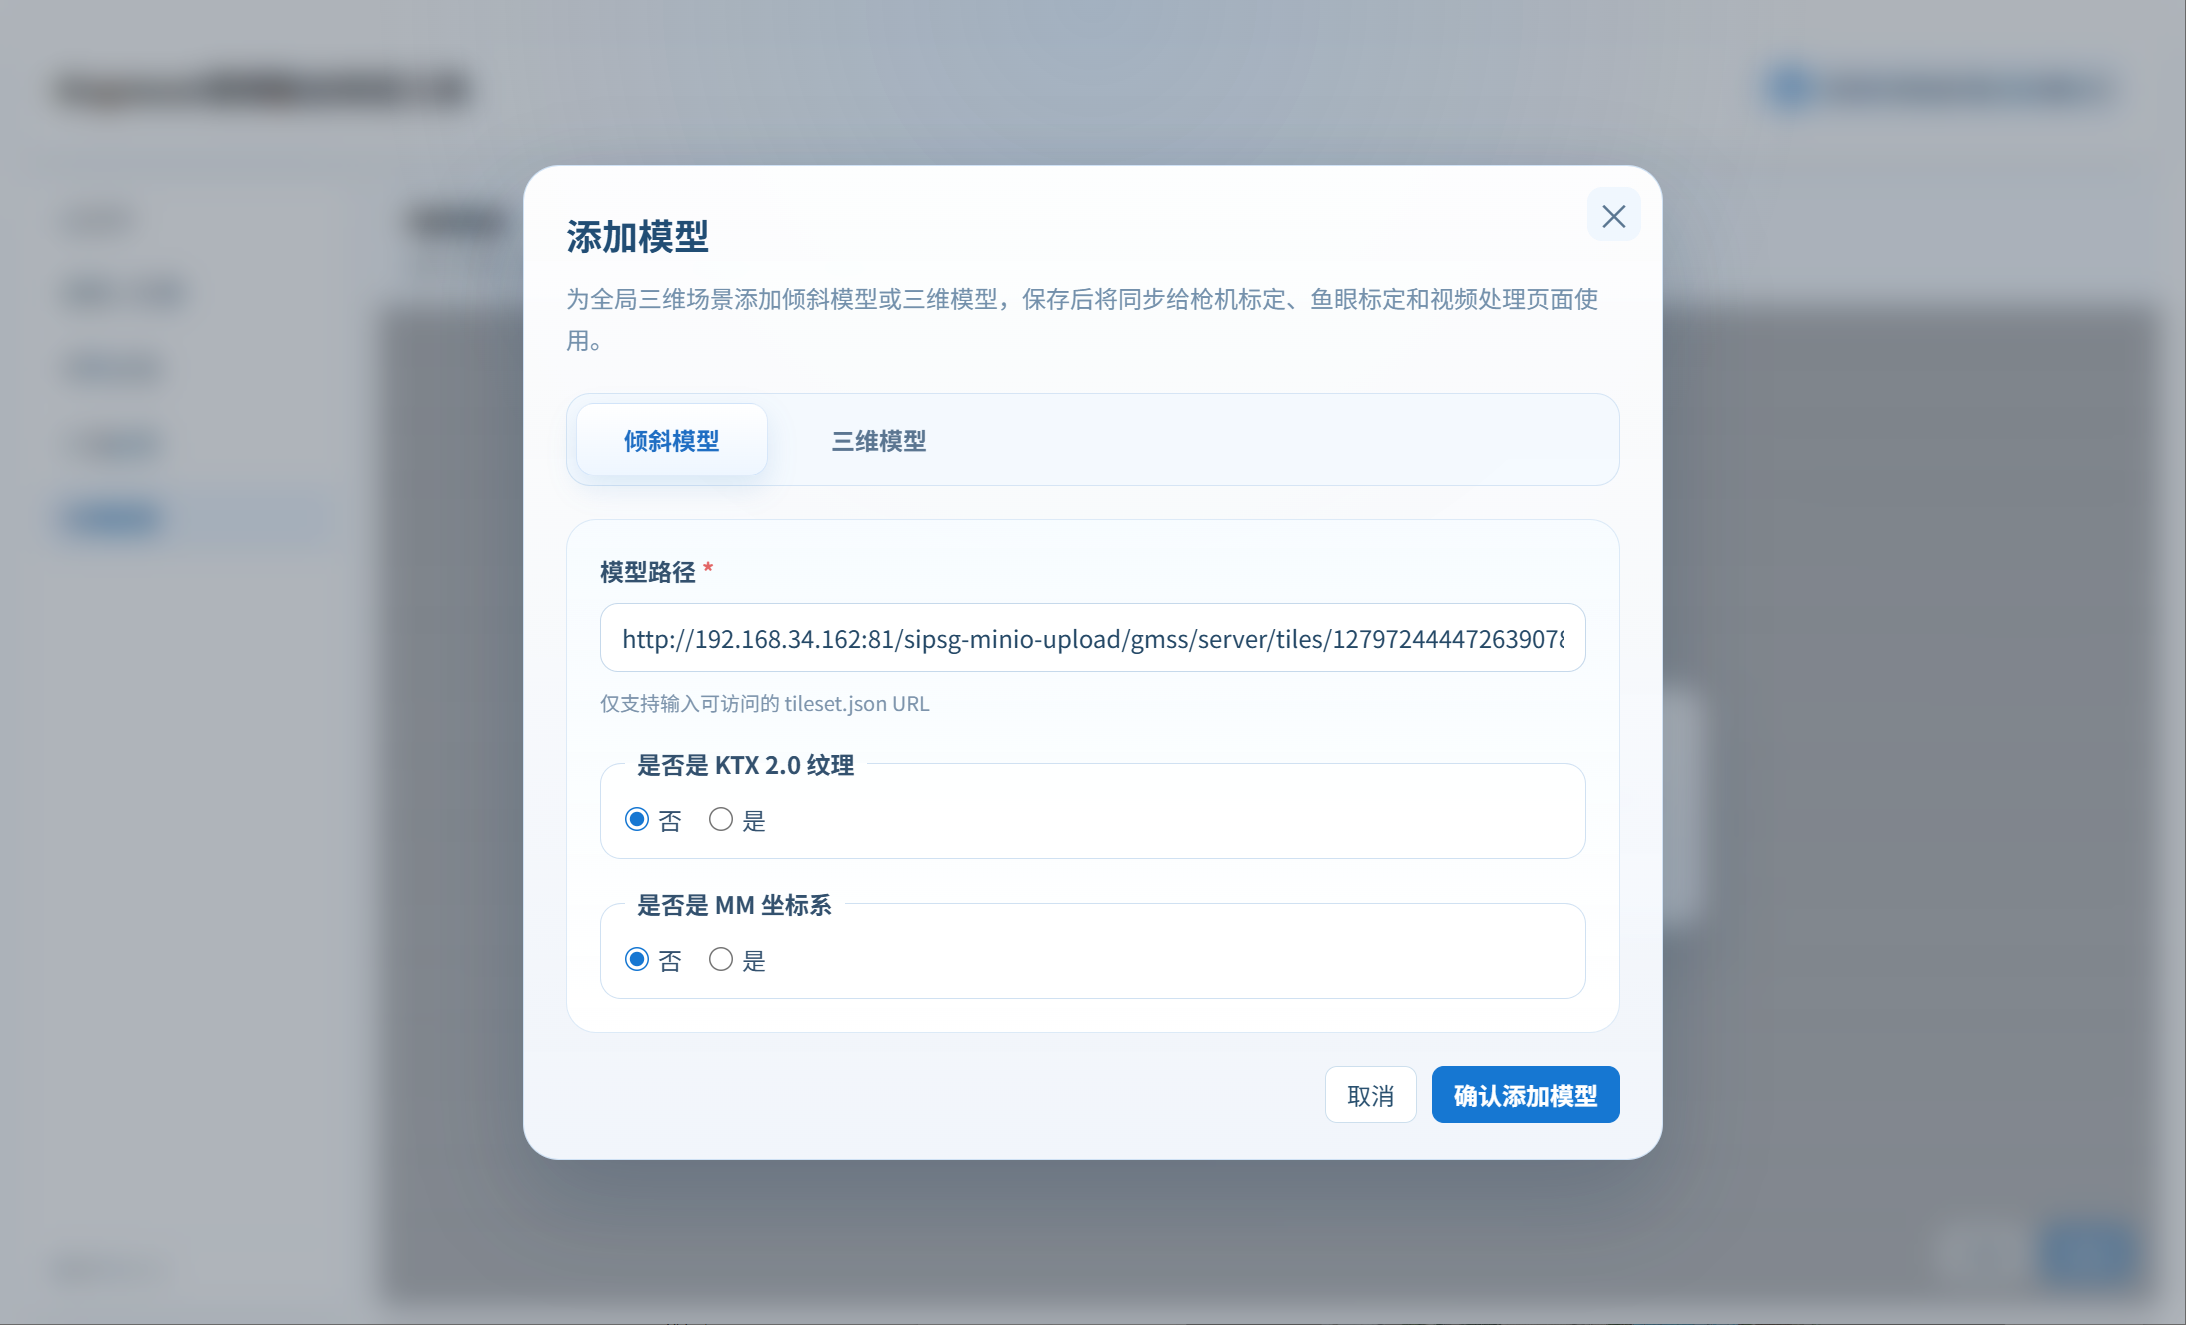
Select Yes when the oblique model uses KTX 2.0 textures; the default is No.
Select Yes when the model has been coordinate-transformed to use the MM coordinate system; the default is No.
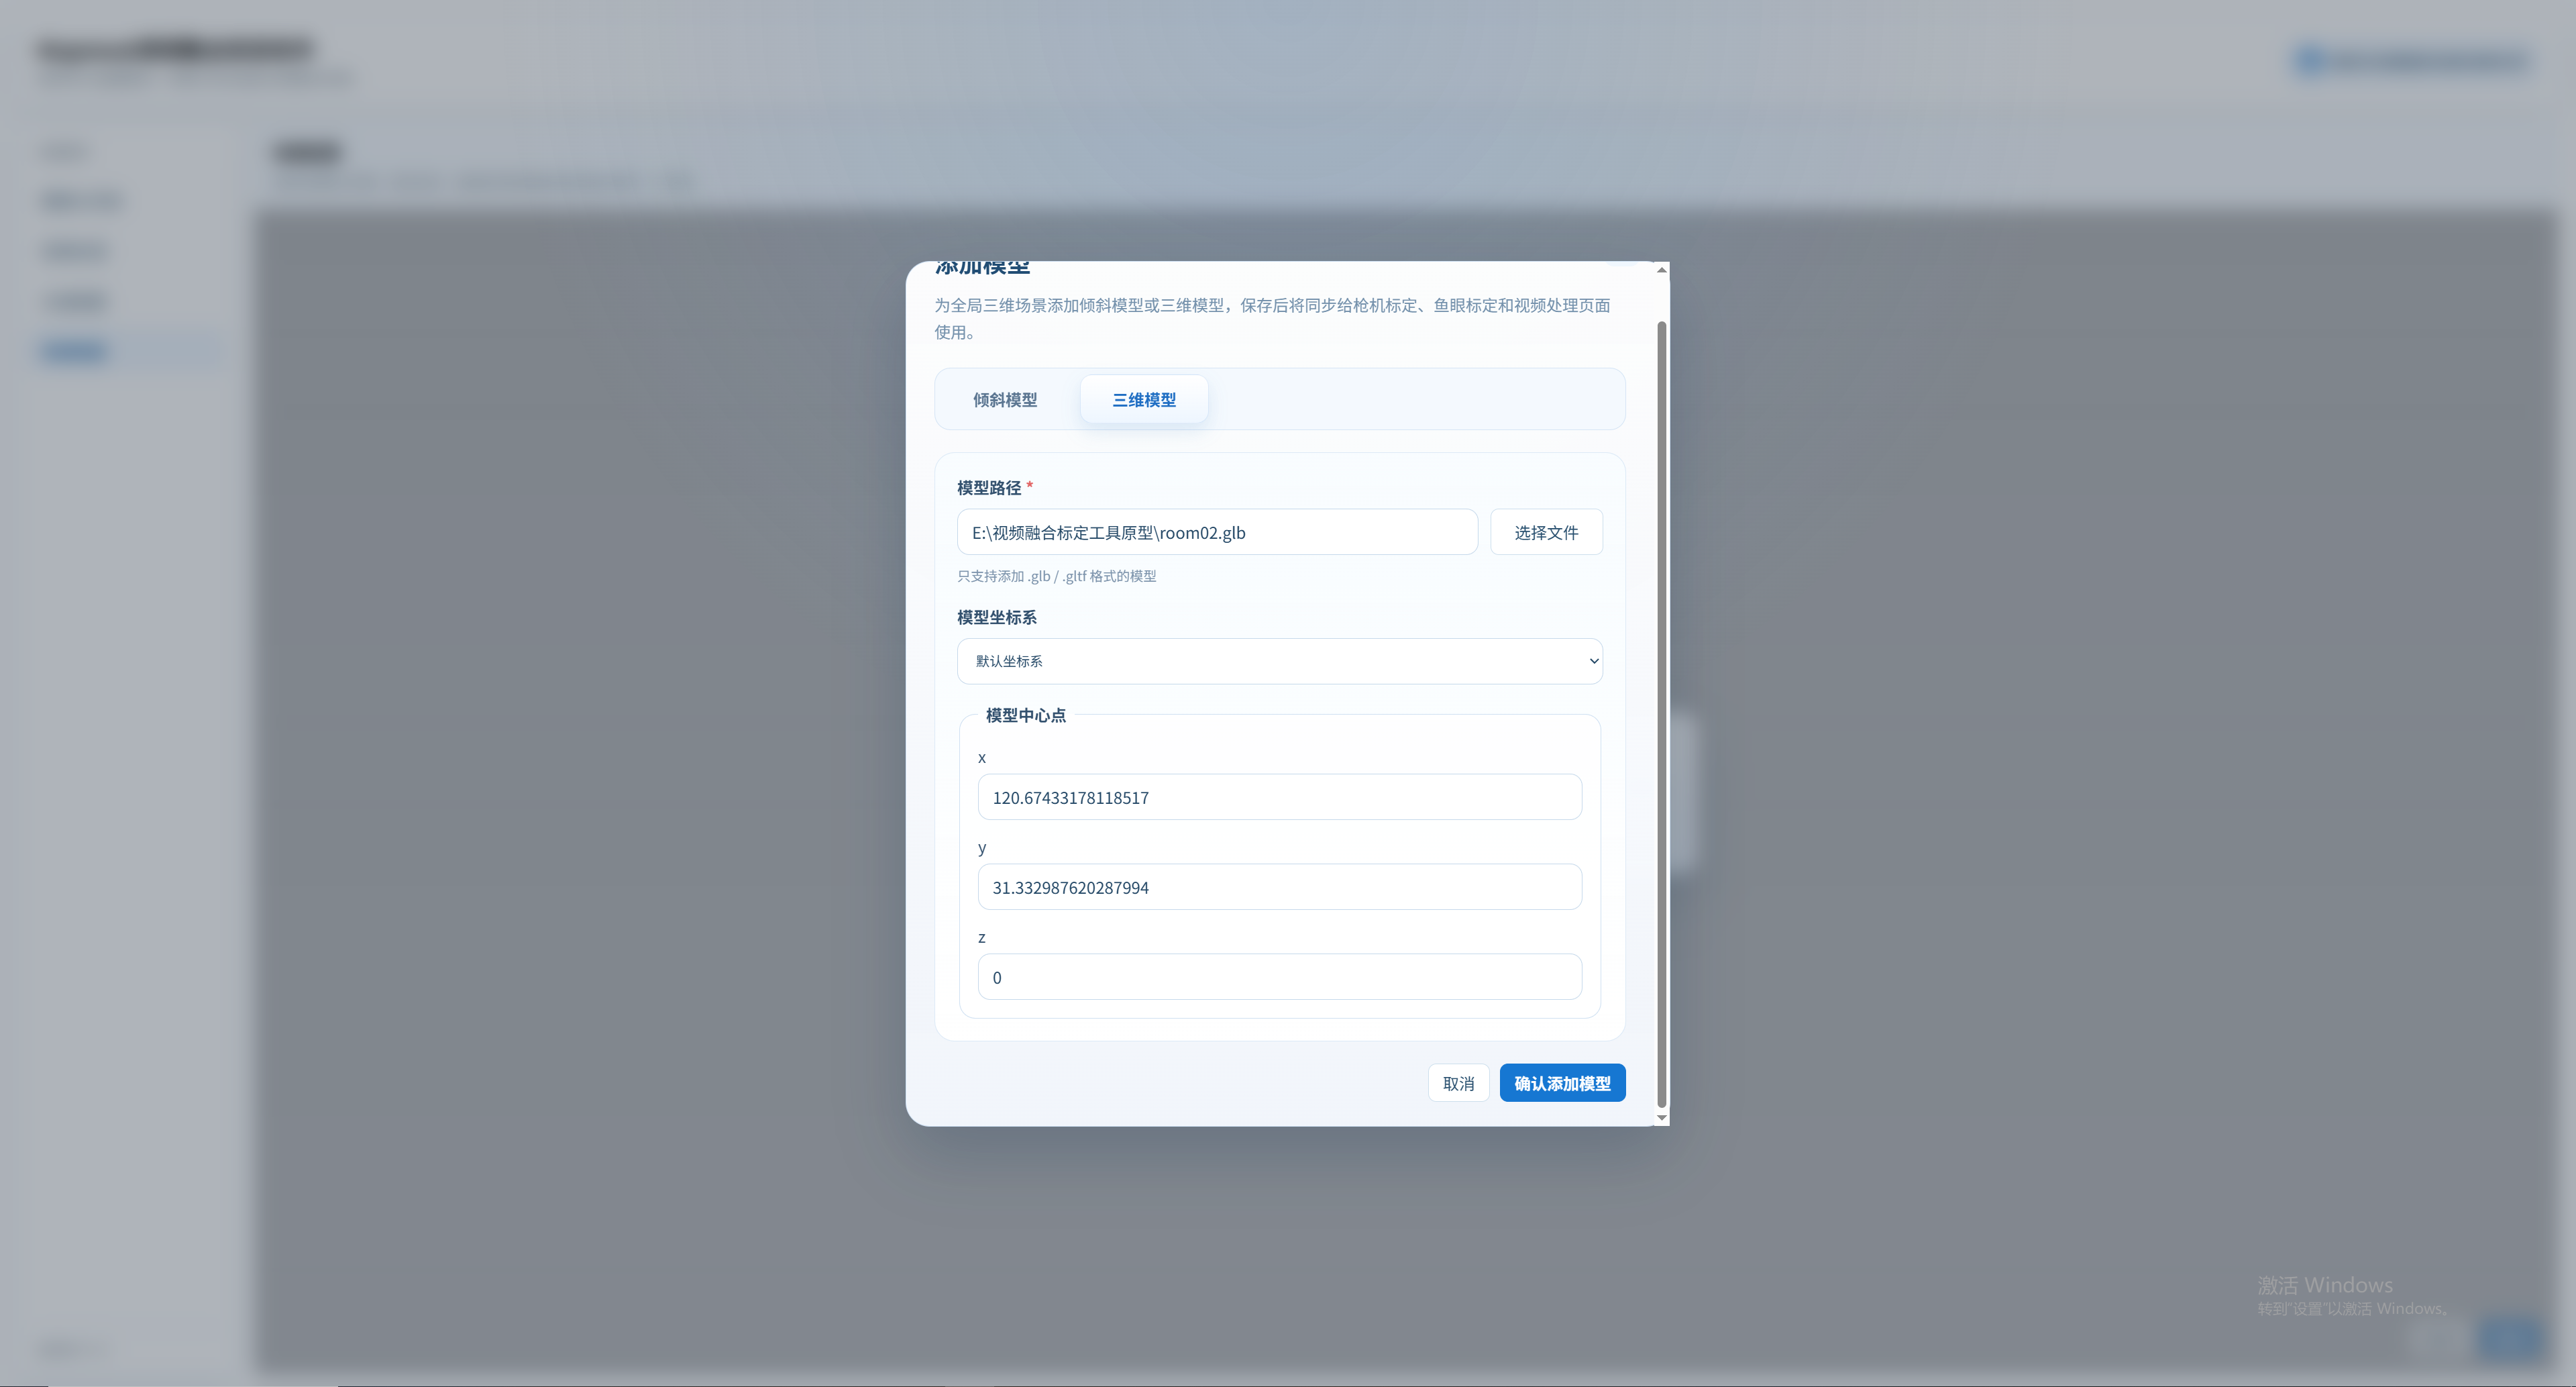
To add a 3D model file, select its folder for upload, choose the default coordinate system, and enter the model center coordinates.
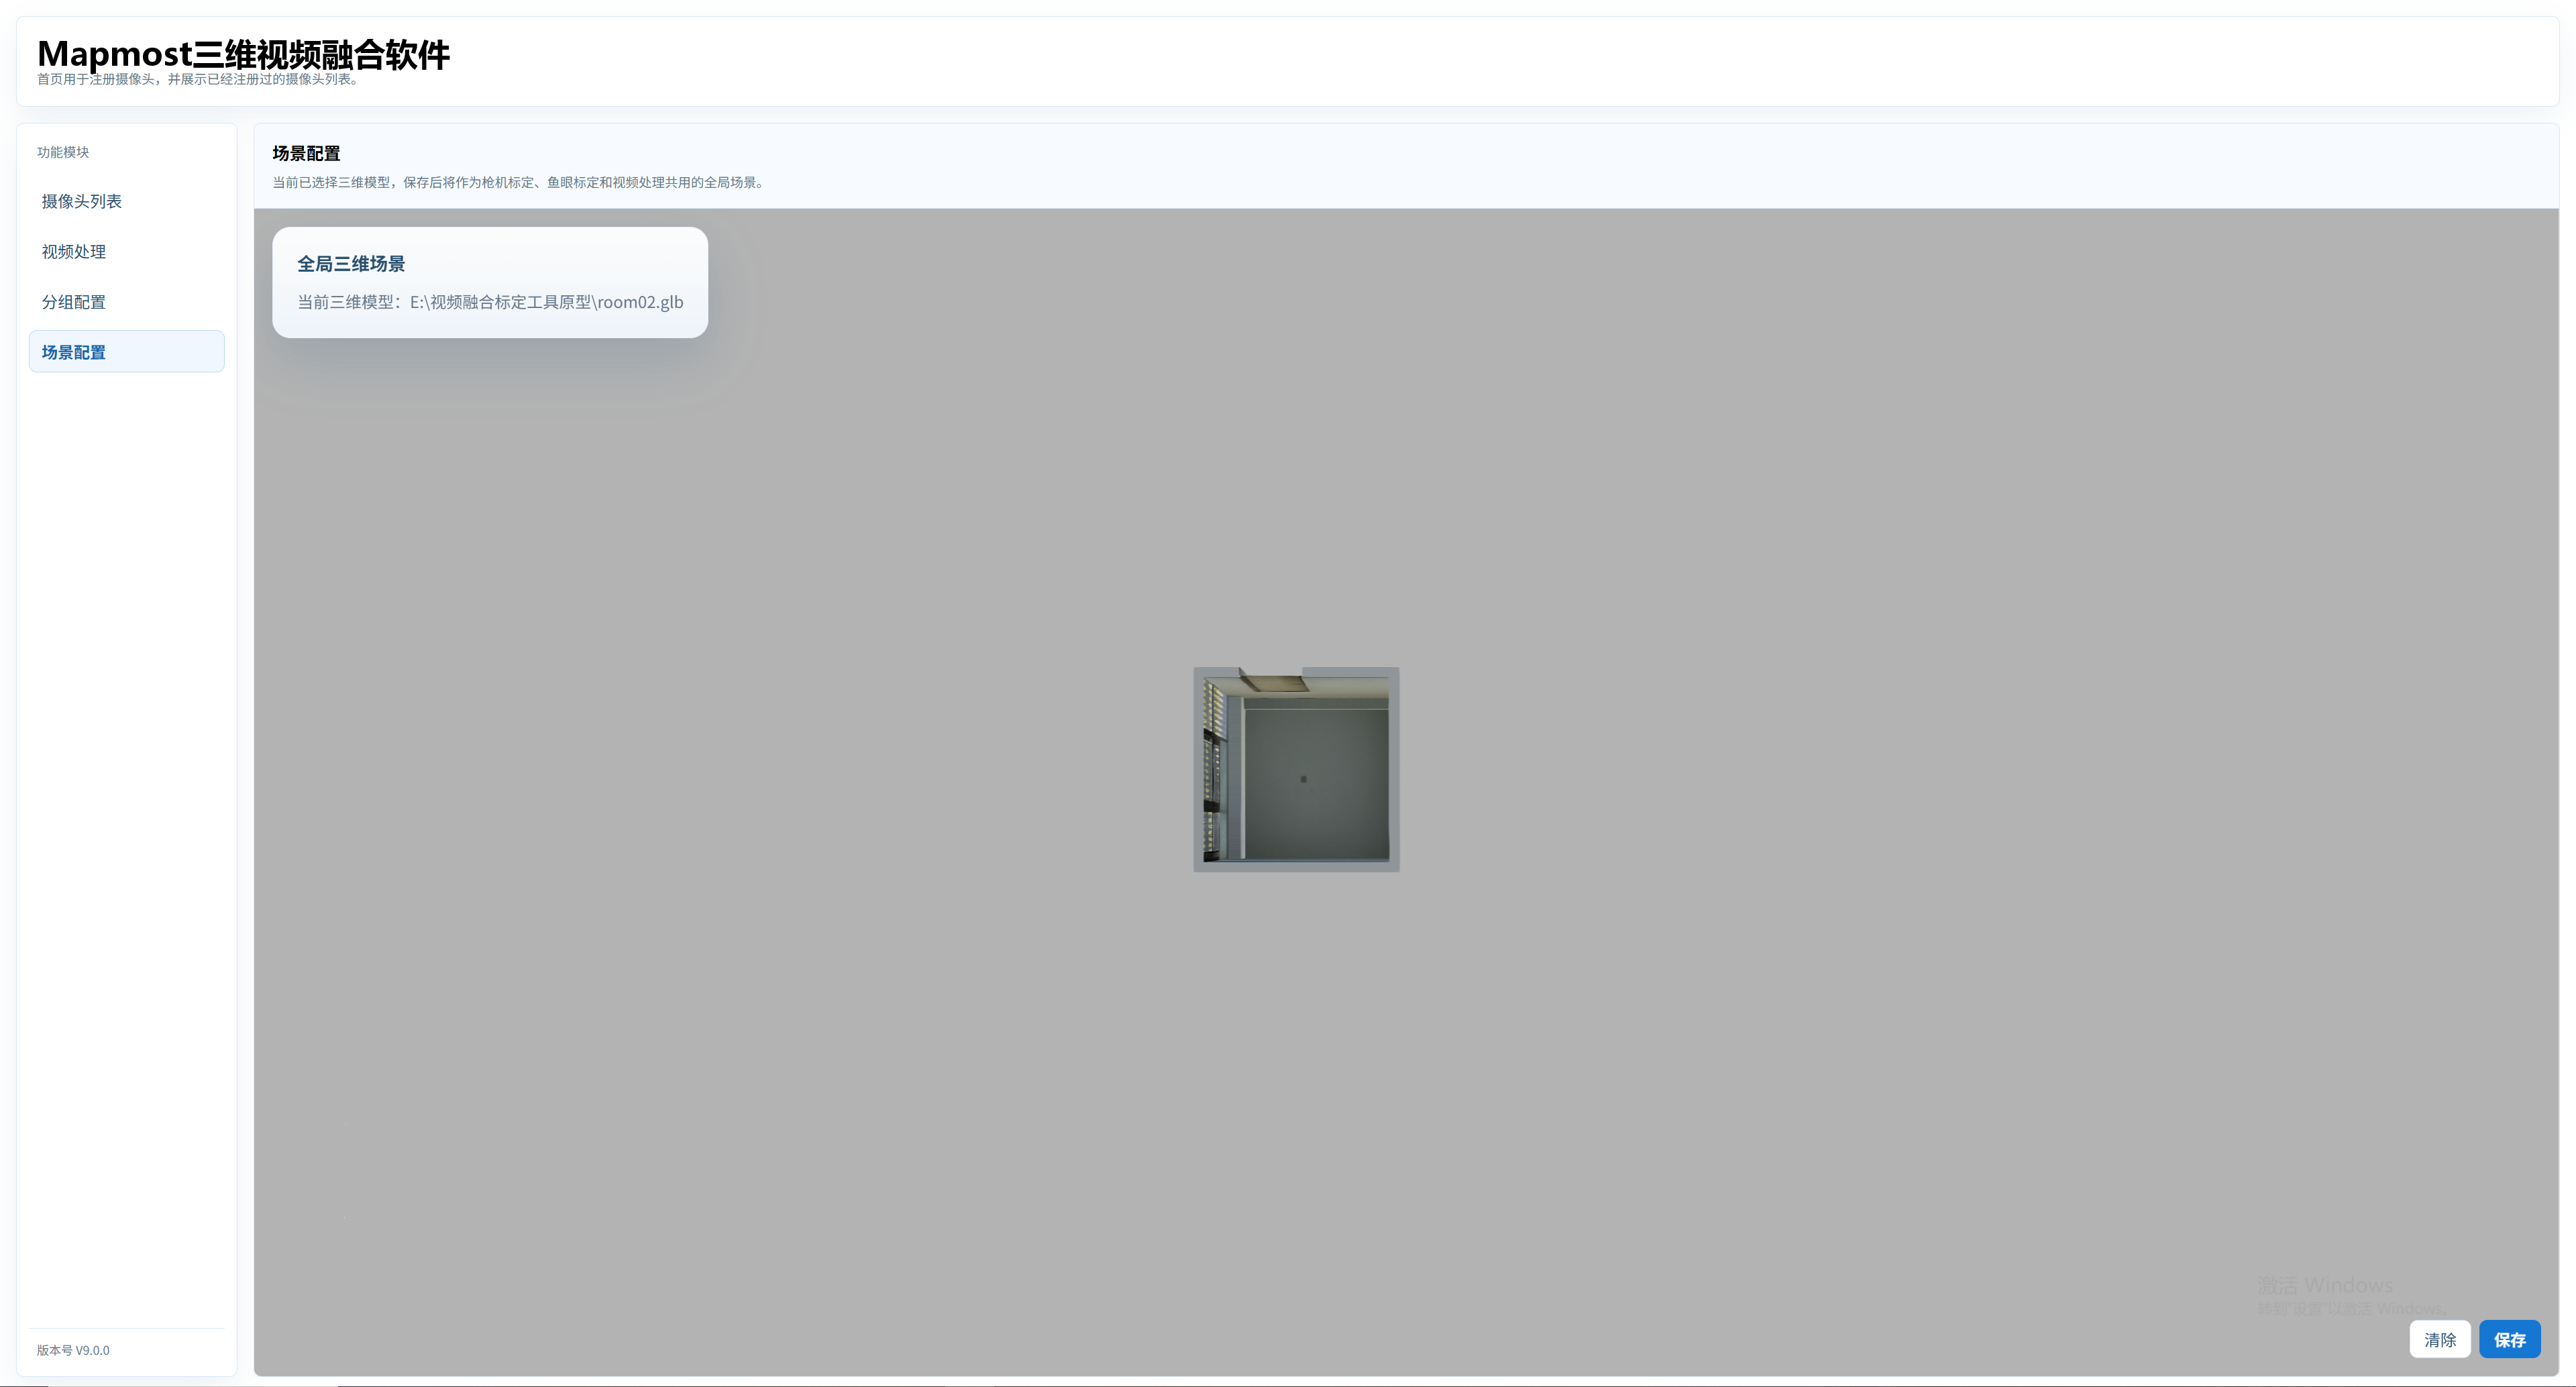
After the model is added, the page displays a 3D scene preview.
After confirming the model is correct, click Save in the lower-right corner.
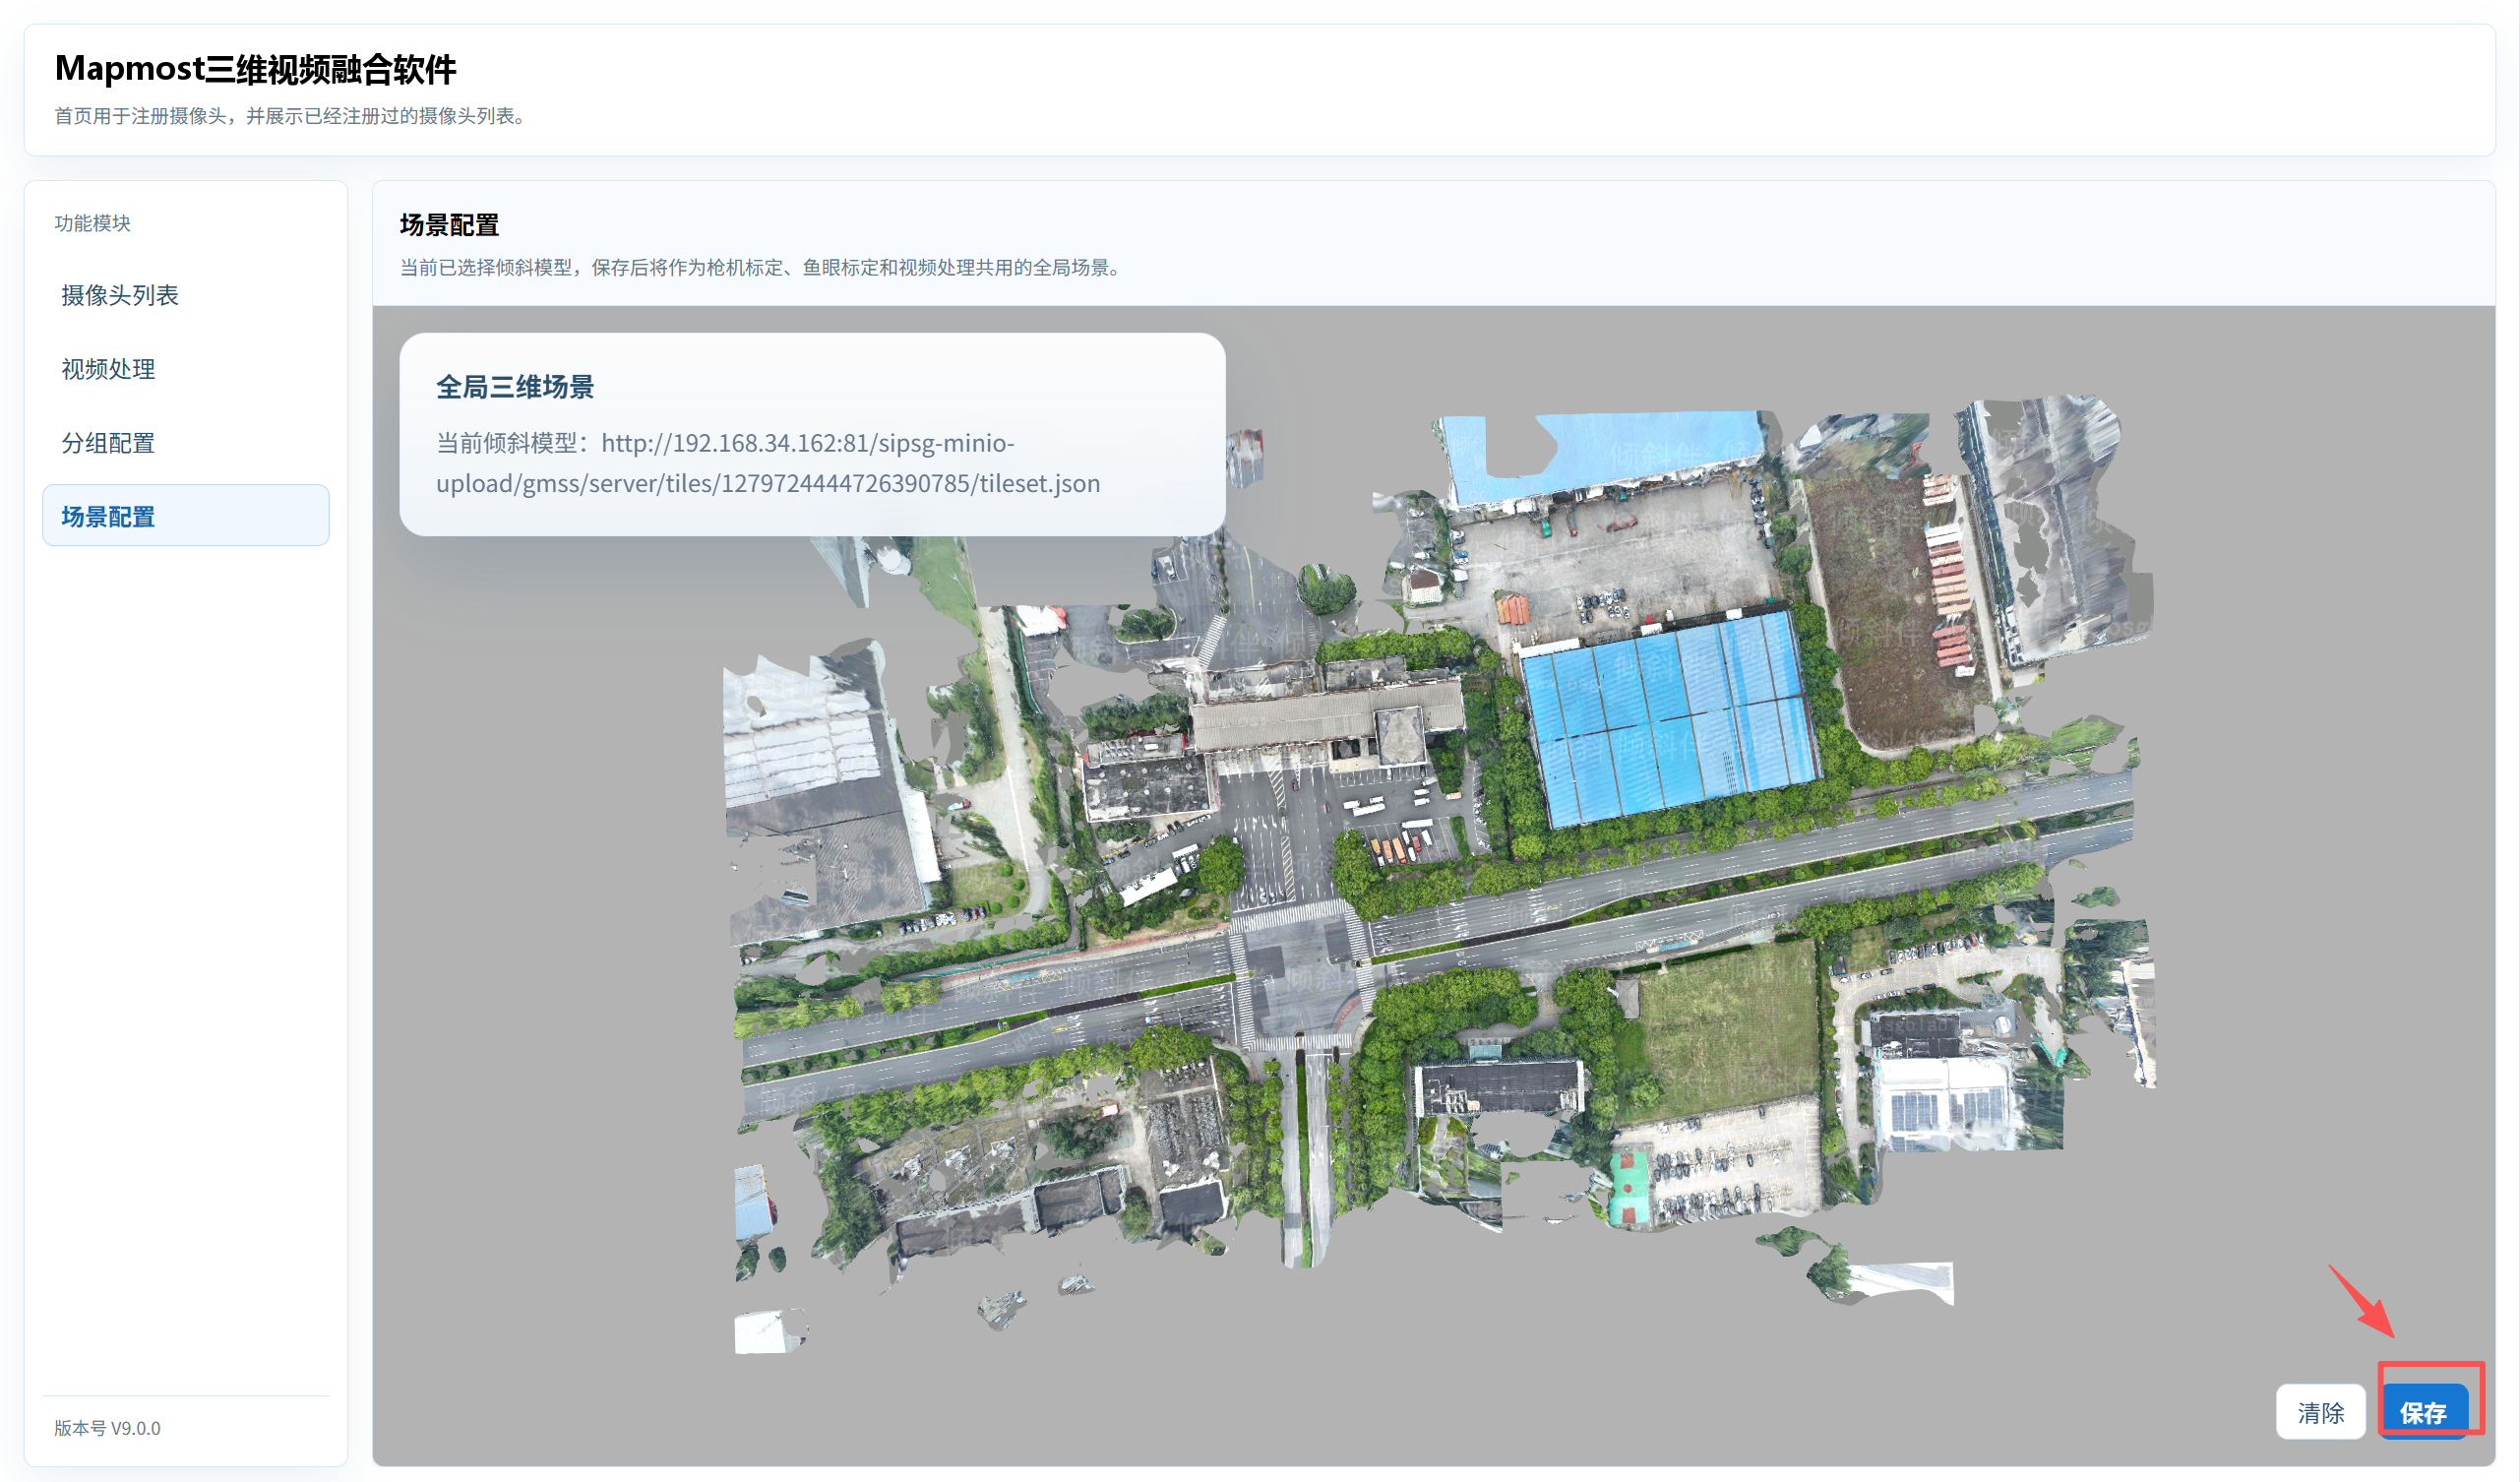
To reconfigure the model, click Clear, then add the model again and save it.
The system uses one global 3D model scene. Once saved, it is reused by Fixed Camera Calibration, Fisheye Calibration, and Video Processing.