Group Configuration
Group Configuration maintains a three-level camera hierarchy and supports adjusting camera assignments by drag and drop.
Manage the Group Hierarchy
- Click Group Configuration in the left menu.
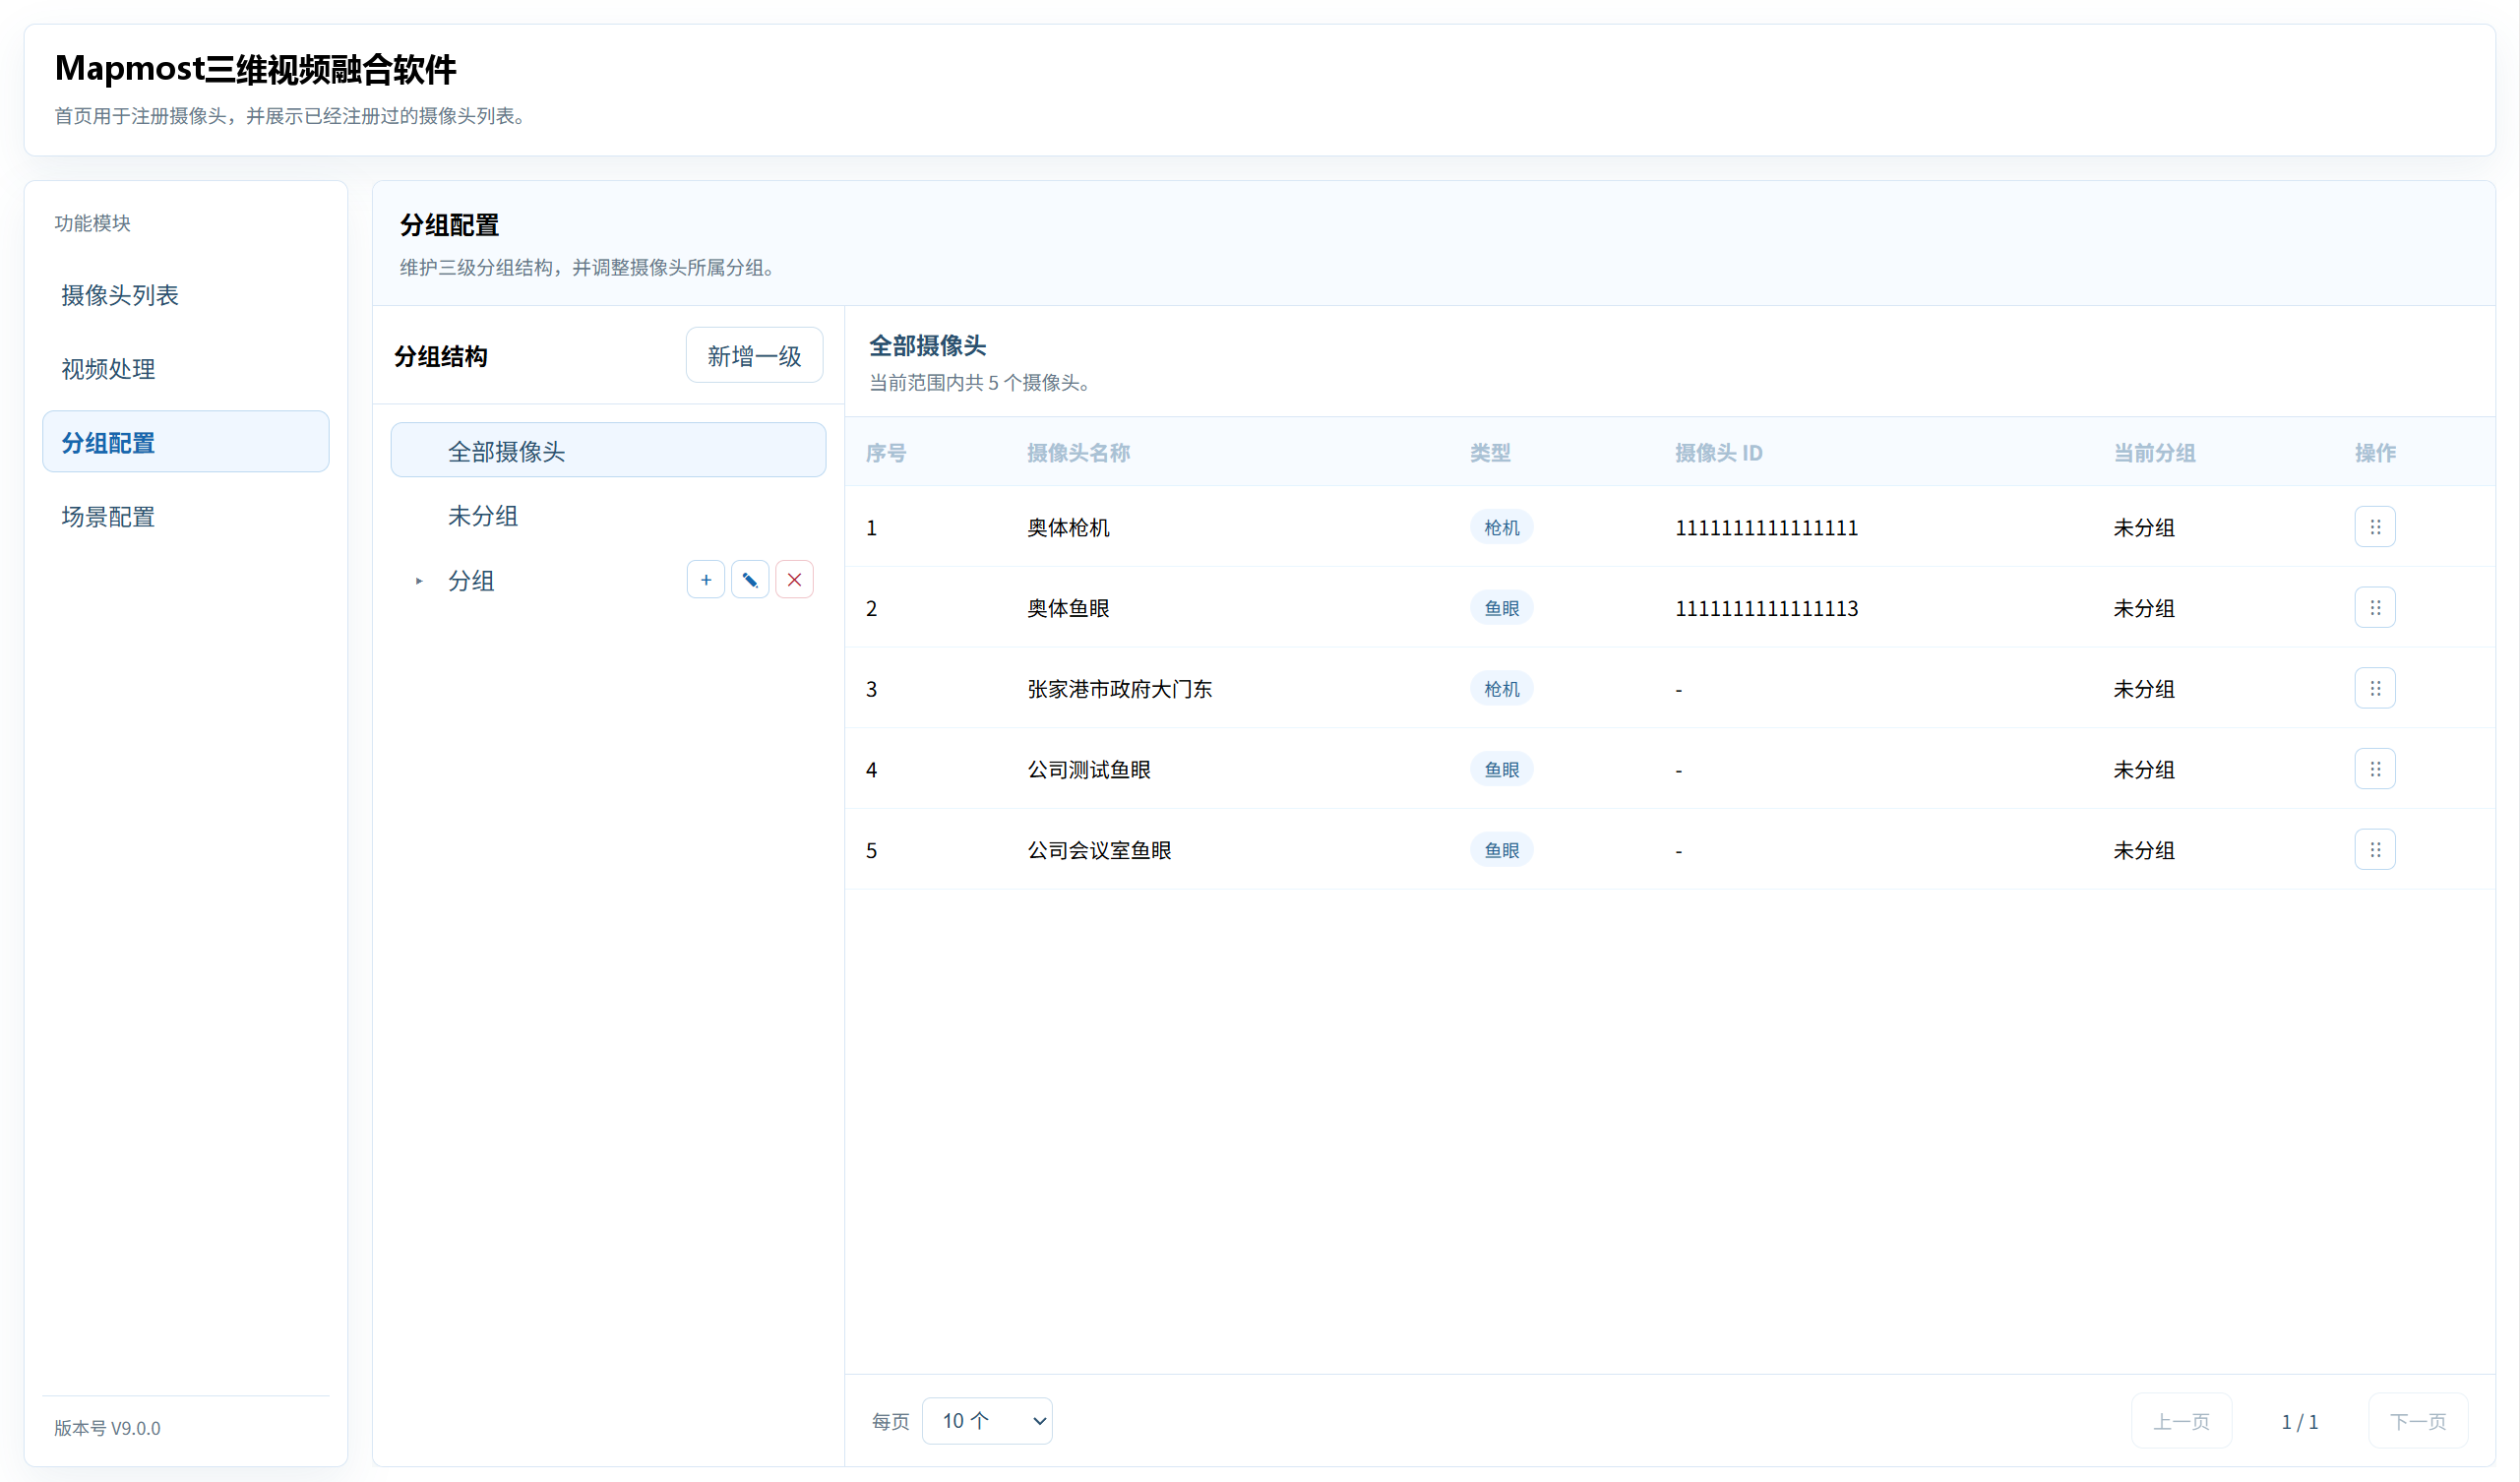
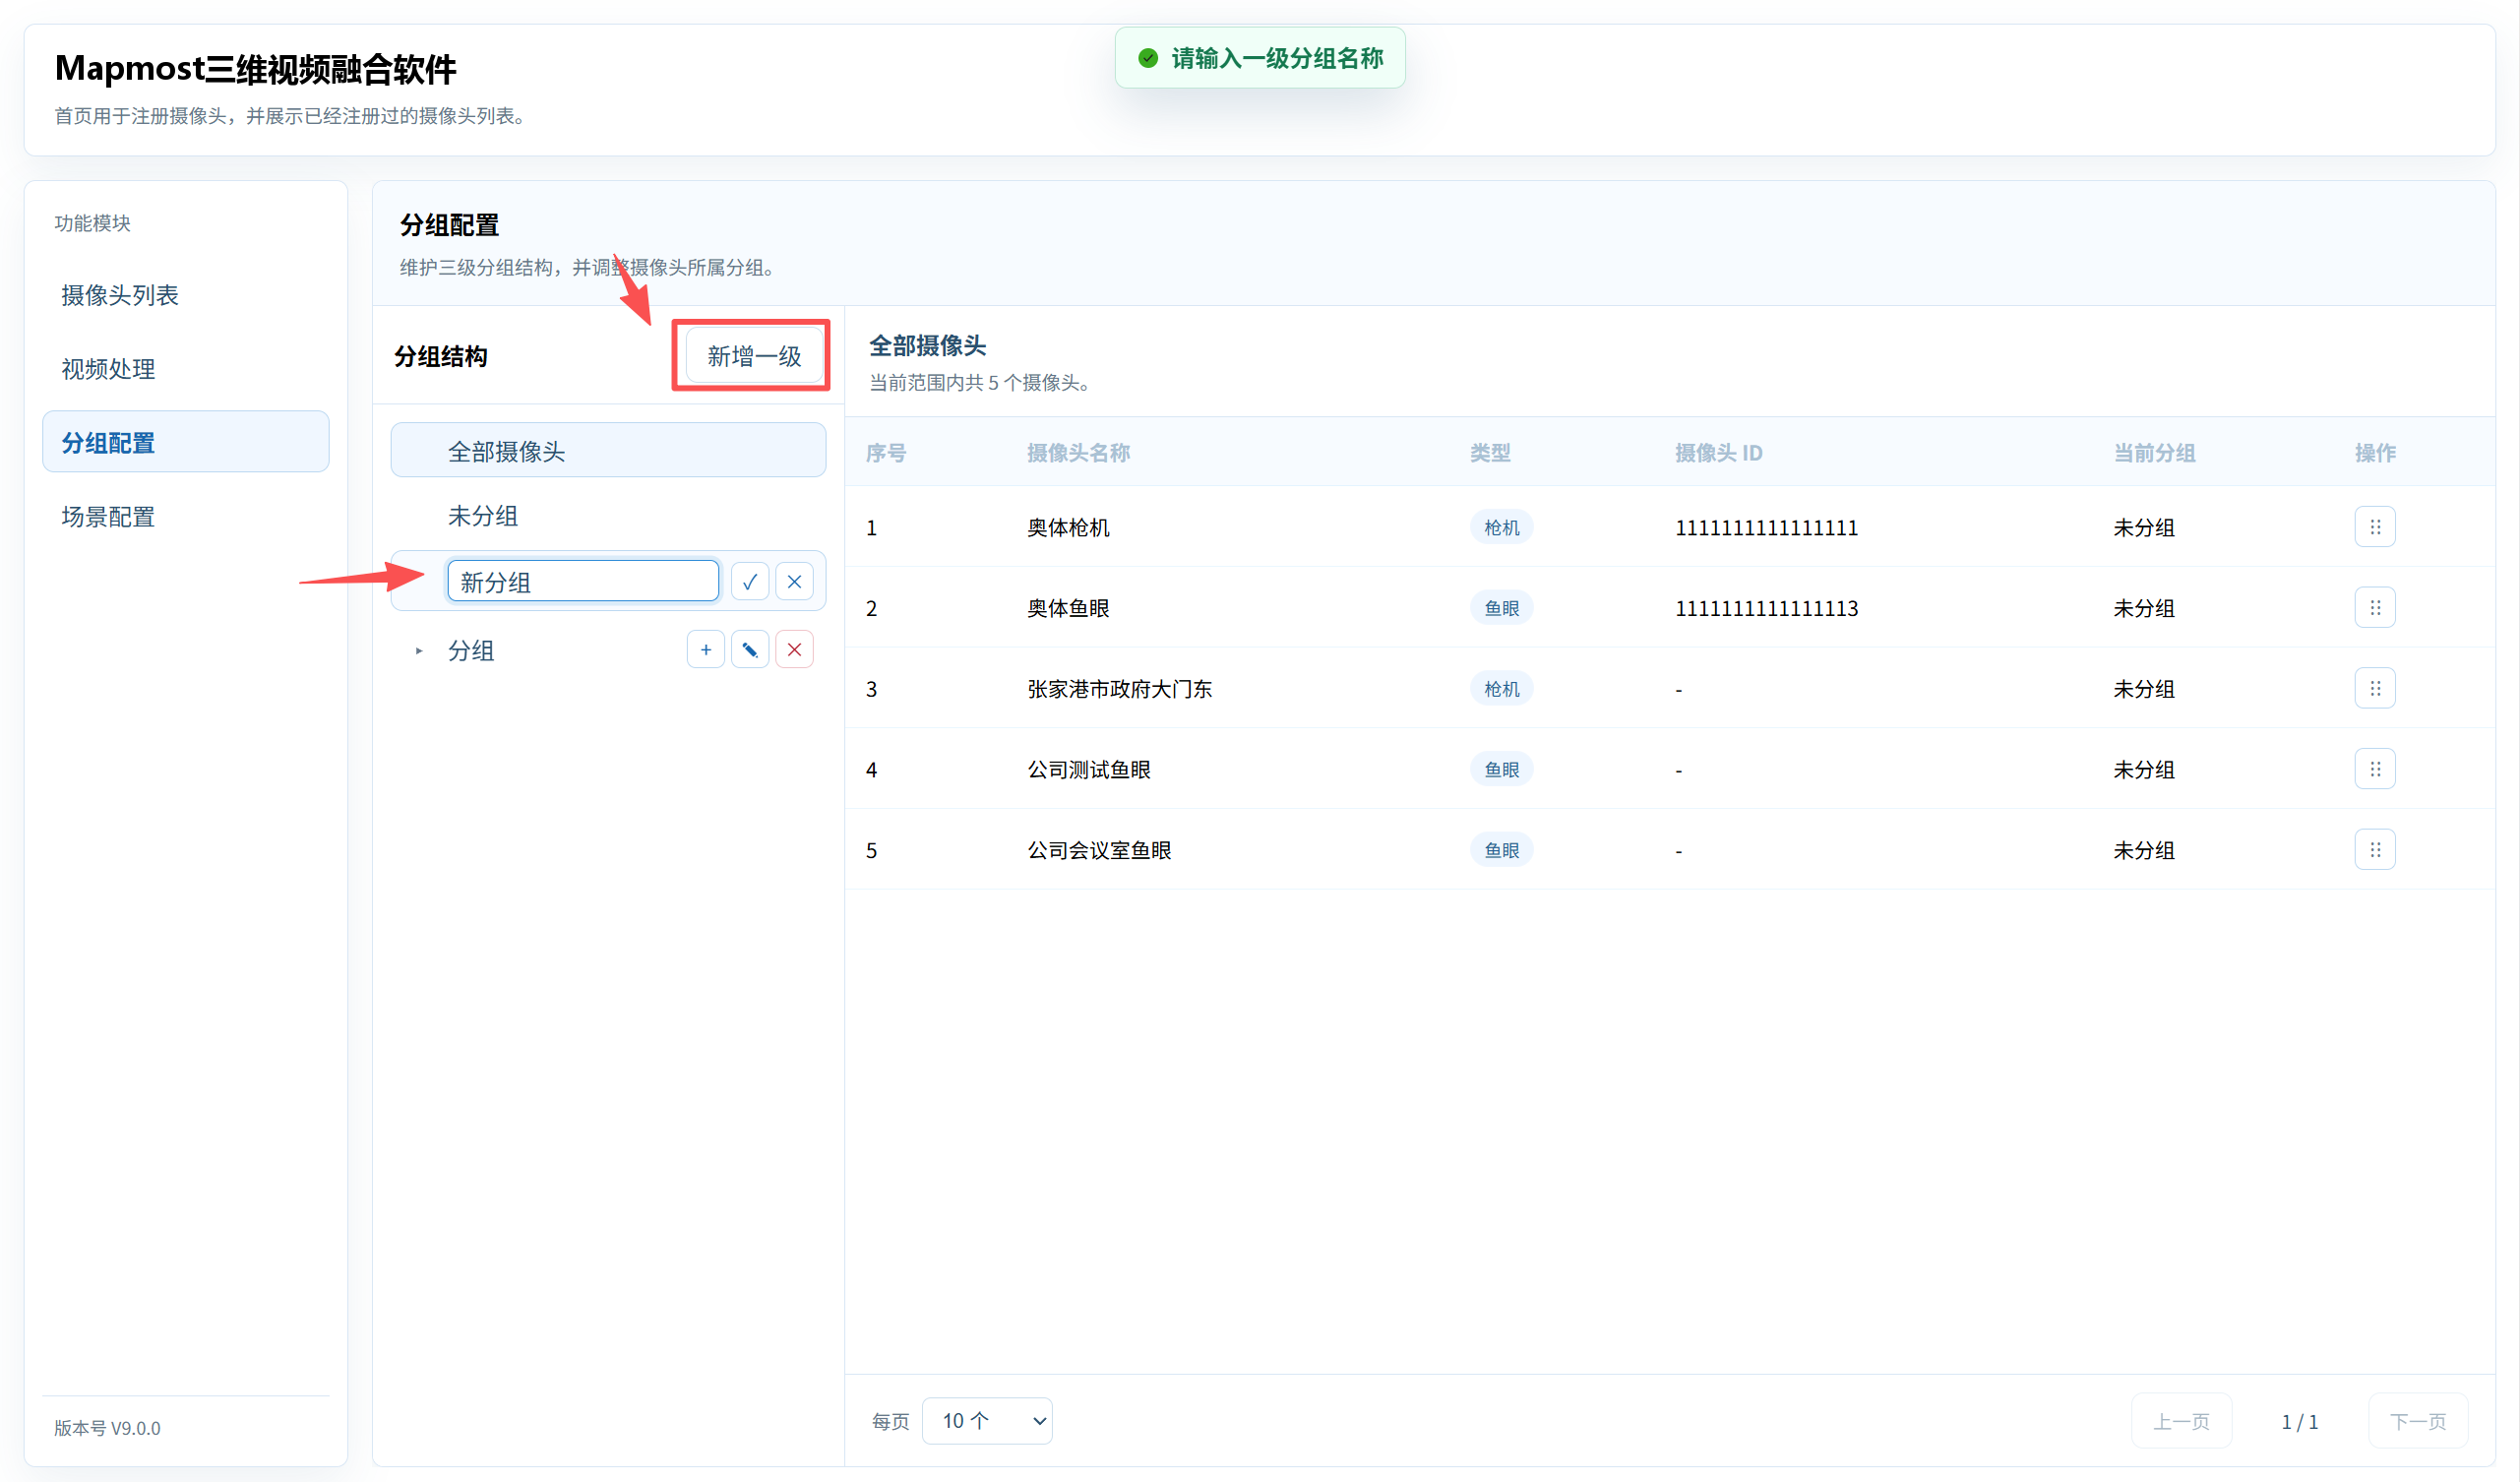
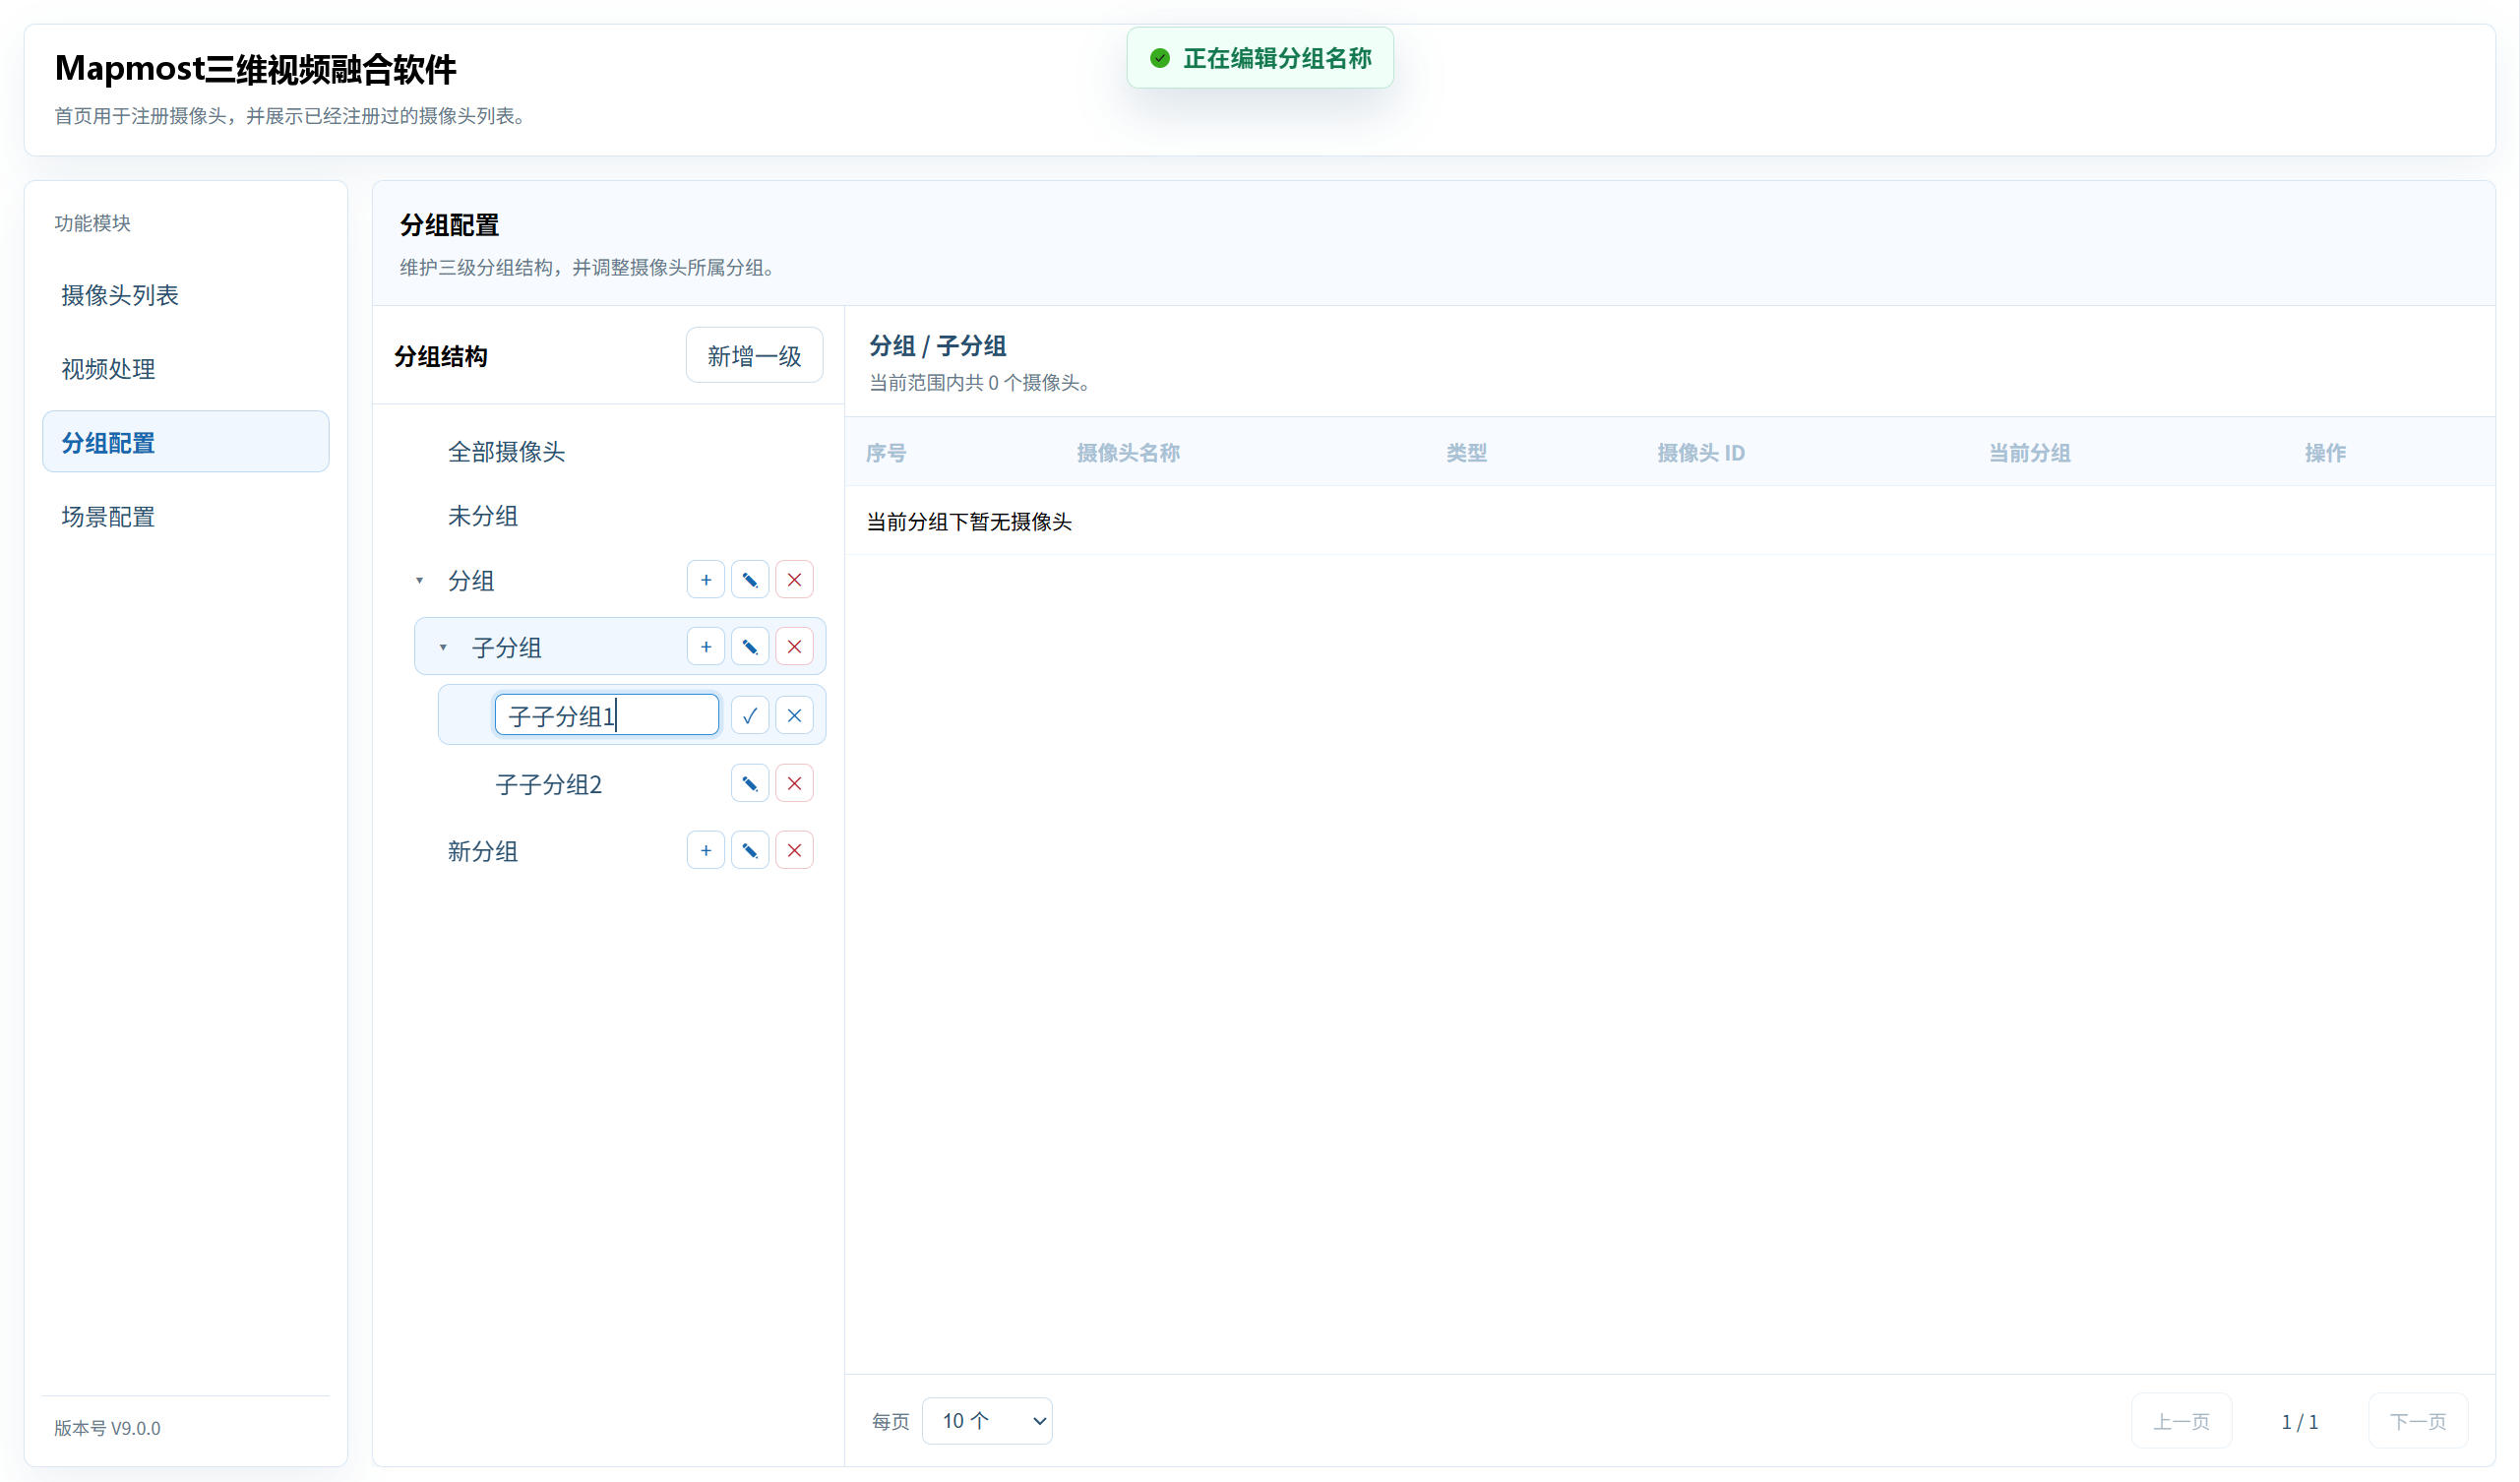
Click Add Top-Level Group to directly create a top-level group in the tree. Enter the group name and click √ to create it.
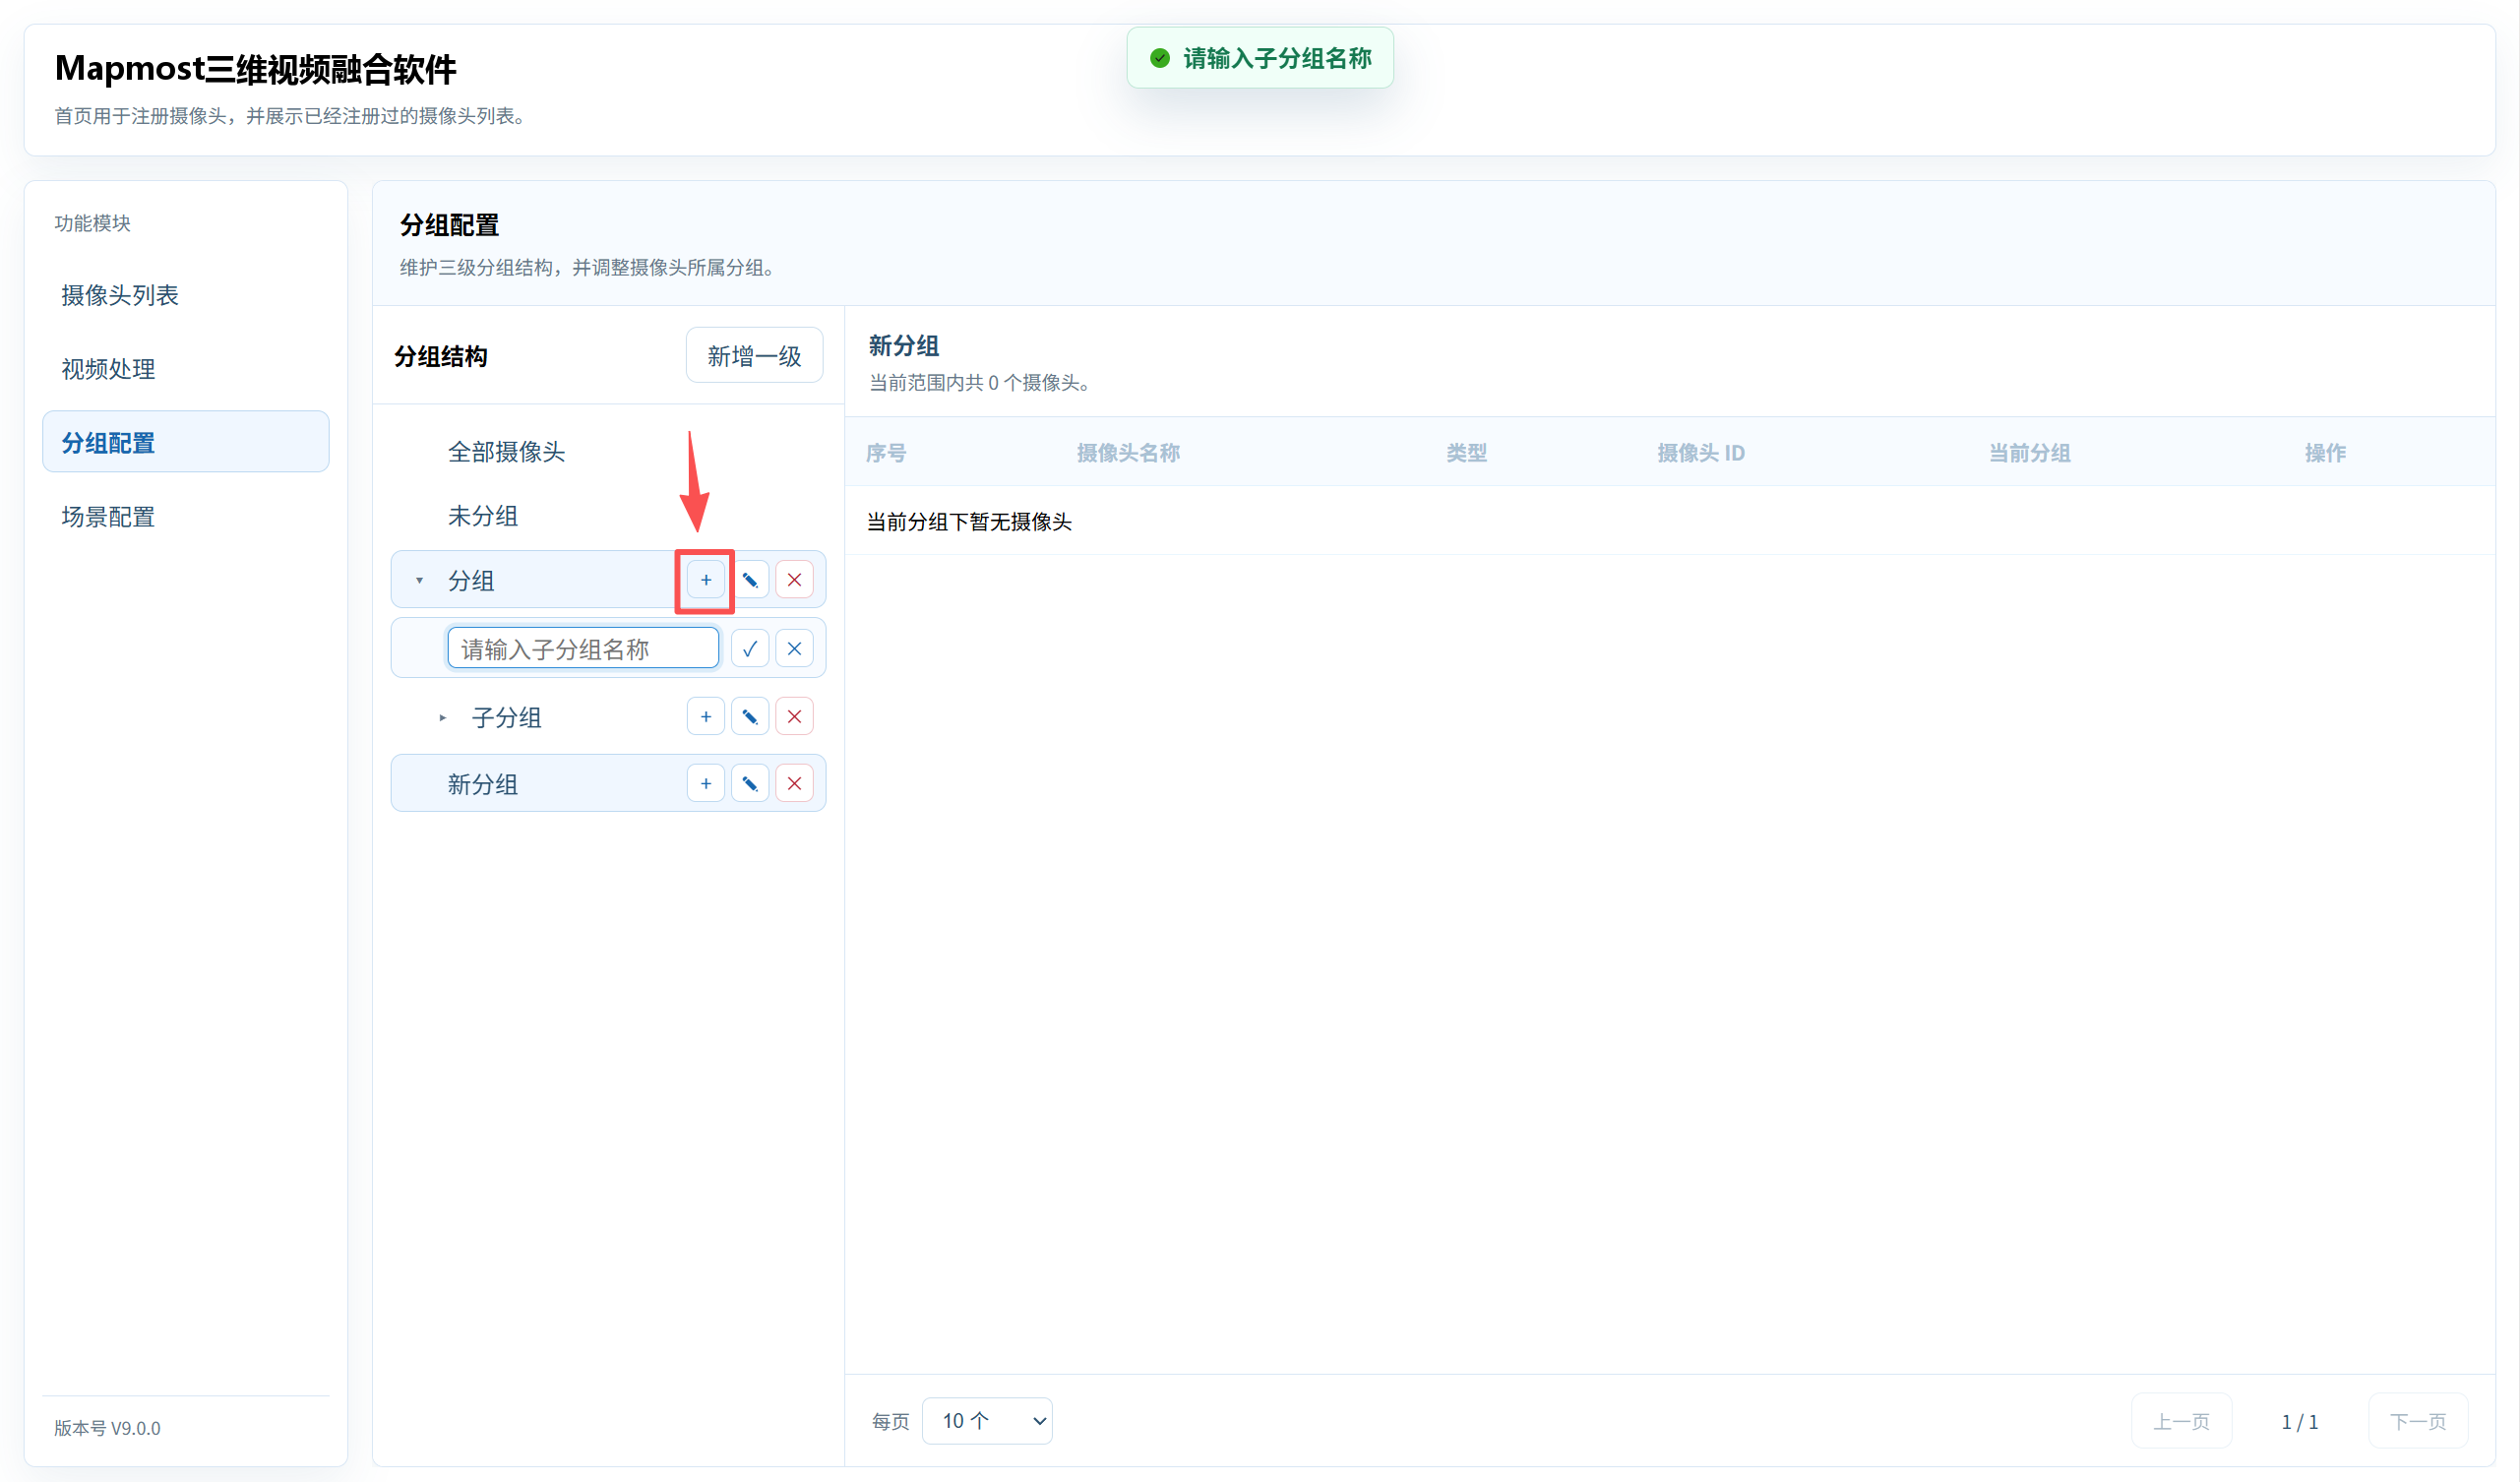
Click the add icon next to a group to add a child group beneath it.
Click the rename icon to change a group name directly in the tree.
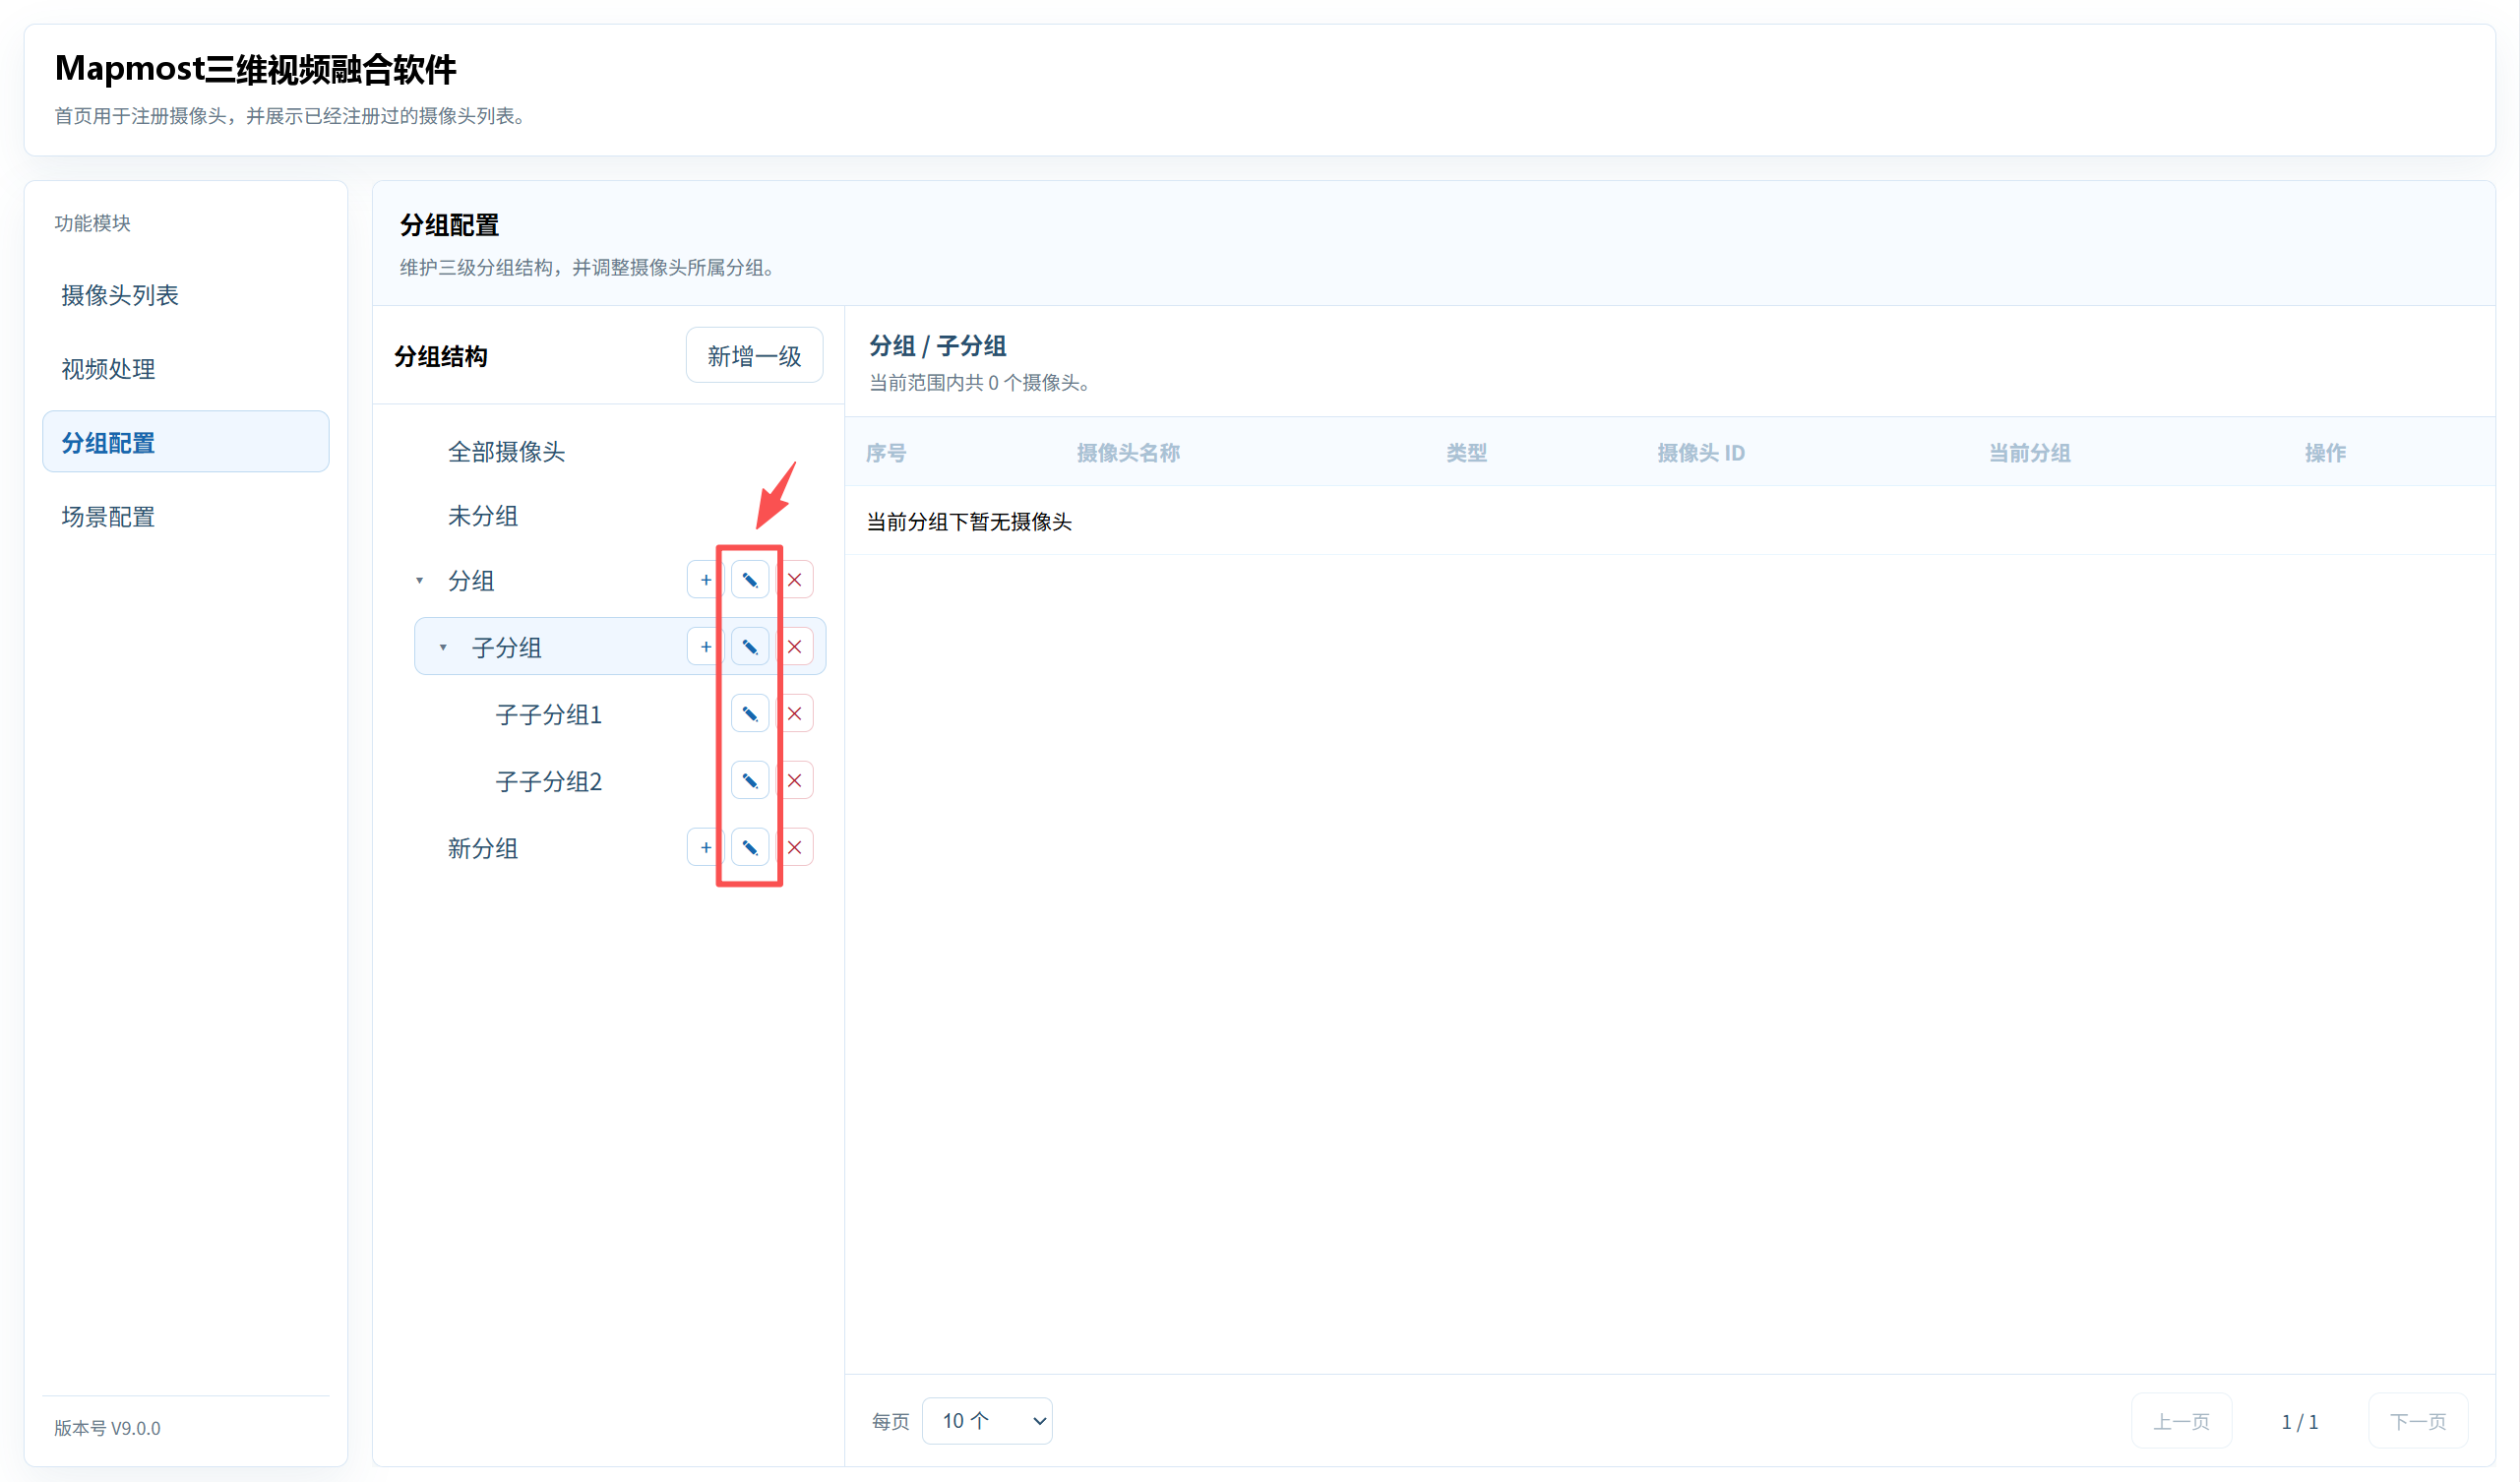
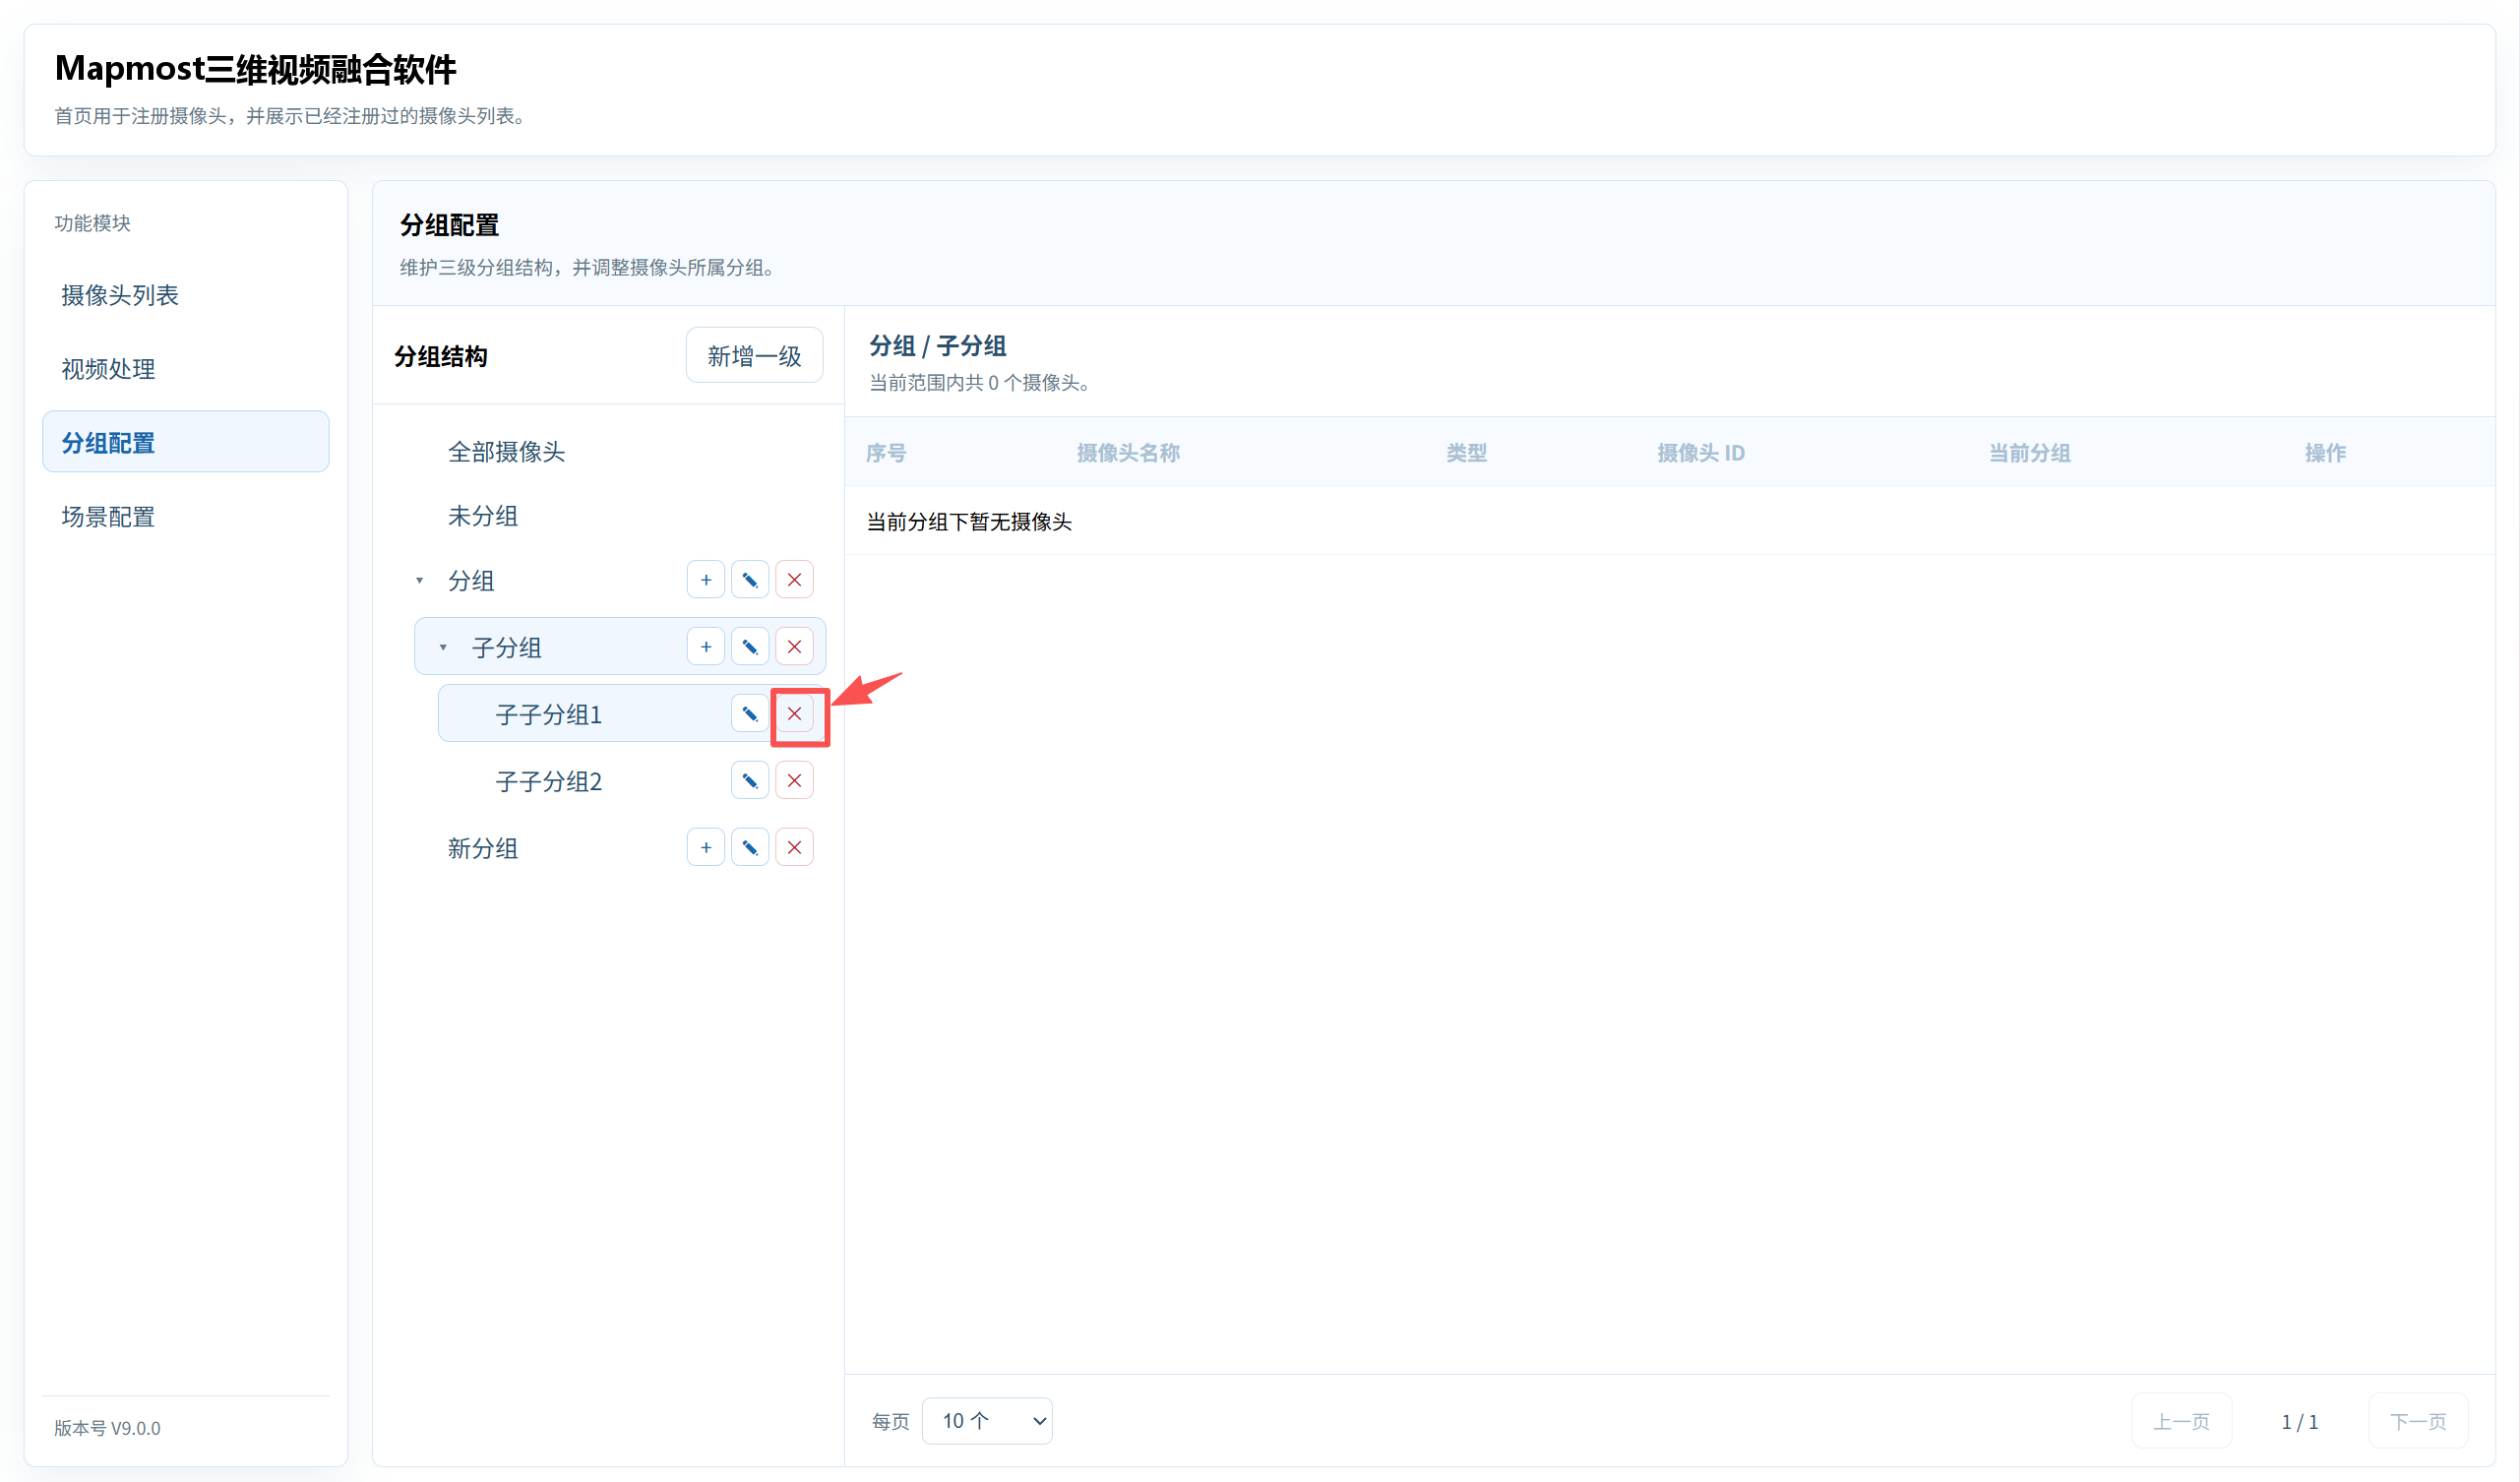
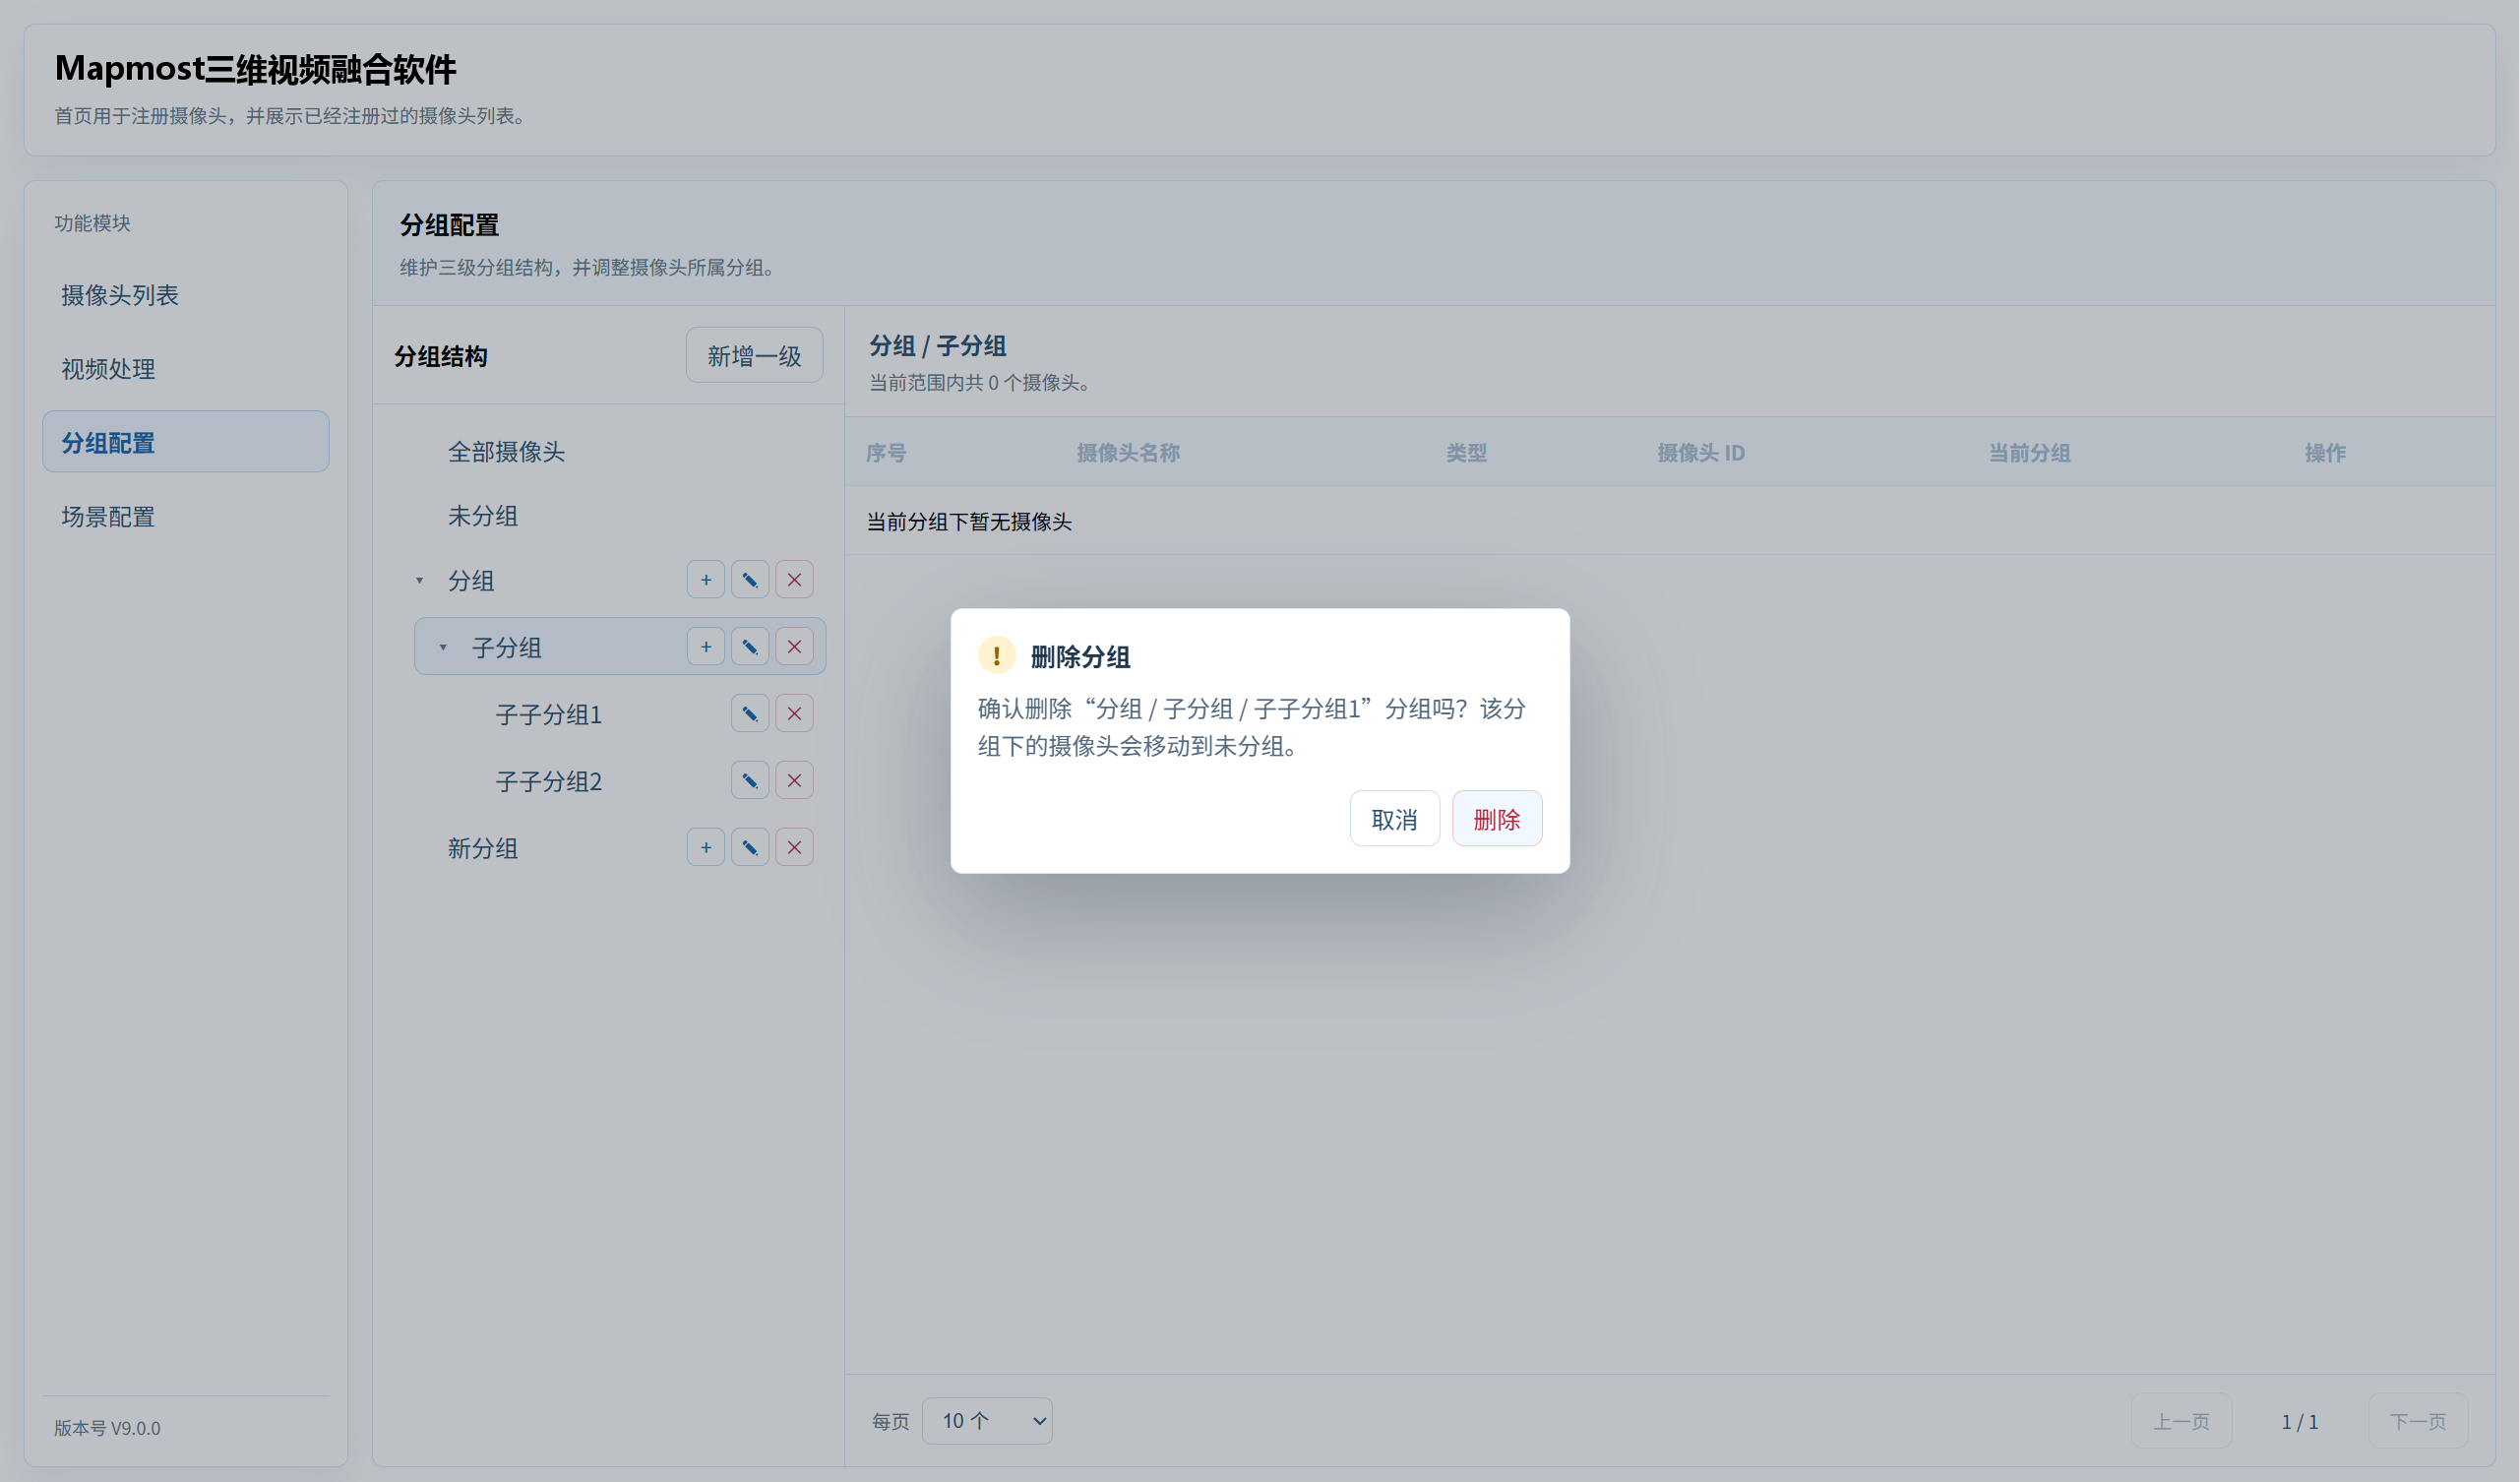
Click the delete icon. In the confirmation dialog, click Confirm to delete the group.
Adjust Camera Groups
Find the camera to adjust in the camera list on the right.
Drag the camera row to the target group on the left.
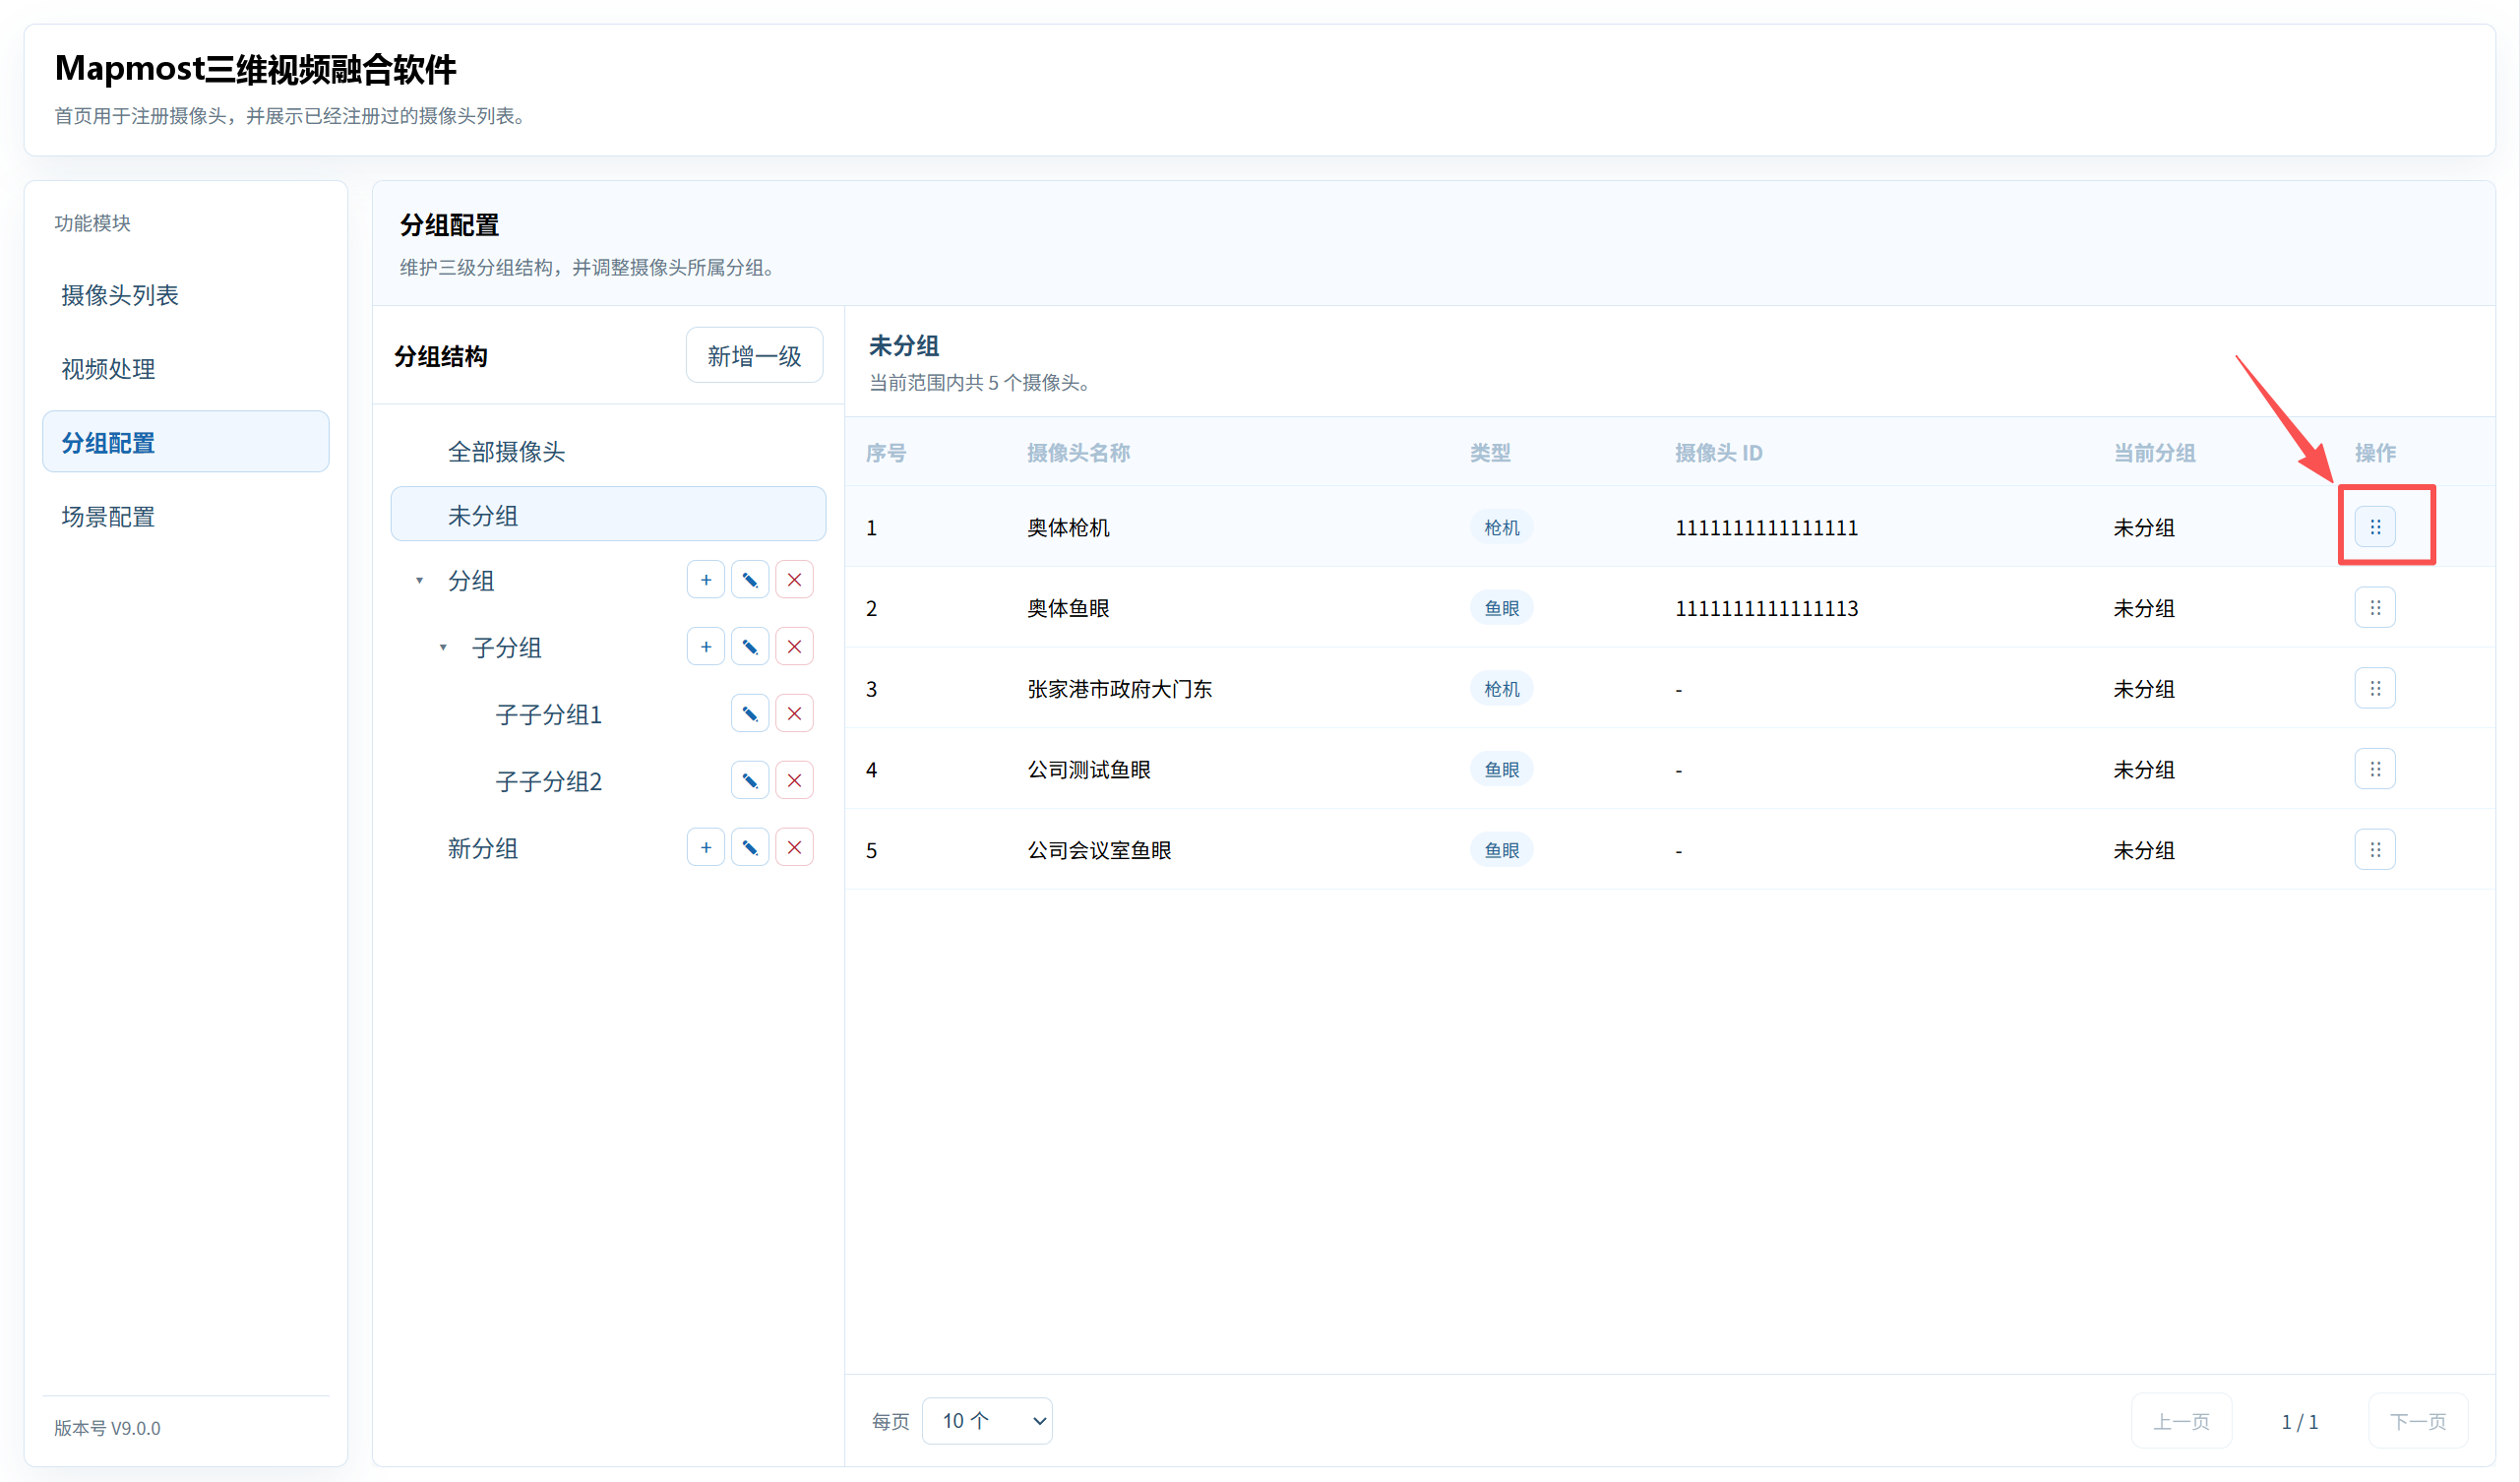
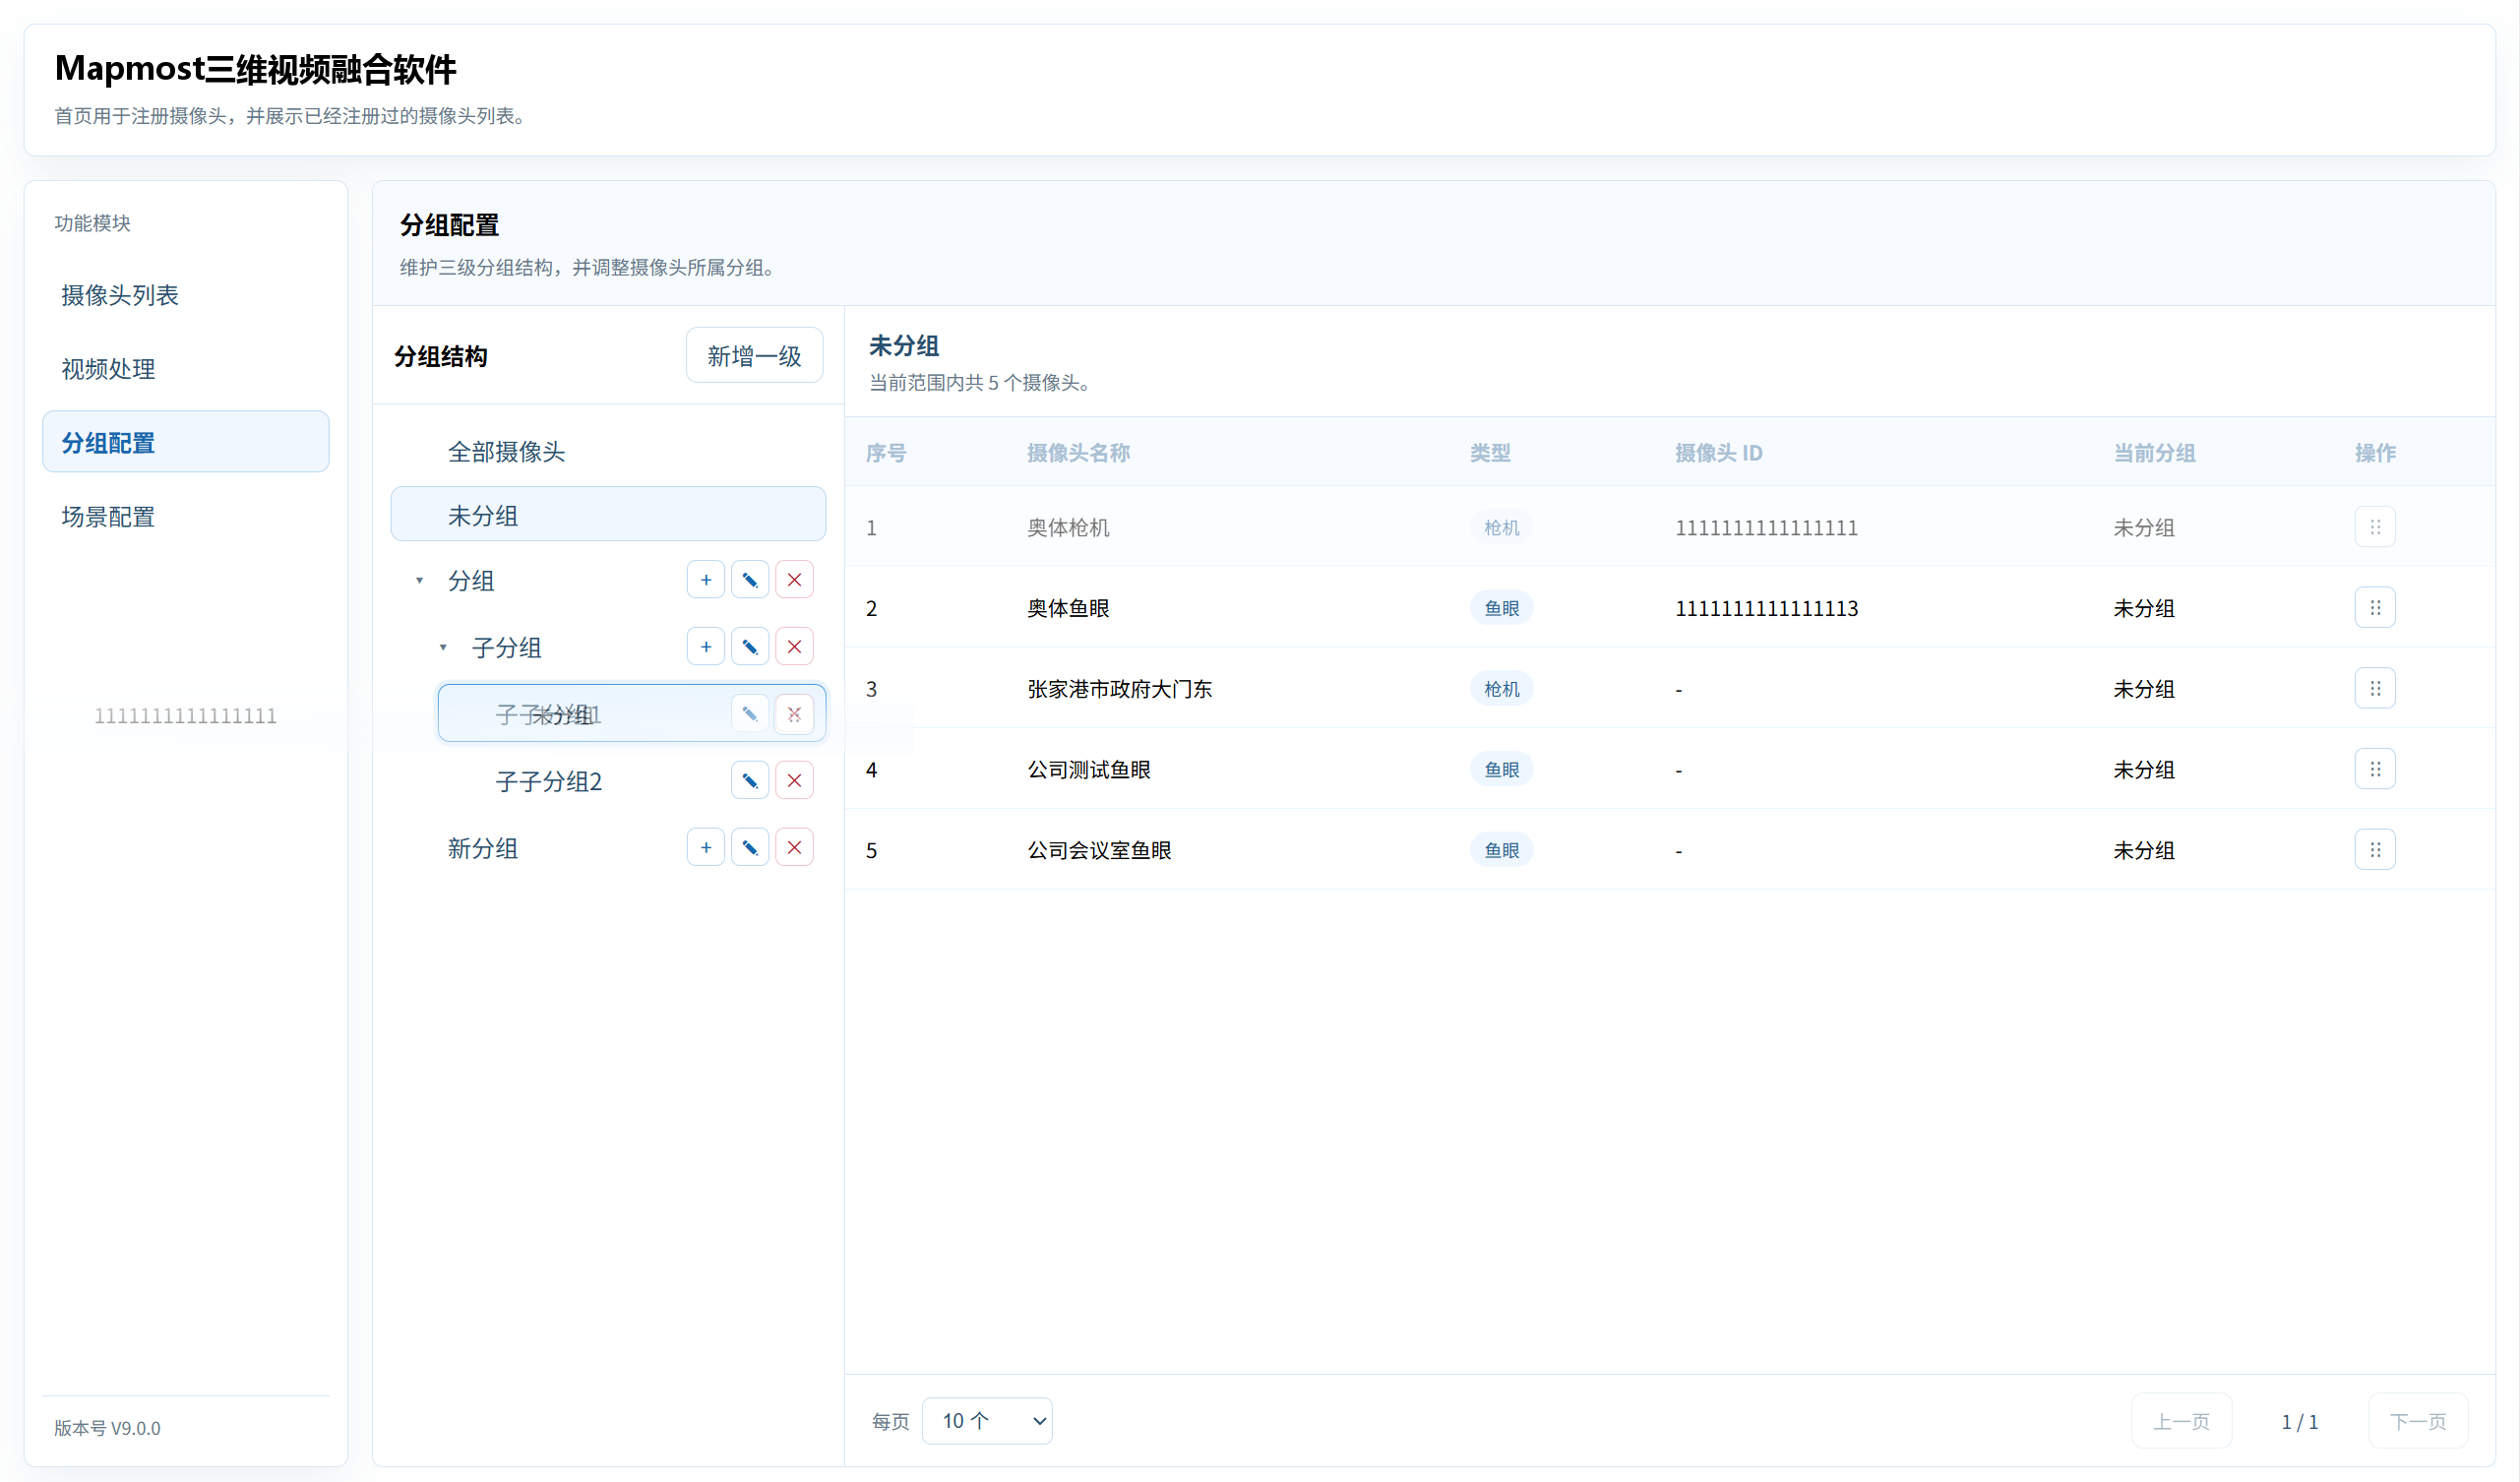
After you release the mouse, the camera is moved to that group.
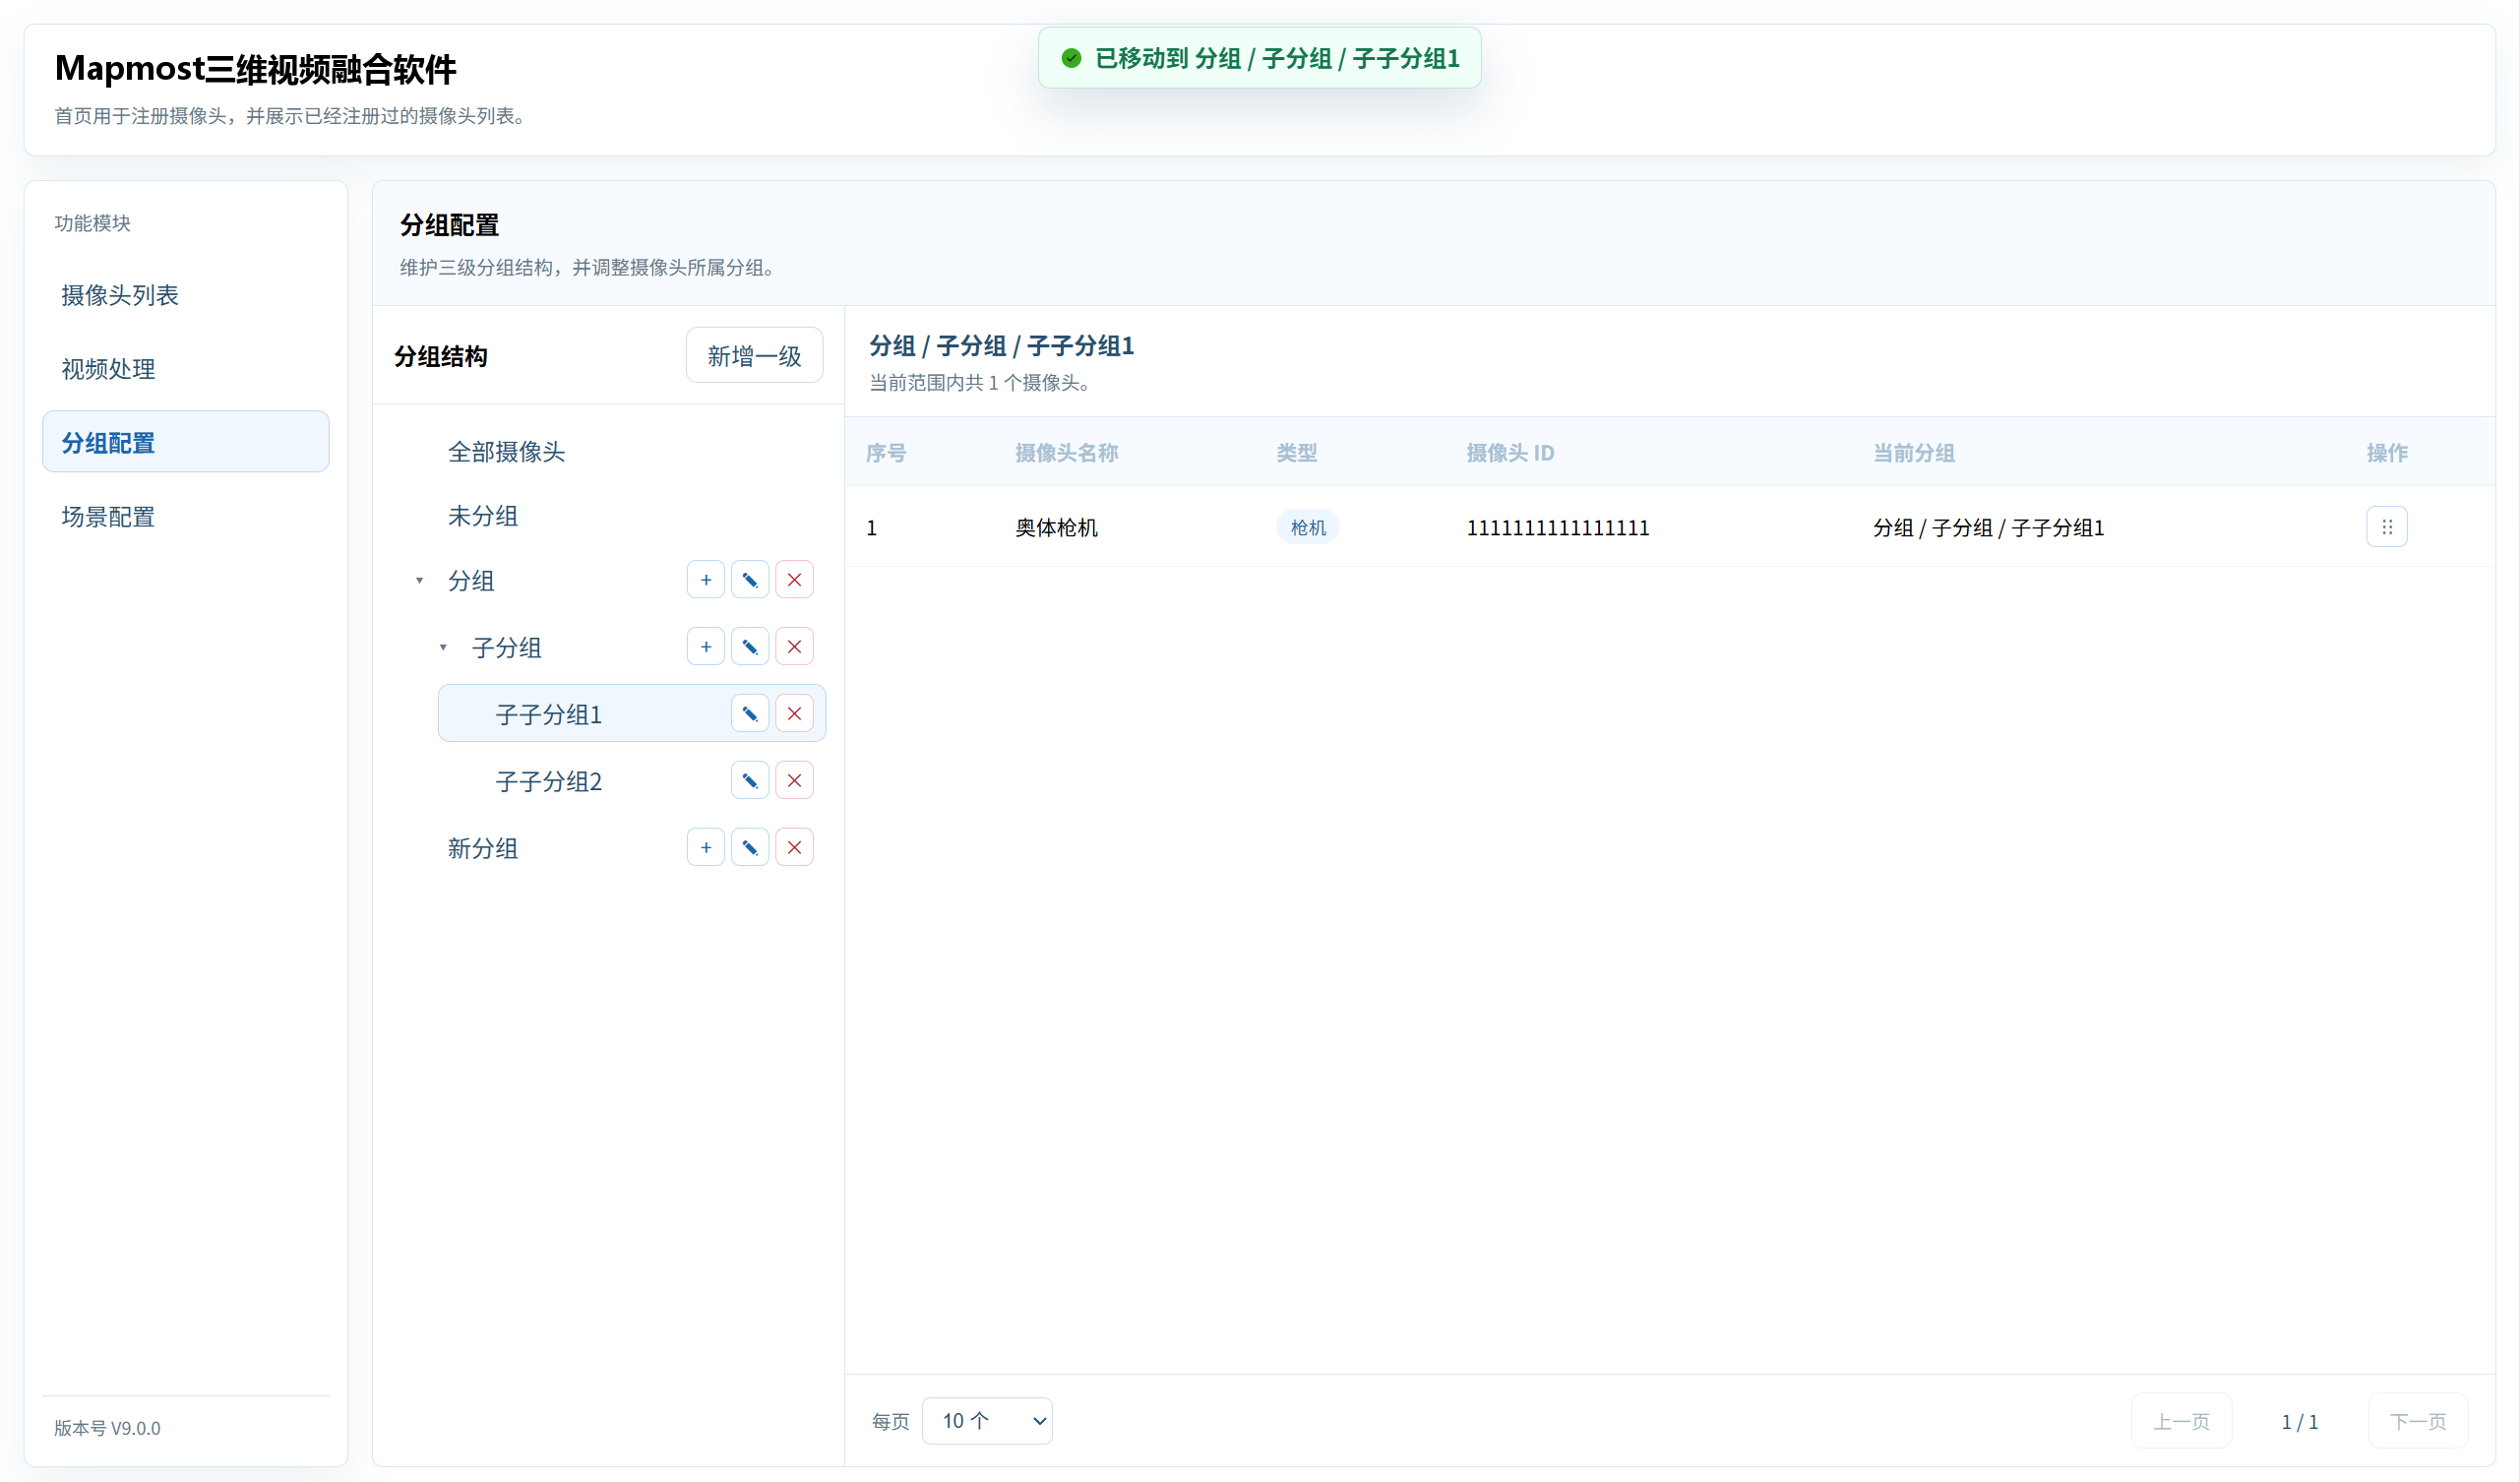
- To remove a camera from a group, drag it to Ungrouped.
Deleting a group does not delete its cameras. Cameras in a deleted group are retained and moved to Ungrouped.